I am new to Sketchup. I’ve managed to make two windows with push/pull. However, for the third and last window, I create a rectangle in the wall, but then it’s impossible to select the rectangle. It just selects the whole wall. I’ve been struggling with this for a while now. A bit earlier, I made a rectangle that I was able to select. However, I couldn’t push/pull it correctly to create a window.
I have watched this video that has previously been recommended for similar issues, but non of these 5 solutions seem to work for me.
The face you’re looking at is not parallel to the green axis. It is almost, but not quite. I presume you dragged your guide lines along the green axis so they are not on the face. Thus, your new lines are not on the face either, but “floating” a few micrometers away.
@Philosofen, the above is true. But your drawn rectangle isn’t even that. All its corner endpoints are not in one plane. Redrawing one of its edges does not create a face. See a copy of the four edges, putting one side at red = 0:
In Model Info → Units, I see that you have Enable length snapping ton and set to 1 mm.
This is enough to cause problems.
Uncheck that box.
SketchUp (SU) allows you to put geometries to the exact position that you want so you do not need that feature. Personally I never used it.
Imagine that you want to position an endpoint of an edge at 8.8 mm on the green axis, for example. The risk is that SU tries to snap the point to the nearest millimetre. With snapping enabled, it will snap it to 9 mm and, if the other endpoint of an edge, for example is at 8.4 mm it may end up at 8 mm. That is not good at all if you want that edge to be parallel to the green axis.
Okay, I mean, the other walls are not exactly the same length, so it’s natural this wall won’t follow the green axis. Is it possible to make the guide lines snap to the wall instead of the axis?
Thanks for your answer. I have to admit I’m not exactly sure what this means. I’m very new to Sketchup. I basically just drew the floor of the room with lines. Two parallell walls are not the same length, so the wall with the window issue is not following the green axis – sure. Then I used the offset tools to create the wall thickness, push/pull to create the height of the walls. And that’s it – not sure why it became “weird” or how I should solve it. I guess the guidelines are needed when I’m about to make a window on a wall to make sure I place it in the correct position, no?
Is there a better workflow to achieve the same thing rather than using the tape measure tool for everything?
If not, I suggest that you recreate this with the wlls parallel to the axis to avoid more problems in the future.
You can also move the problematic endpoints and/or edges so that they become parallel to the axis but this may prove to be more work that starting over and more error prone.
It is on purpose as the actual walls in my apartment (that this is a model of) are different lengths. I’d like to keep the model as accurate as possible to the actual measurements.
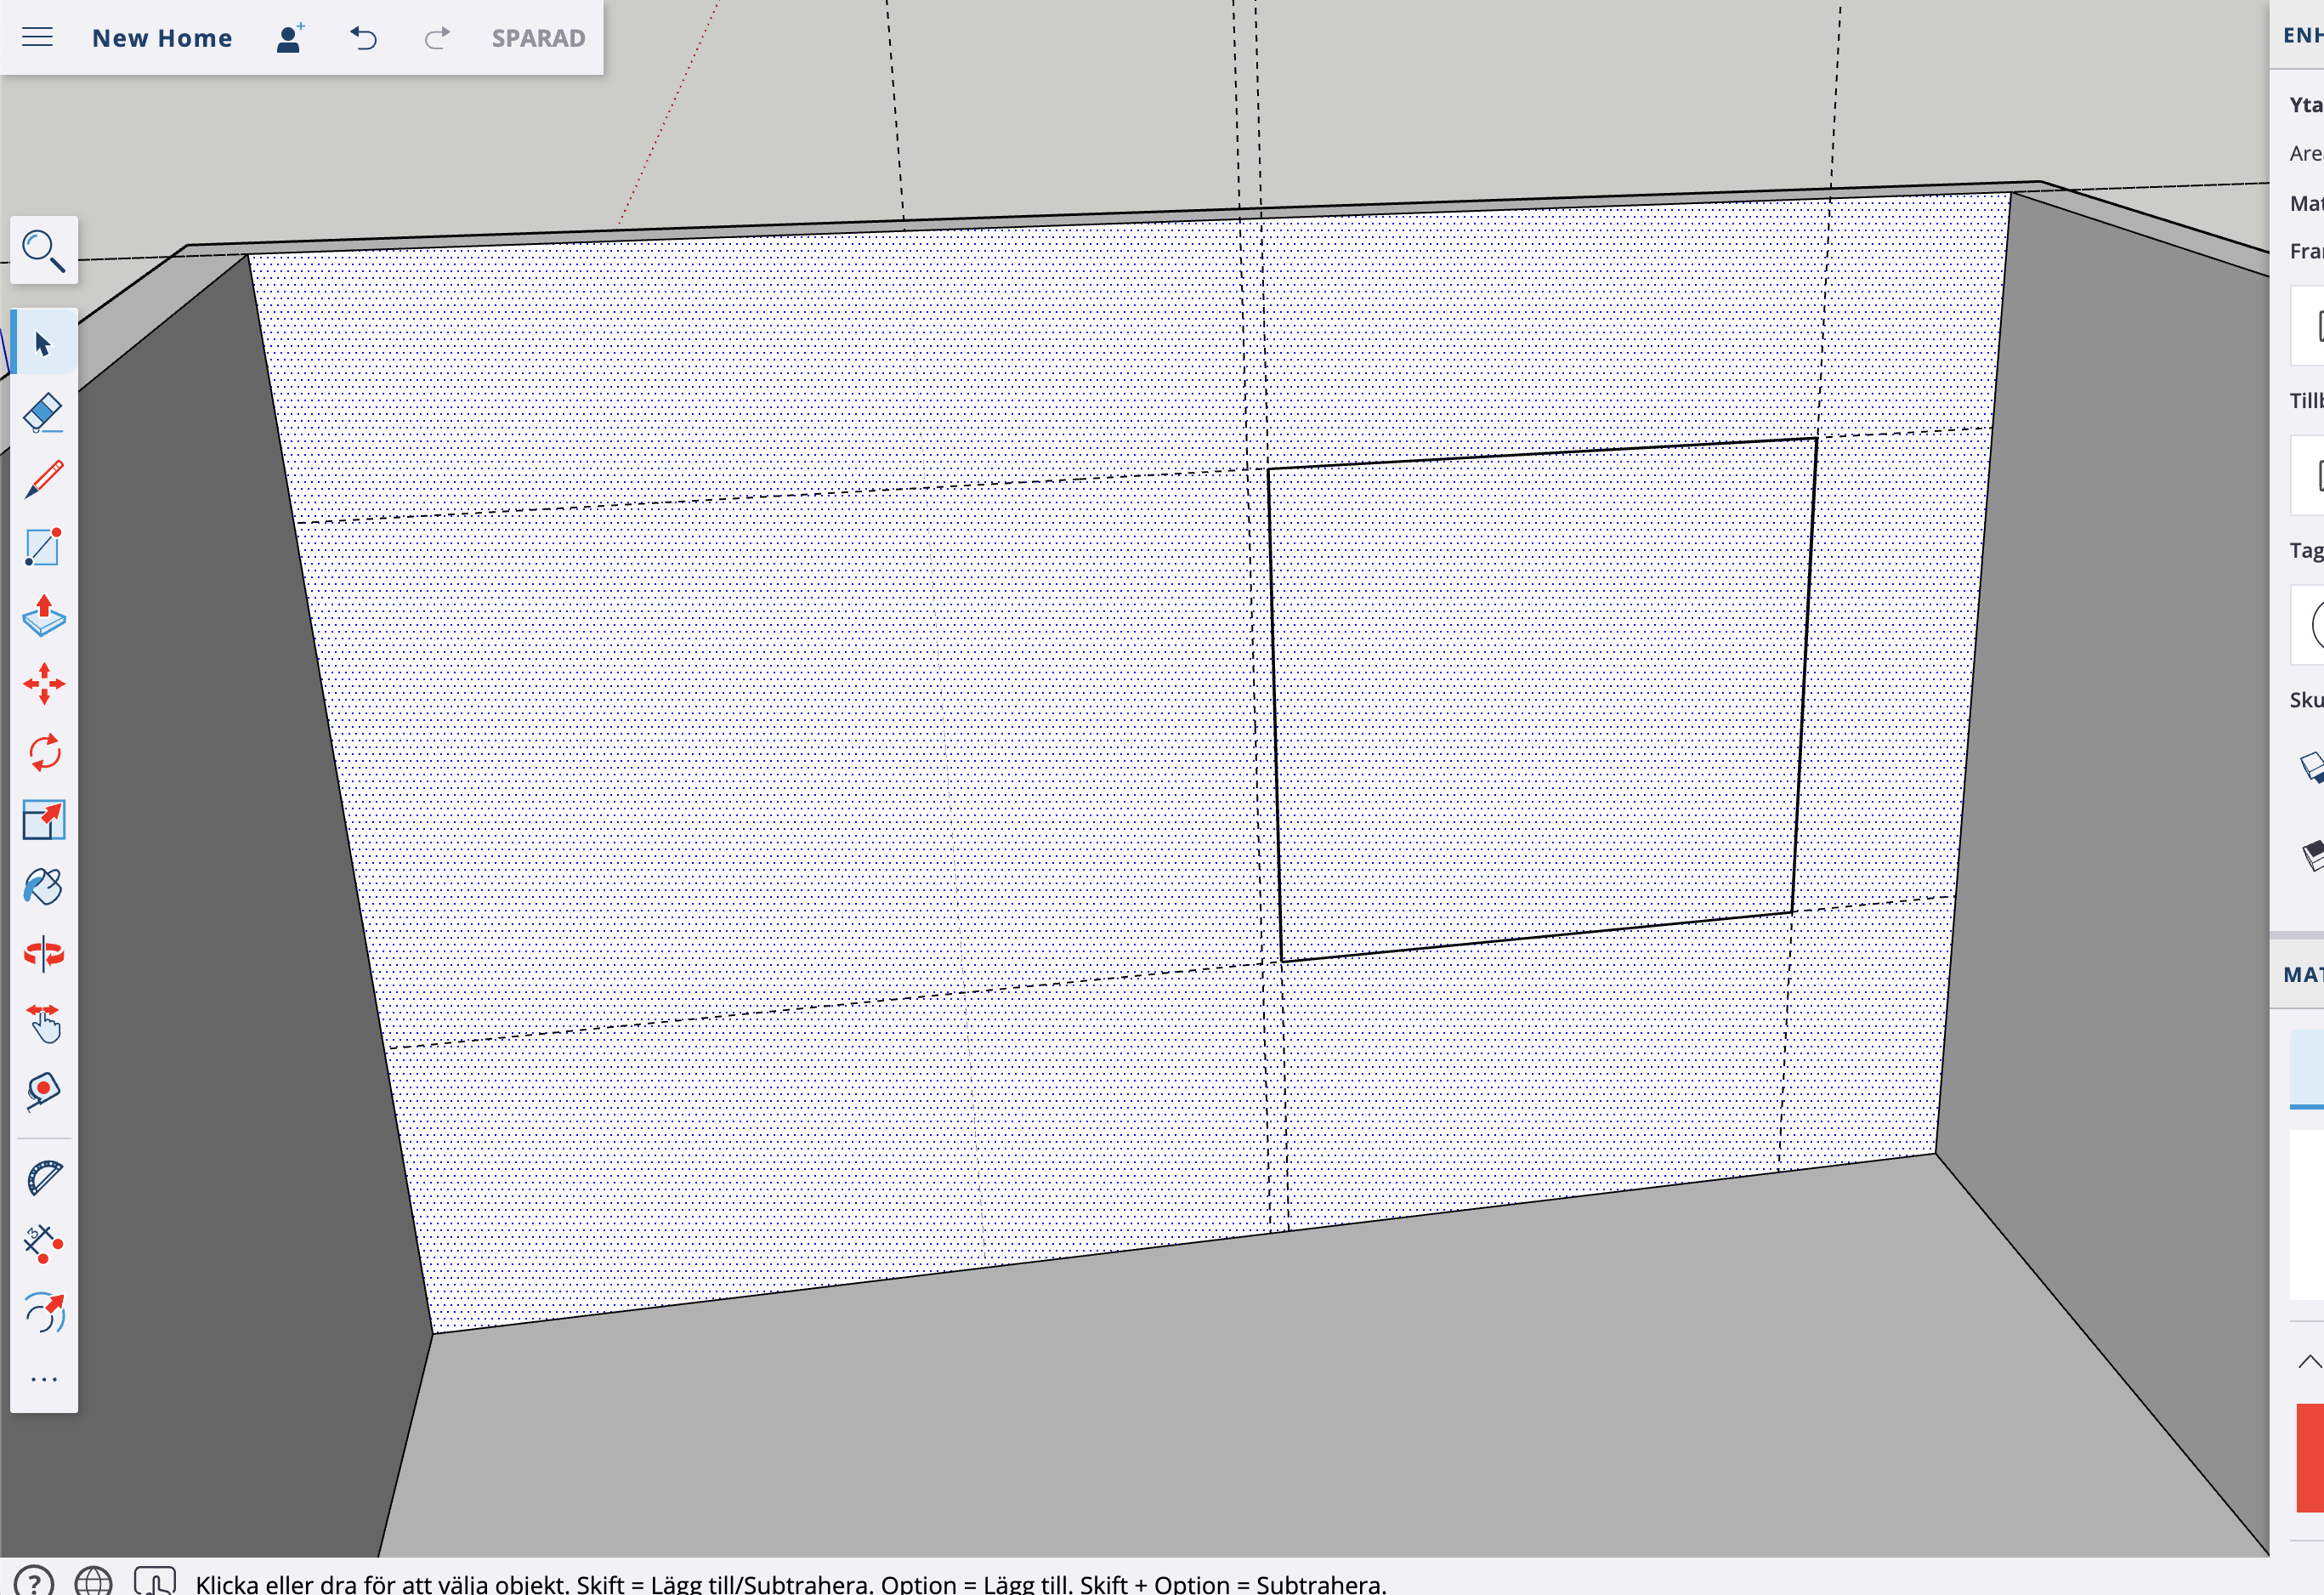
The source of your issue is that the rectangle is not drawn on the surface of the wall, so it does not cut the wall face. You can see this by the bold outline, which is what SketchUp calls a “profile”, meaning that the edge borders free space. The way to deal with non parallel stuff is draw off to the side a cube the height and width of the window, pushpull it to greater than the wall thickness, and make it a group. Erase that original rectangle so it doesn’t interfere with the next steps. Move and orient the group so that it protrudes through the wall at the desired place. Then select the faces of the wall, right-click and select intersect faces with model. Erase or move aside the group and then erase the sub-faces that were created on the wall. You will also need to draw the edges joining the corners of the two sides, as this method will not automatically create them.
You could benefit yourself by spending some time at The SketchUp Campus. This is a site that will provide the basics for learning the SketchUp modeling process. Also, spend some time at the SketchUp SketchUp YouTube site. It provides much information including how to use each tool.
As the others have pointed out, your wall is not exactly on a model axis and your guide lines are not exactly sitting on the surface of the wall.
However, using the model that you uploaded I made a Push/Pull window by doing the following:
Select the wall surface.
Start to draw the rectangle by single clicking on the corner of your guide and moving the mouse
(This begins to draw a rectangle on the red axis and the outline shows as red)
Tap the down arrow key
(This constrains the rectangle to the true plane of your wall and the outline shows as pink)
Click the mouse to finish drawing the rectangle
This creates the cut in the wall and you can see the section cut has a thin outline.
Use Push/Pull to push the window through
While using Push/Pull I orbited around to the other side and as soon as Push/Pull matched the other side the window was made.
It has caught me out a lot that sometimes guides are not on the surface I think they are and sometimes walls are not exactly on an axis.
It is probably the case that no room in real life is perfectly square. But it makes life easier in Sketchup to represent it as perfectly square and accept that there is a tiny margin of error between the model and reality. It also makes it much easier when adding in shelves, doors, furniture etc.
With the model you uploaded the difference in length between the two long walls of your room is 3mm which is way below anything to worry about when doing your building work. In fact measuring again will probably give you a different amount.
Of course, if the wall is at a definite angle that would have to be modelled that way but in that case it would be so obviously off-true that it wouldn’t cause this kind of confusion.