I am trying to create a spiraled, rectangular tube and keep running into “Invalid path” errors. I’ve tried every plugin I could find (Spiral Tool, Shape Tools, Helix Along Curve and Curve Maker) and creating the spiral manually as described in Aron’s video (SketchUp Skill Builder: Modeling a Spring - YouTube). Most all of these work fine with 8 or fewer turns, but I need 48 turns.
Attached is the spiral as generated by Helix Along Curve. As you can see, the Follow Me tool reports the path as invalid.
I’ve used the Thom Thom Edge Tools and it shows no gaps.
I’ve tried drawing an eight turn and then cloning it, but I’ve not been able to join the cloned section with the original one because they don’t perfectly align.
1000 segments appears to be the fail point.
Your inability to make one turn and repeat it is down to the way follow me works. The profile will always rotate to be perpendicular to the first and last segments of the curve. This stops the ends aligning as you would want.
Simple fix, rotate your spiral half a segment and cut on axis so you have one turn beginning and ending on the red axis( Easiest to cut and remove most of the spiral first). Create the profile centered on the path on the red axis. Run follow me. Select the result and move/copy up on the blue axis and they will align.
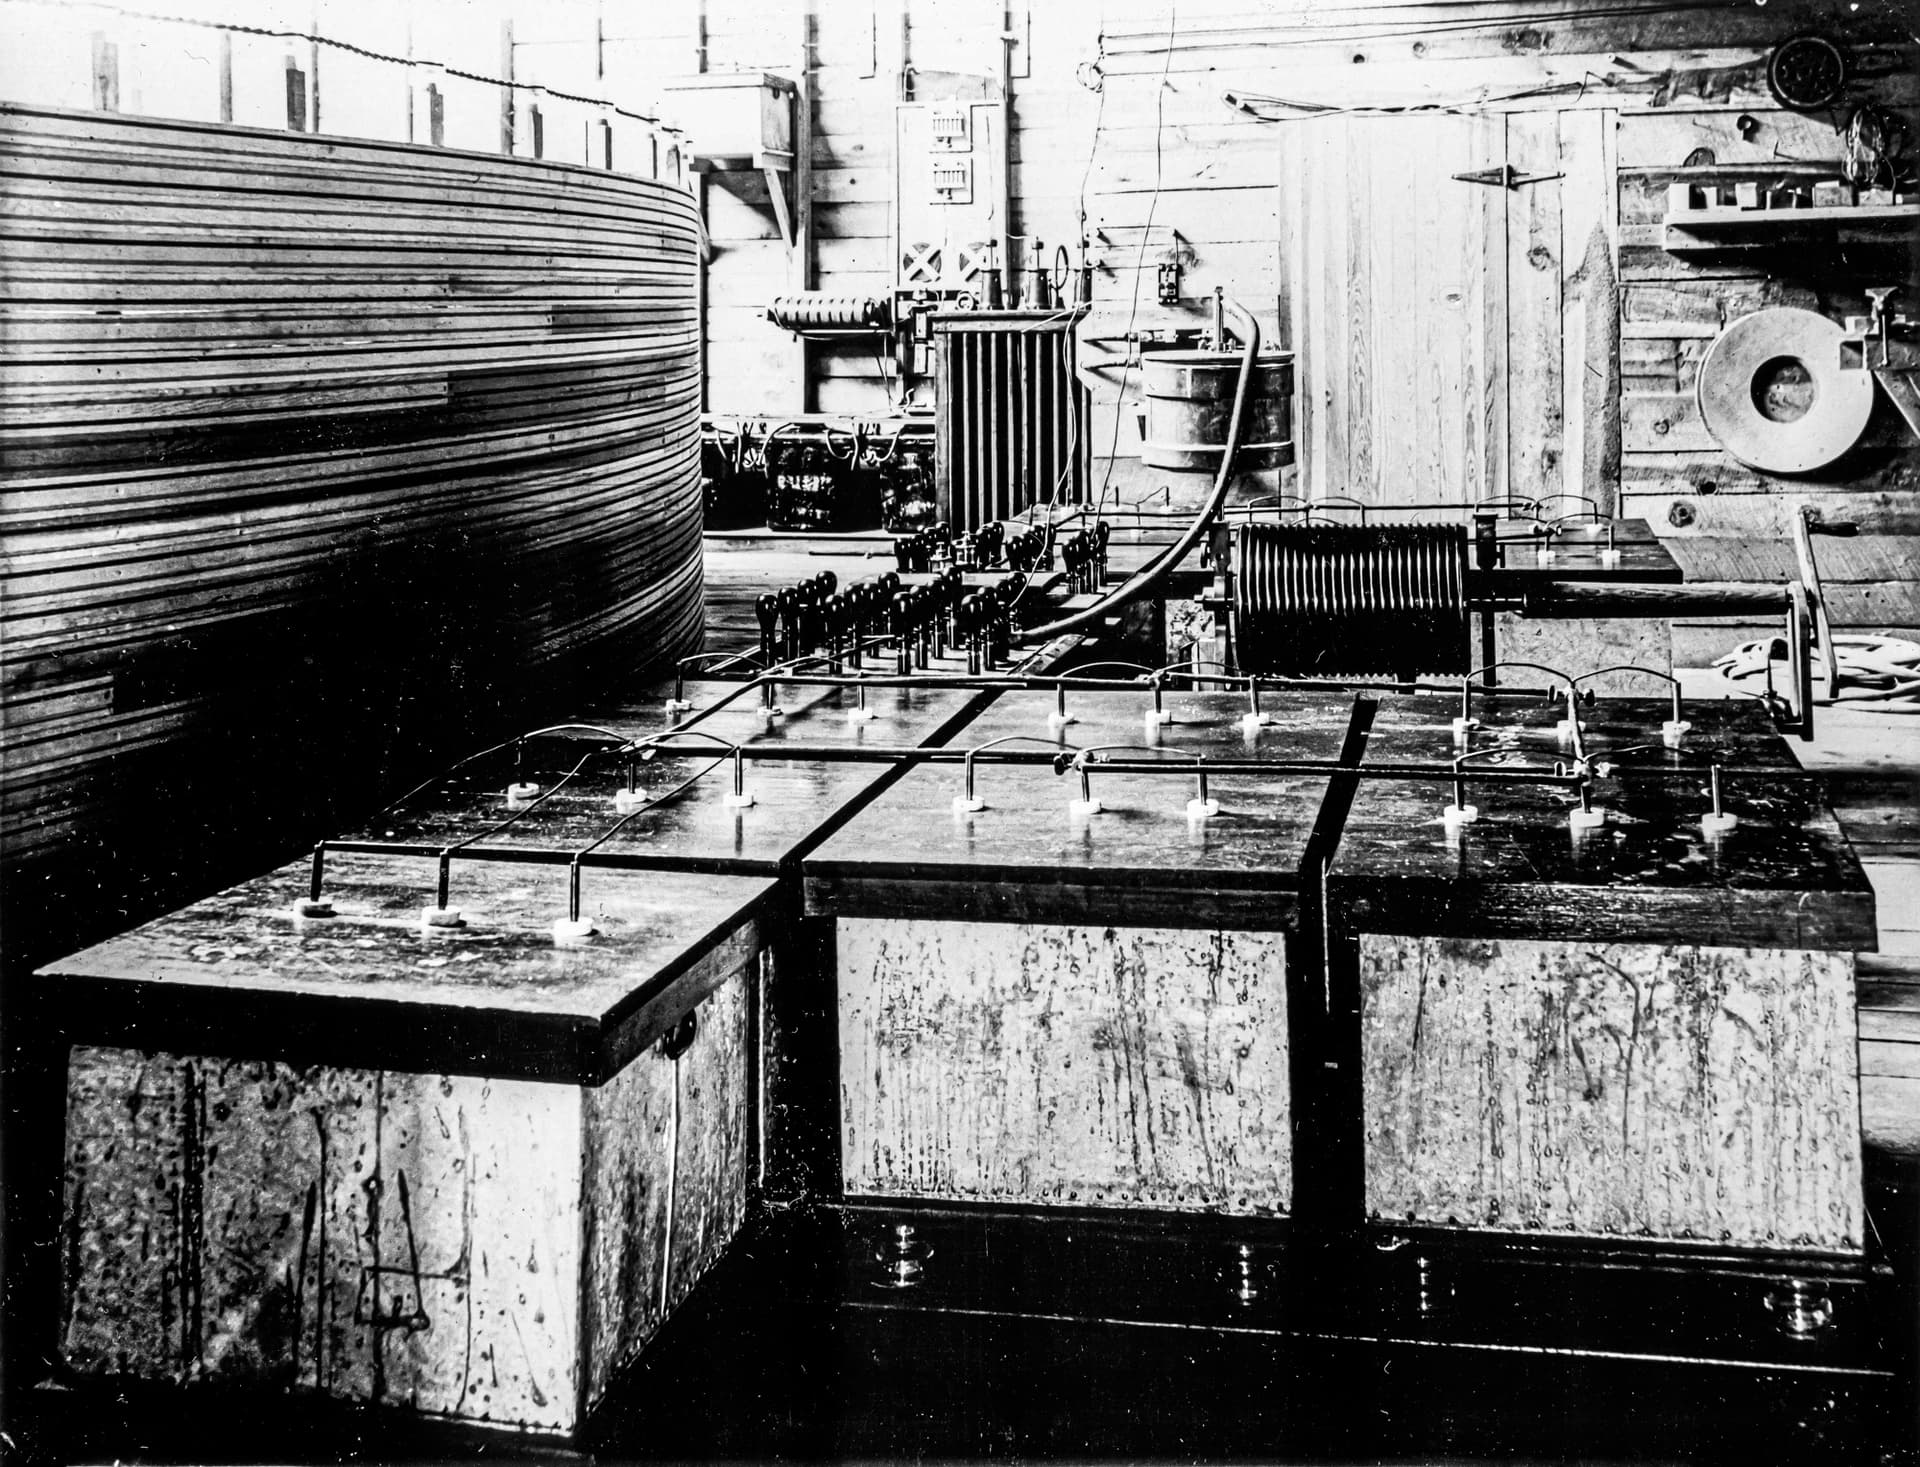
It’s Nikola Tesla’s Colorado Springs laboratory from 1899. This, specifically, is the primary/secondary form. Here’s a few photos and the diagram from Tesla’s notes:
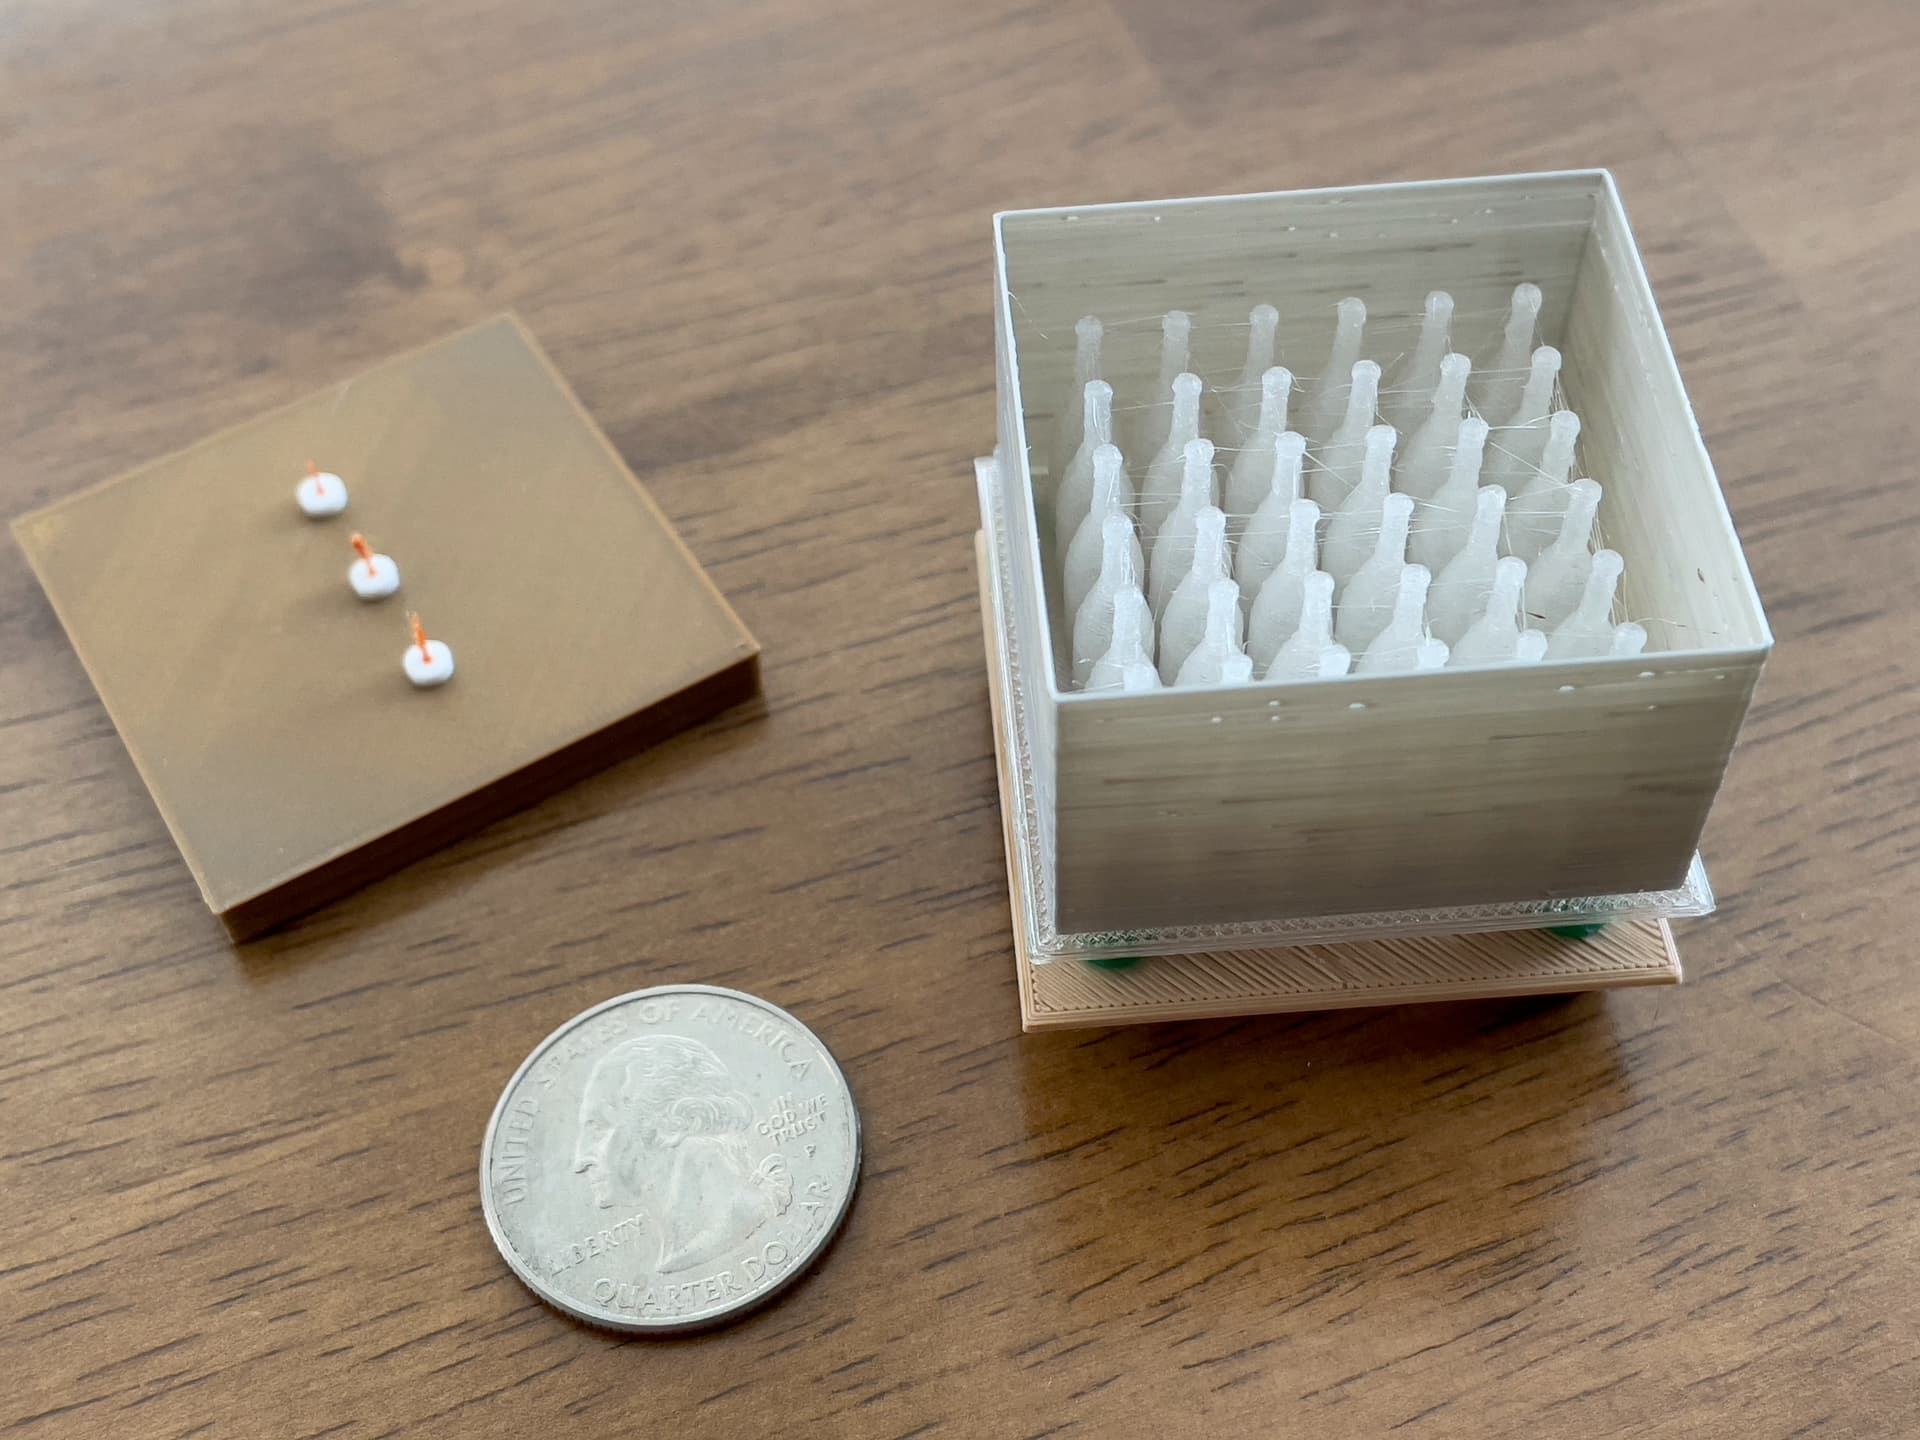
I’m building a model using a 3D printer and laser cutter. Here’s a first try at one of those capacitors in the photo above I printed this past weekend.
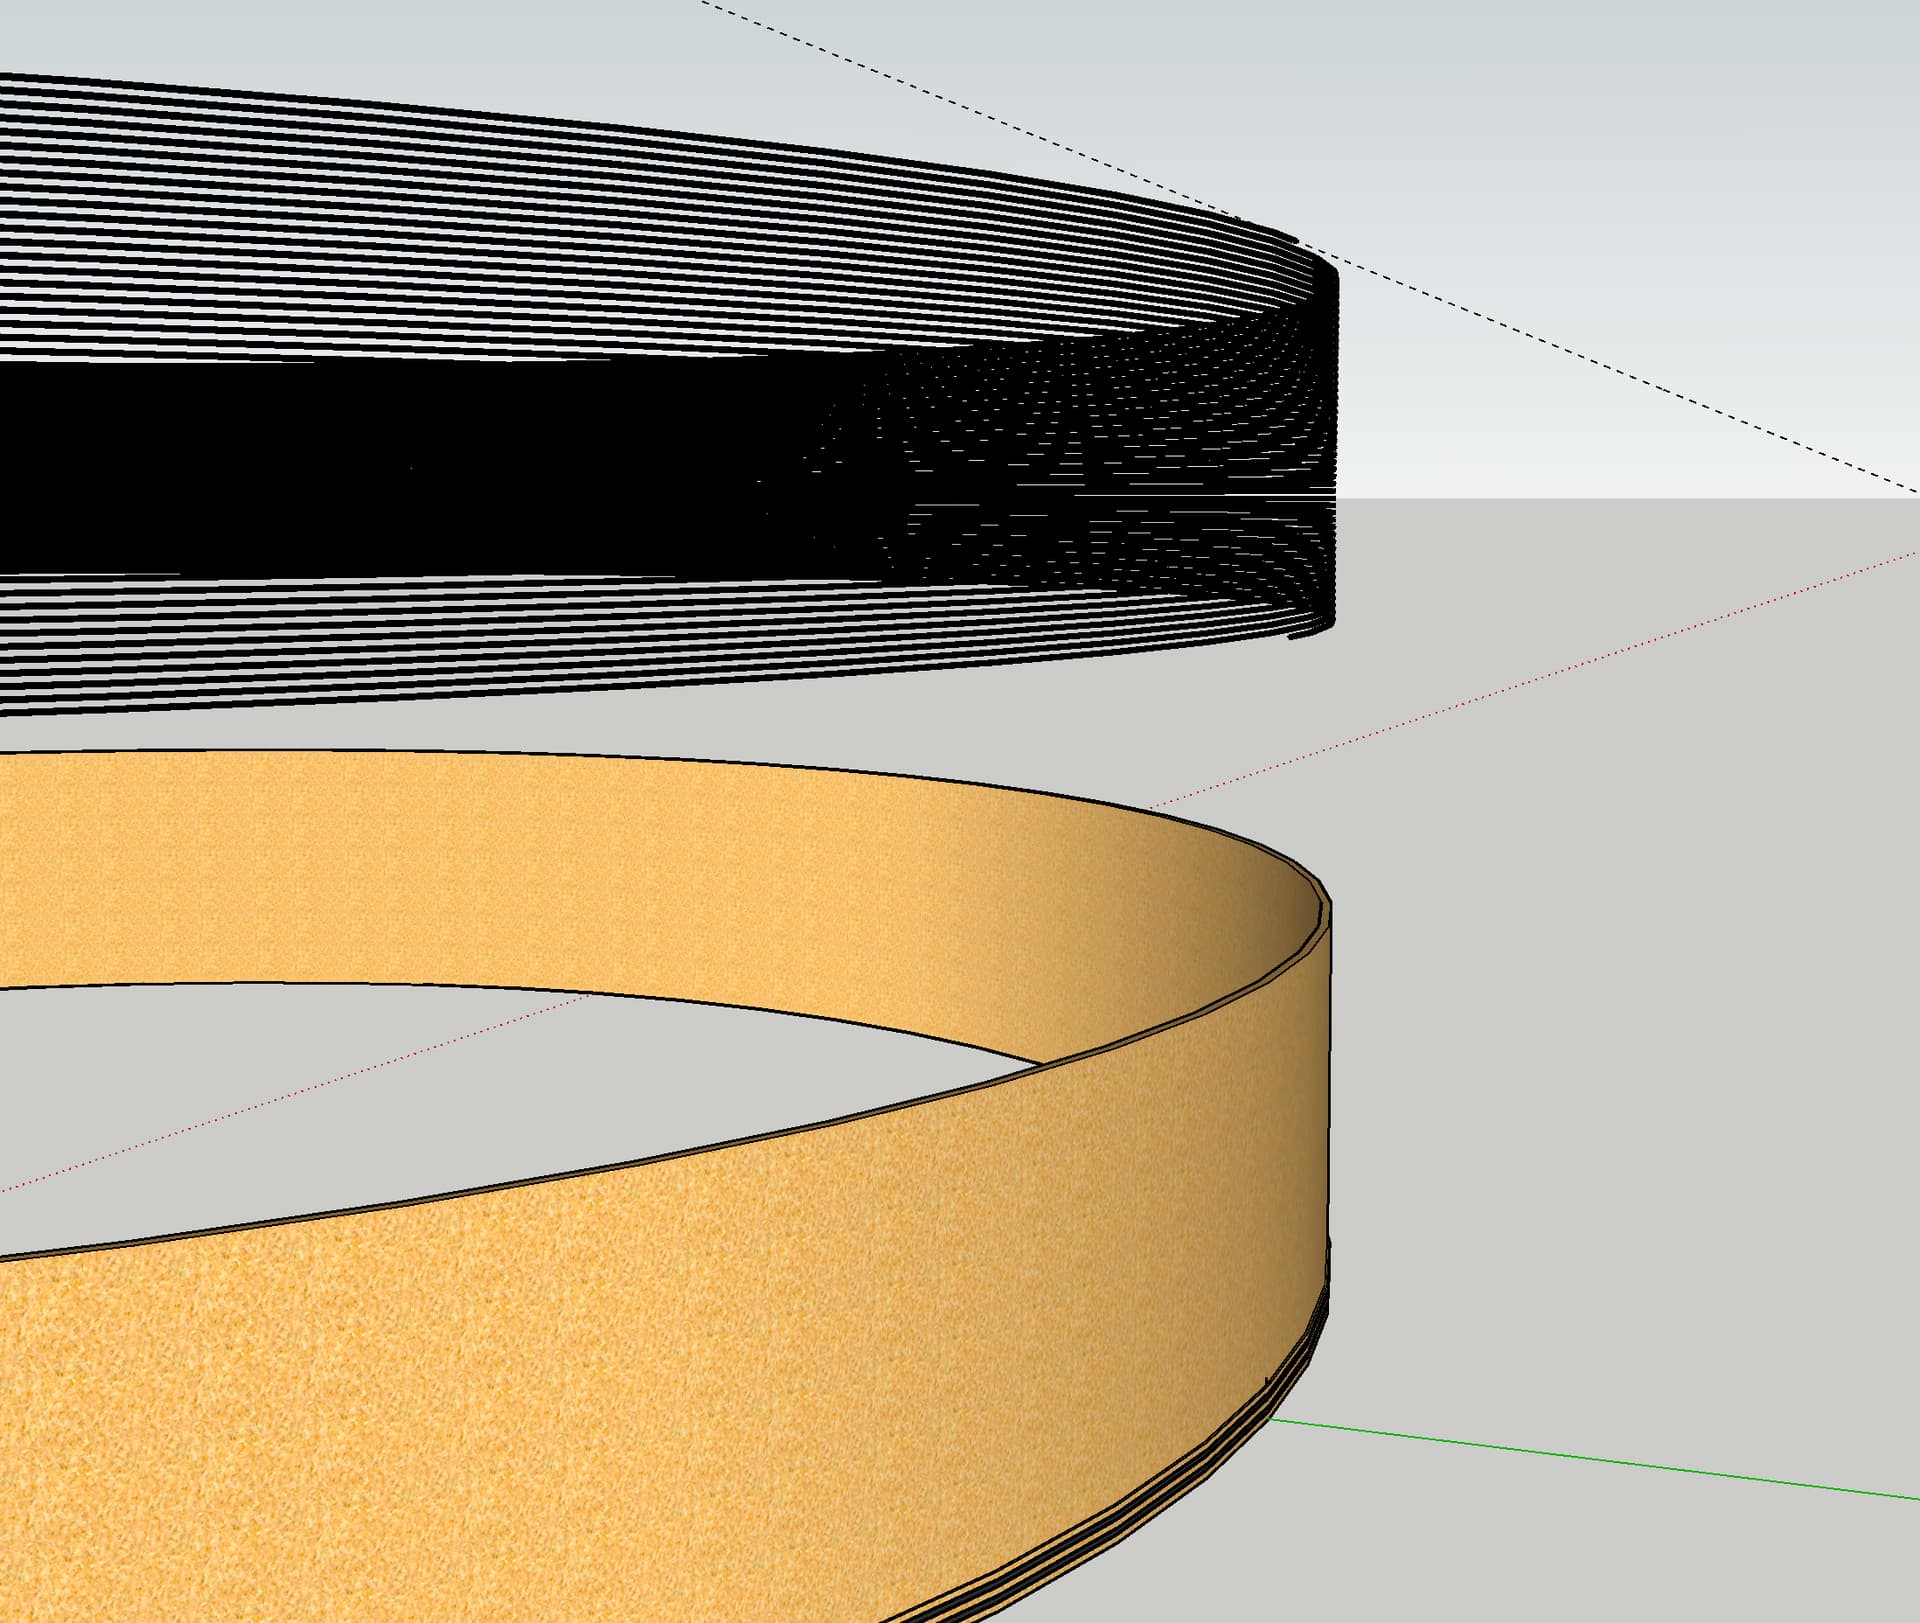
Since you kind of need the geometry, then, we need a different approach. As the .skp file you share is set up you have the profile radius more than half the pitch of the helix. Is that what you want?
Would you rather have grooves with rectangular cross section as Tesla’s drawing?
I made the groove by exploding the spiral inside the form and deleting the faces. Of course they didn’t perfectly align either as the measurement from the groove’s back to the face is in a 1/64th. So I dropped one turn over it as a group, then trimmed all 64 sides, top and bottom, raised it up and duplicated it 48 times. Cleaned up the faces, dropped it back down and exploded it. This was kinda brutal and the whole time I was doing it, I was thinking, “There has to be a better way!”, LOL.
Maybe for something like this you could consider using basically the process I use for model machine screw threads. There’s a video of the process here:
Watching, and nice work! Does this mean the Extruder tool you used doesn’t have the limitations of Follow Me and will make it all the way with the 48 turns of the form I’m making?
You might want to look at Truebend for this. You could set up all the wires etc and bend them in one go then stack them.
This is a simple trace of your profile, I then extrude it and lift one end so it is one step up. I coloured it so you can see it is a continuous structure. Then bend, stack and outershell.
Thanks for the replies, everyone… A turn created with Upright Extruder still has alignment issues mating with a cloned turn. But, unlike Follow Me, it can handle the large number of segments and makes it all the way with the needed 48 turns.
I’m not disappointed I went through this because I needed to learn how to make spirals anyway, but the more I study and consider this part, I have about convinced myself it’s actually not a spiral after all.
Tesla was in a time crunch - Winter was coming and he wanted to get back to New York. As electric saws weren’t available until the 1920s, devising an apparatus to make these grooves a spiral would have likely been more complicated than the coil itself.
After modeling this, I know this statement from his journal can’t be true with a spiral because at certain points on the form, the grooves intersect the seams in the planks up to three times. This statement also shows his interest in simplicity. Making this a spiral certainly wouldn’t be simple.
Following up on this… I spoke with Richard Hull, author of a book on this subject, and he insists that Tesla was a perfectionist with regard to winding and would have had a spiral. Richard believes the moldings were pre-cut with the two grooves and themselves, arranged in a spiral.
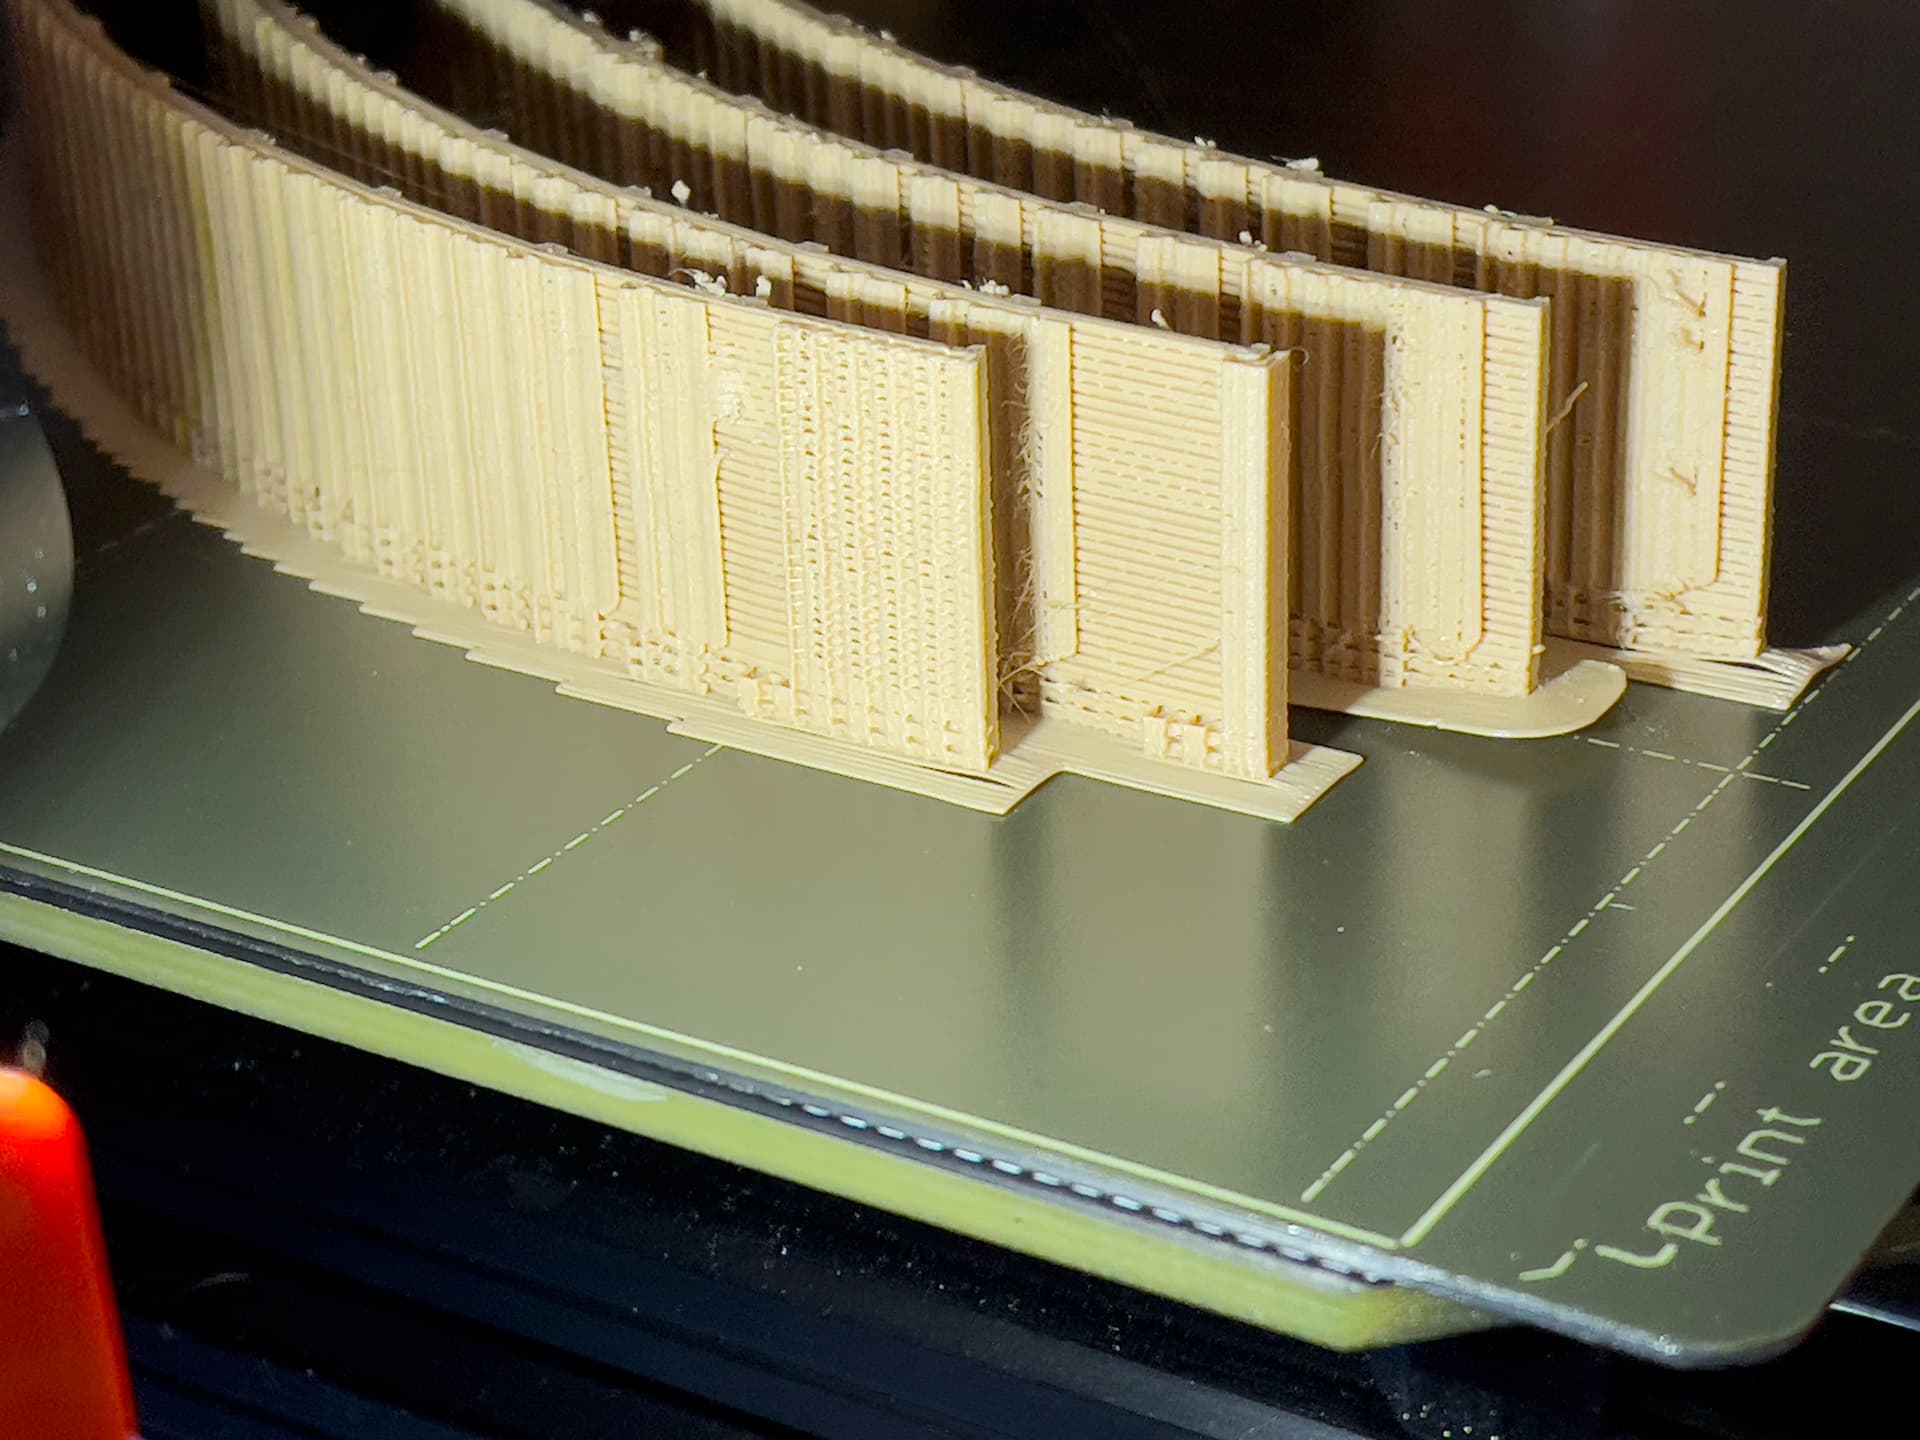
So, I went with it and it’s printing now. 24 hours left of a 68-hour print at 0.05mm.