Hello, I am trying to create a ‘flowing’ wall using wooden wall pieces that are about 3" wide and as long as necessary, with a 3/4" gap between them. The rolling and curving portion of the wall needs to be changing in size and such as it goes.
This is an image of sort of what I am trying to do:
See how the curves are flowing and rolling along the row of the wooden pieces? I need to do that somehow and am struggling to figure out the best tool.
So far I have tried to use the follow me tool to create a long section of wall that I can then turn into a 3D solid and use it to cut into the wooden pieces I’ve made, but it was hard to get the rolls to not be so uniform. I have also tried to make a template 3D wall that I then used other solids to cut a shape into, but as soon as I cut into it using the solid trim tool, it is no longer a 3D so it would not work.
Any ideas? I’m relatively new to Sketchup, more used to AutoCAD so this is new to me.
Thank you!
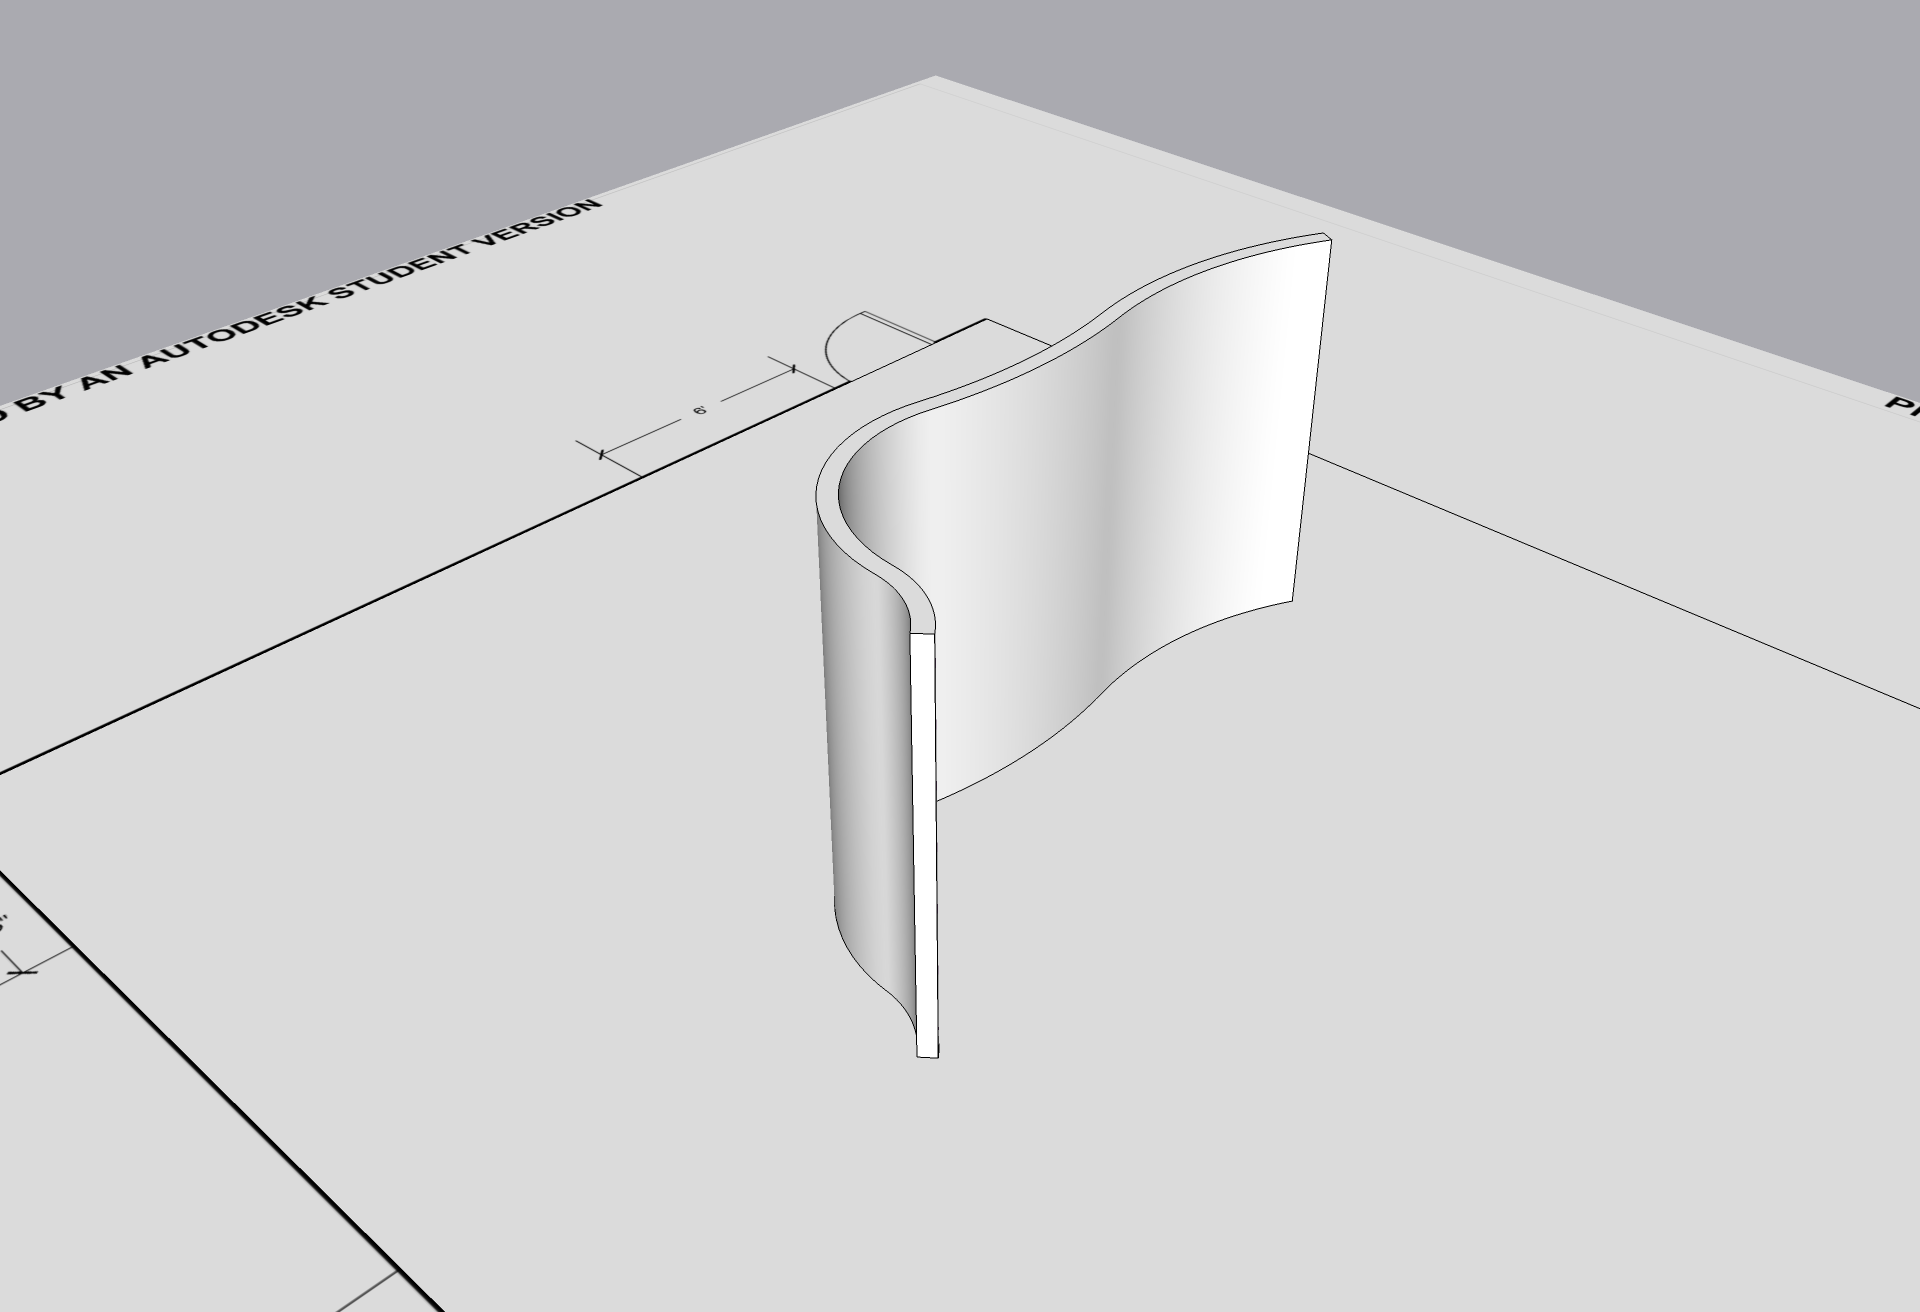
Edited to add: I tried to use arcs along the vertical side of the wooden pieces individually and then extrude them, which works, however then I cannot achieve the rolling curves easily unless I find a way to measure out the size of the arcs and slowly increase them? If there is a way to easily do that it is definitely an option, but open to anything.
If this is to become a production model, Slicer5 will give you right angled edges, instead of edges following the form which would not be appropriate for seating. In that case, manually slice the wall form with multiple solid sections arrayed along the whole wall (make sure the curved wall is a solid and delete the arrayed void slices using solid tools).
I tried Slicer5 which as previously mentioned gives right angle edges not ideal for seating (the reference image does show right angle edges though with little or no gaps).
Slicer5 does label every part, and include a flat version of each too.
To get the slices following the surface on the edges, I manually sliced the extrusion with an array of thin panels to be subtracted with solid tools - went fairly quick once I discovered smoothing needed to be turned off first.
Hi! First of all I just wanted to say thank you… I am honestly so shocked and impressed by how helpful you have been and I cannot thank you enough. I apologize for being MIA, I am a student and so this design is just one of way too many projects that I have on the go at the moment, haha.
I had sort of come up with a solution, using the extensions that you recommended, but I had not had luck with fully executing it yet. This method seems a little more promising.
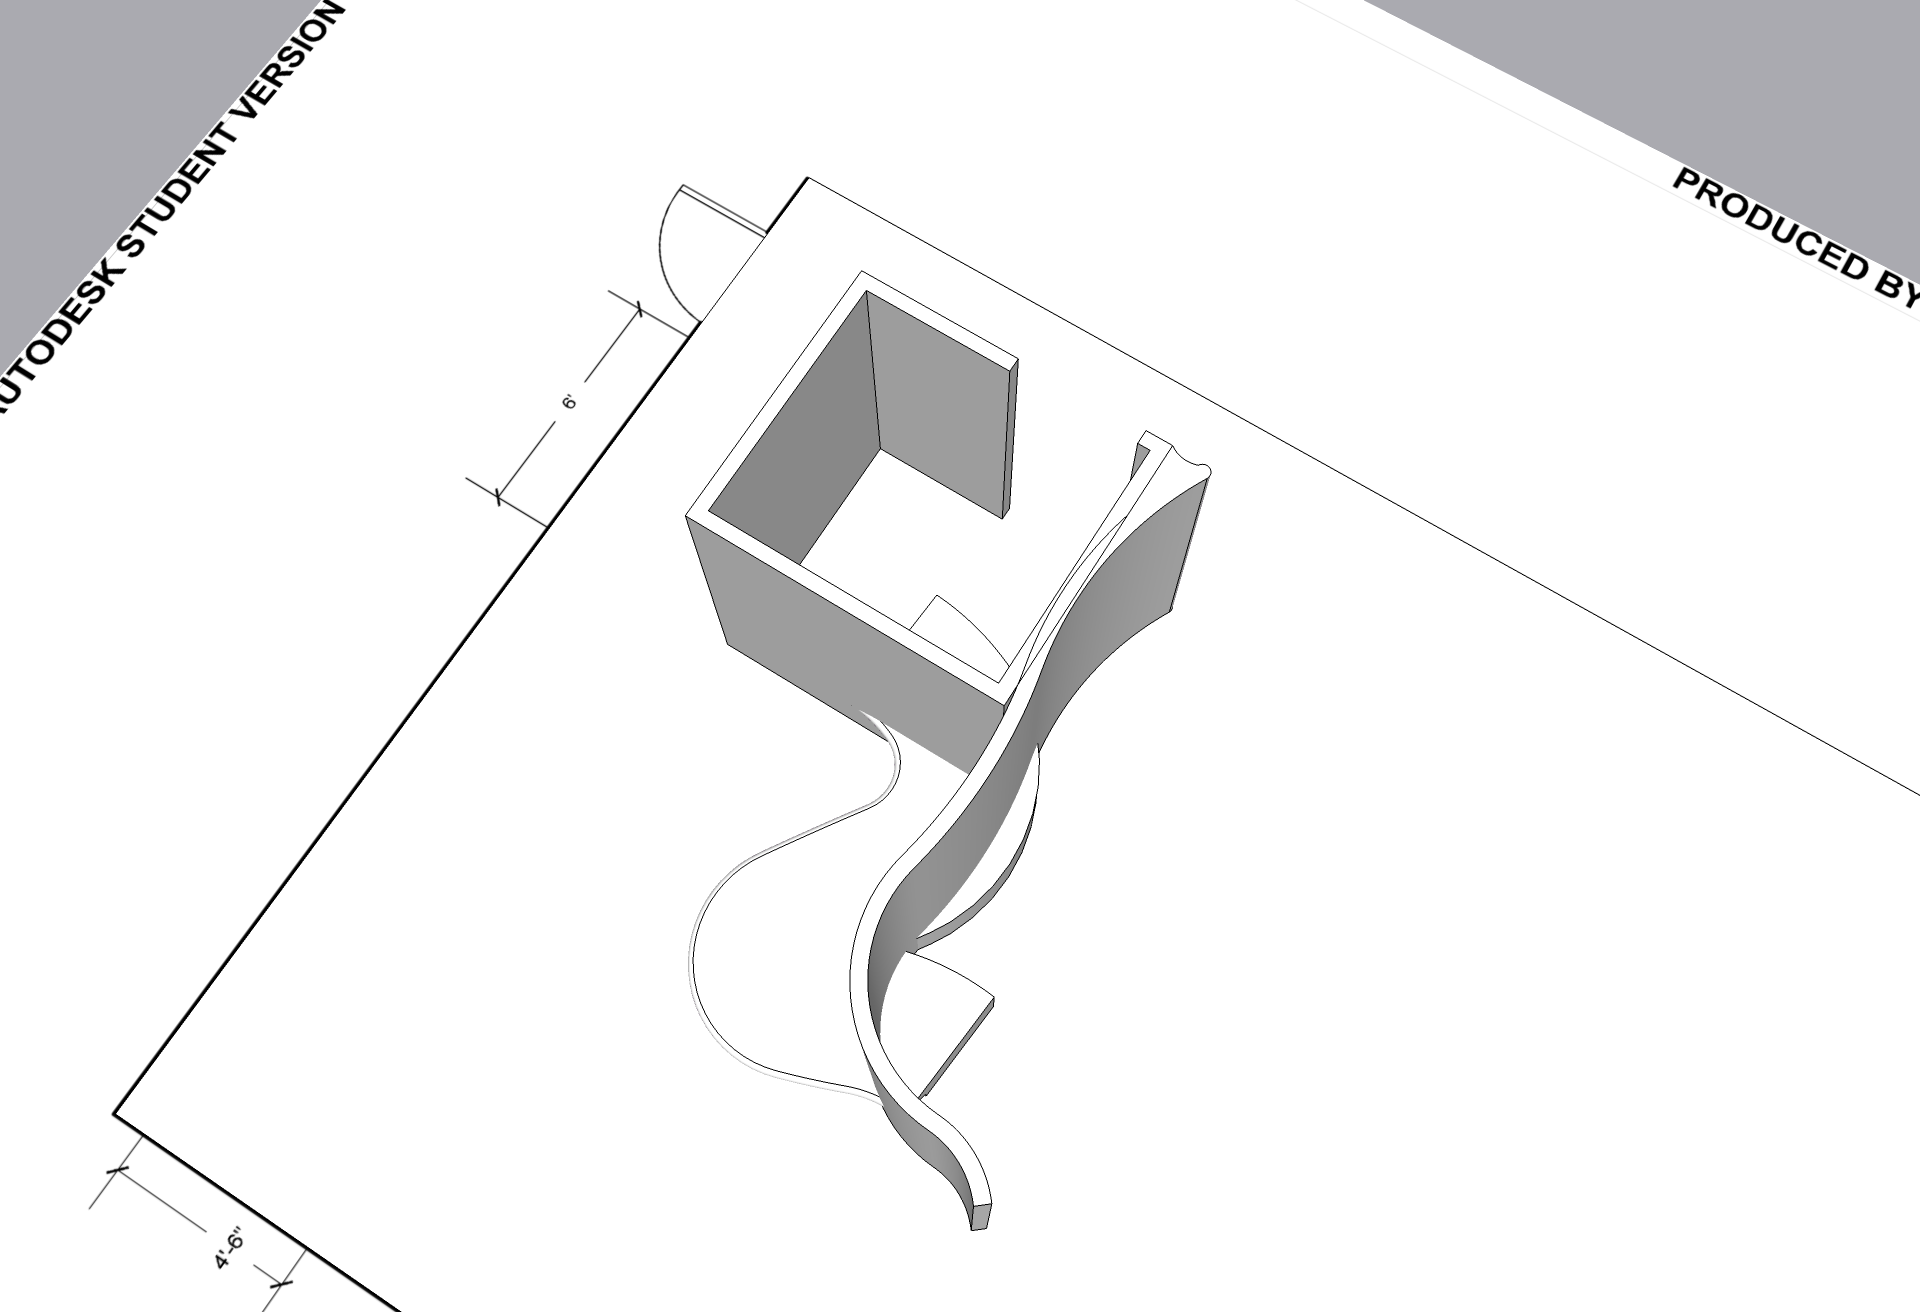
So here is my issue though, the wall is in a fitting room and then also in the main area of a retail store so one part of it does indeed have seating and the other parts are just a curvy wall with the rolling shapes cut into it. Outside of the fitting rooms, the wall curves around a couple of corners sort of so I am unsure how to get it around that, I am not good with the follow me tool yet, how do I use two paths at once (if that’s what you were referring to)?
Second, I like how in the reference image that I pulled, the curves that are cut into the wall are ‘flowing’ (sorry can’t come up with a better word for that), but just that they vary in size at a gentle rate and move up and down the wall. So achieving that detail with the follow me tool was what I had been struggling with. Maybe for the wall without seating, I make the wall a lot taller when I model it and have the path move vertically as well so that it shows movement, then I can slice the wall down to the right size? I’m a little lost on using the follow me tool to really accomplish that though or how to properly map a path for it to use.
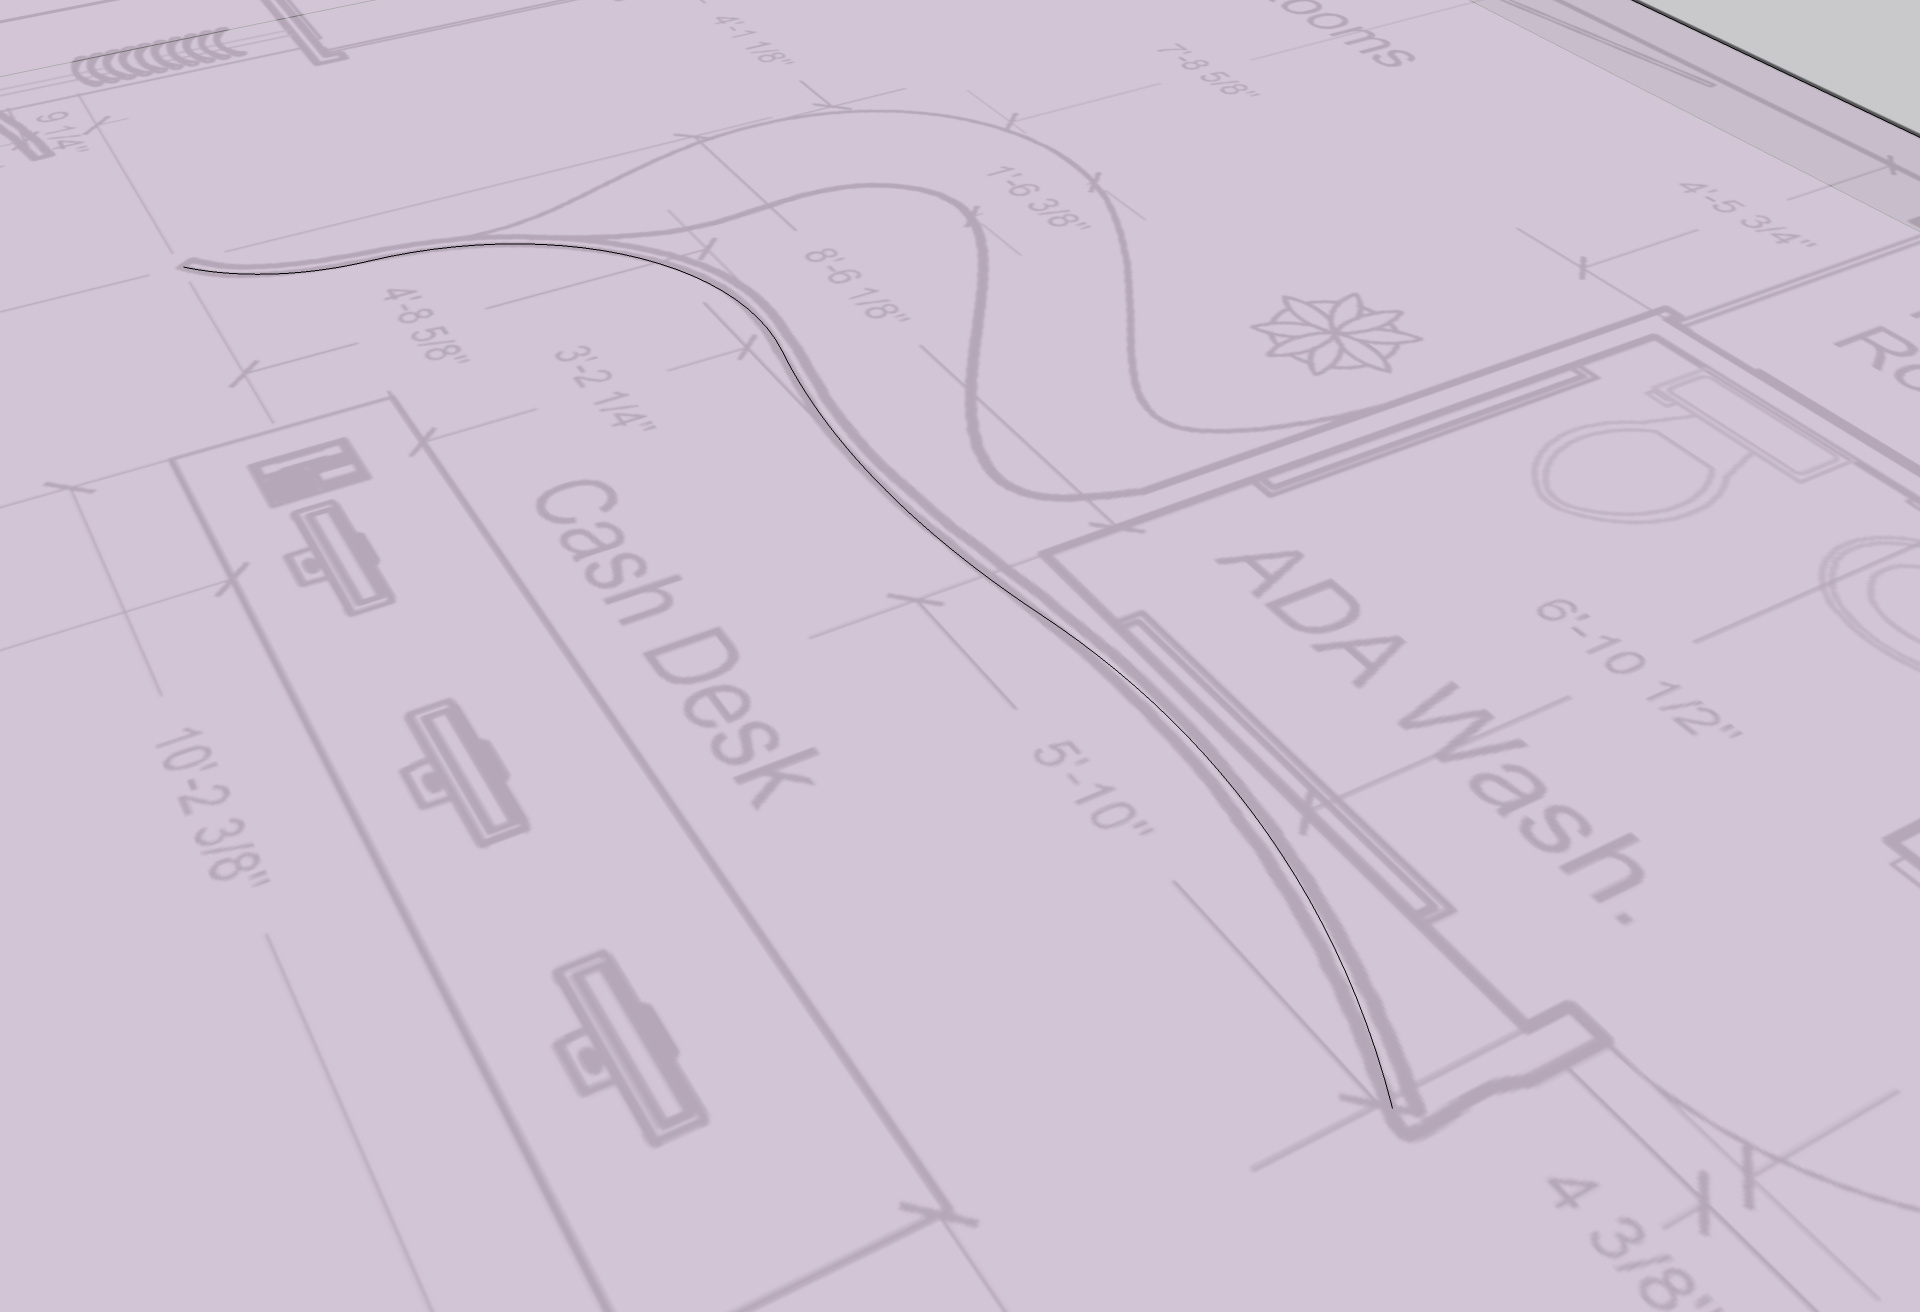
Excuse all of the dims in that file but that is the rough floorplan from AutoCAD and you can see near the fitting room how the wall curves around the outside.
If it helps, this is just for a school studio class so while it is important, it isn’t the end of the world as I am generally working far beyond the expectations… but this will just be rendered in Vray for submission – no worries with production models or anything We don’t actually need to submit renders at this point, and I’m honestly quite sure that none of my classmates have started using SketchUp yet… so not the end of the world. Personal interest and advancement more than anything.