I am new to SketchUp. I have tried drawing the area on the wall, whatever I do it keeps painting the entire wall. I have not grouped the walls. There is probably something very simple which I am missing…
I really appreciate any help I can get ![]()
I am new to SketchUp. I have tried drawing the area on the wall, whatever I do it keeps painting the entire wall. I have not grouped the walls. There is probably something very simple which I am missing…
I really appreciate any help I can get ![]()
In order to apply a material to only part of a wall or other large surface you need to first divide it into smaller sections. Use the Line tool to draw edges where you want the material to stop. You can tell that you’ve got the surface divided by trying to select just one region. If the whole surface is selected, you have a gap somewhere.

If you don’t want the edge to show after you’ve applied the materials, hide the edge by holding Shift while you wipe over it with the Eraser tool.
Thank you for your help, DaveR!
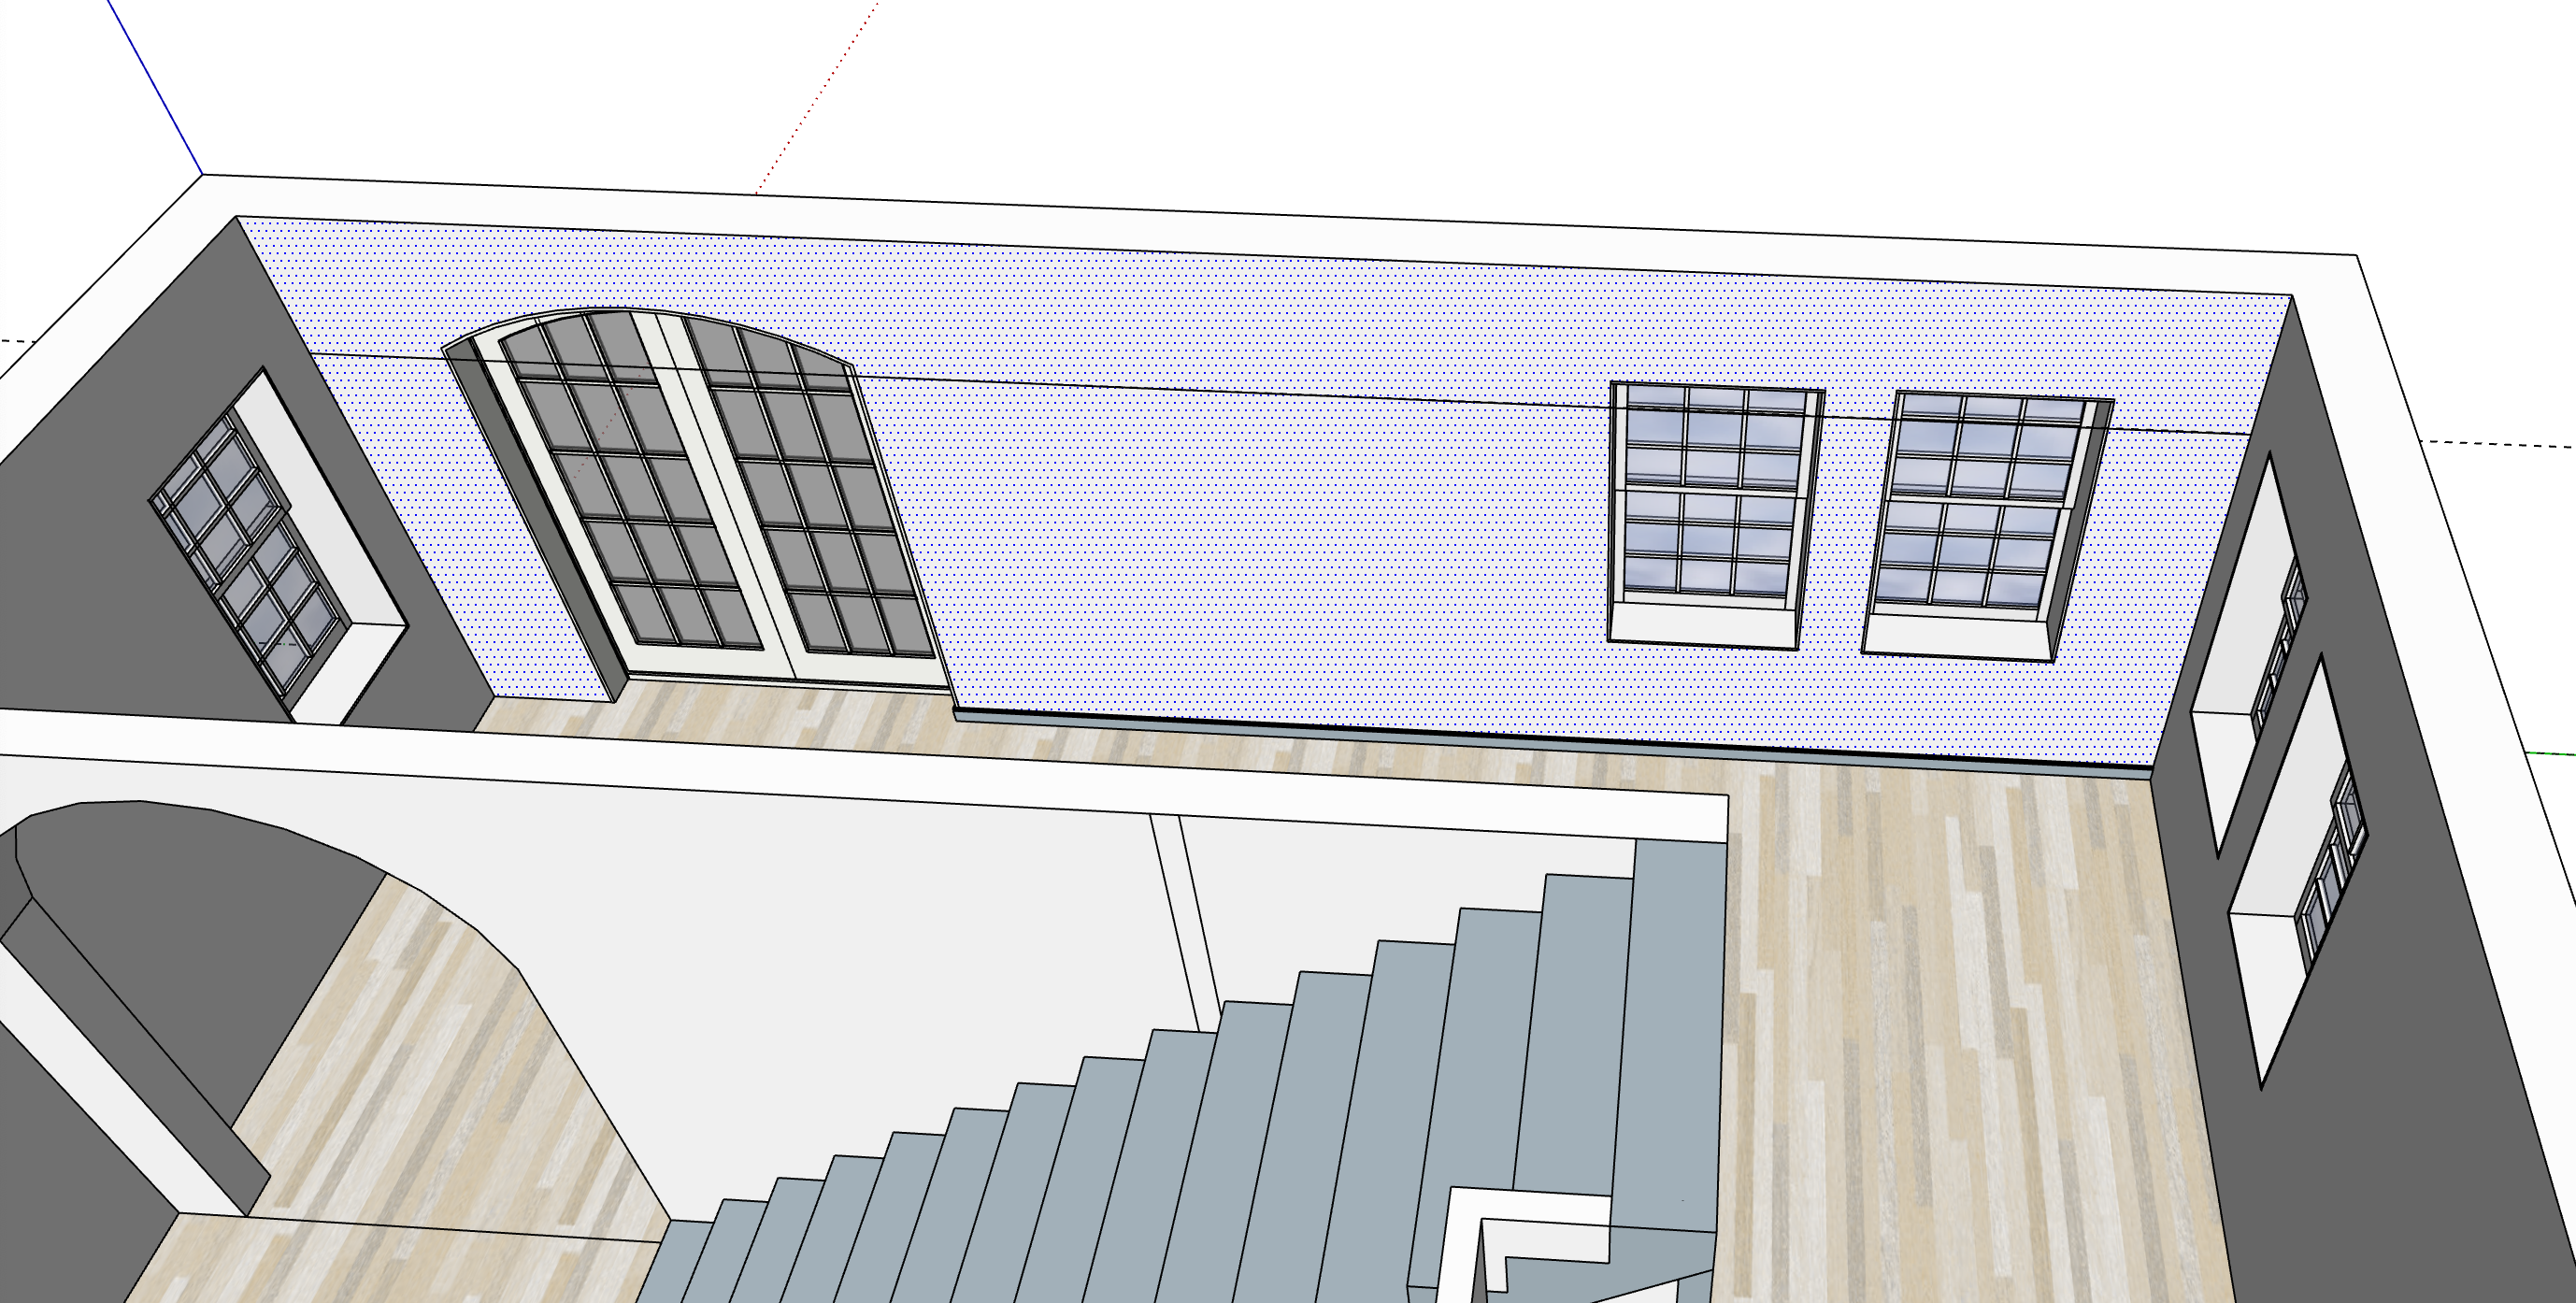
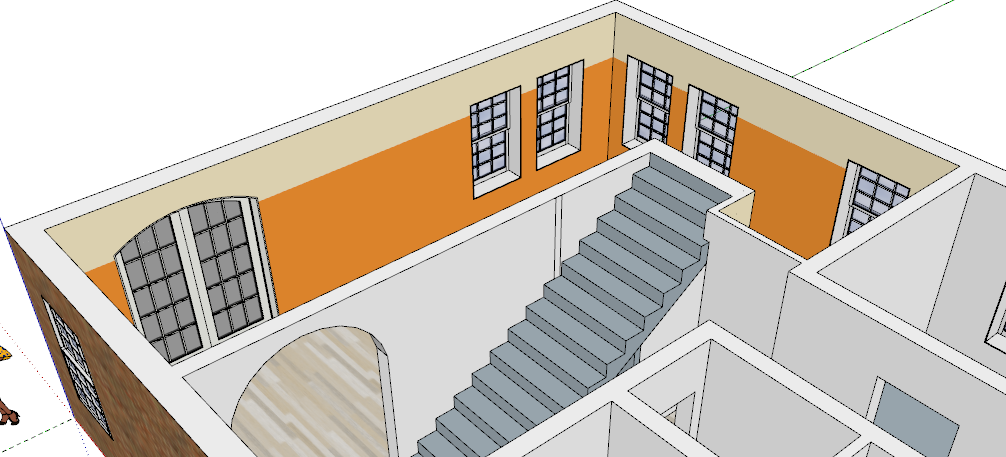
When I try this on a separate wall, this works indeed. But I can’t get it to work in my model (the line goes through several windows and a french door, see screenshot). I have checked for gaps, I don’t think there are any. I could make separate rectangles around the window, and fill those in, but that seems like a lot of unnecessary work…
Could it be anything else, or is there another way around it?
Thank you again, appreciate it!
I expect you aren’t getting the line actually on the wall. At least not at every point where it needs to be. Can you share the .skp file?
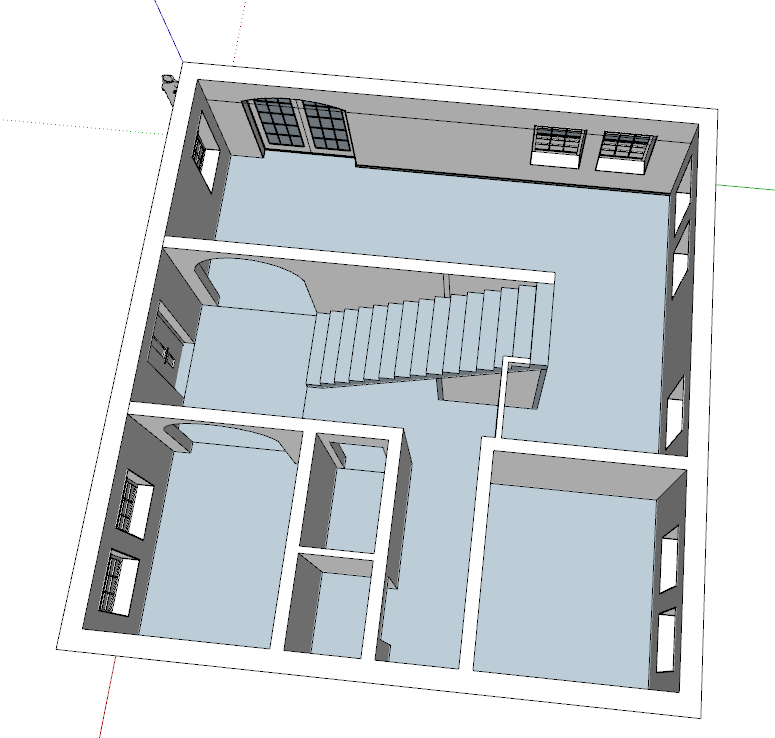
By the way, I see reversed faces on your stairs. Make sure you aren’t leaving exposed blue back faces as you are modeling.
Click in sequence on the Scenes tabs of this SU file for ideas.
Wall divided by a line…skp (98.2 KB)
Sure (9.4 MB)
About the stairs: I didn’t realise that that was actually the back face. I actually made these following an online tutorial - will it create problems down the road?
Your attachment didn’t attach.
It might do. Best practice is to always make sure you have only front faces exposed on 3D shapes. I would suggest delaying the addition of materials until late in the modeling process and only do it after you know that all geometry is correct.
Thank you, jean_lemire!
This works perfect on other walls, but for some reason not with this particular one.
@DaveR: Perhaps it has to do with the baseboard?
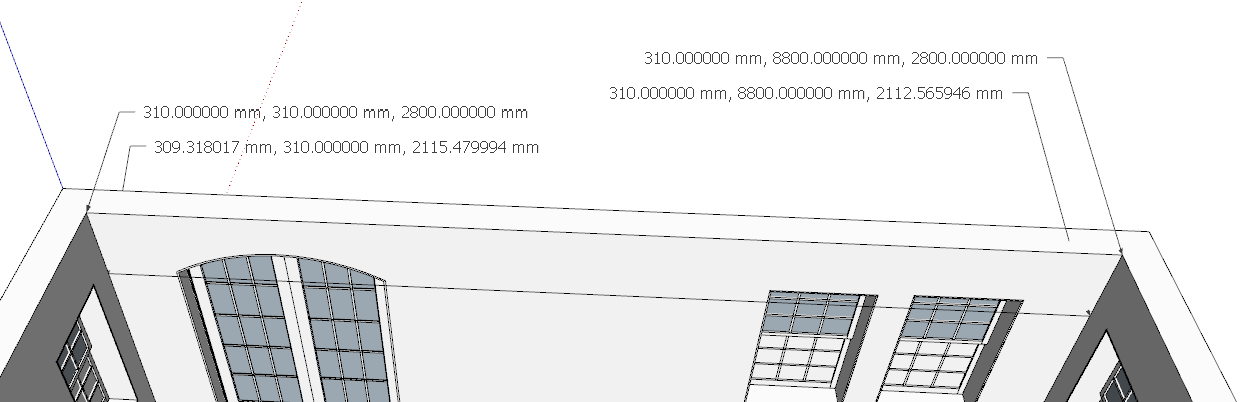
As I suggested, the line you’ve drawn isn’t on the face of the wall. The lower set of coordinates are the ones for the line. The upper ones are for the corners of the wall. On the left end the endpoint is behind the wall very slightly.
If you zoom in close to that corner you can see the line disappears.
As for the face orientation, your floors all need attention. As I said, best to wait on textures until later in the modeling process.
Redoing the line by copying the top edge straight down with Move/Copy.

That worked perfectly!
Thanks a lot, also for the advice on the faces ![]()
Good deal. FWIW, once you have your geometry cleaned up you could select multiple edges and copy them down in one go.
And again, after painting, hide the edges.
Floorplan version 1.skp (2.5 MB)
By the way, it wouldn’t hurt to purge unused stuff once in awhile. Notice the file size reduction.
You have been extremely helpful! A last question, for future reference: how have you reversed the stairs to correct facing?
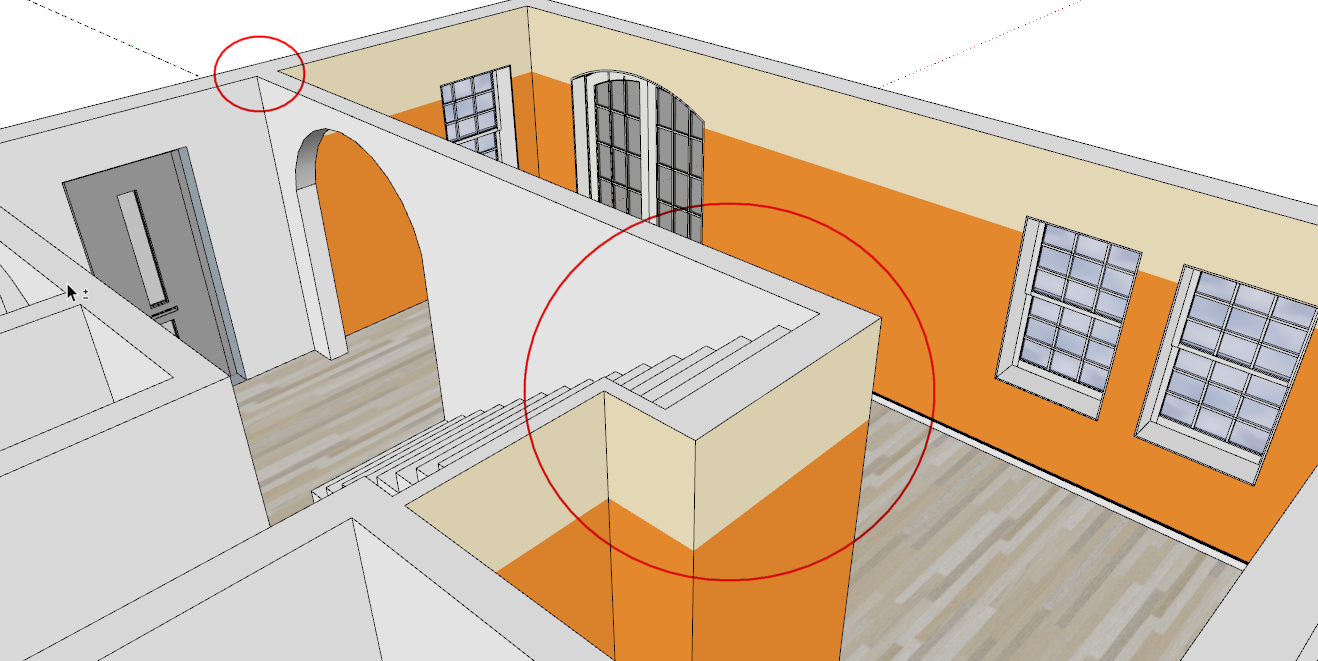
Glad to help. Regarding the face orientation, in your model I right clicked on one of the correctly oriented faces and select Orient Faces. That took care of the faces on the steps and walls. I also erased some of the unneeded edges in areas like in the red circles below.
That’s another housekeeping sort of thing that is good to deal with as you go along to avoid creating problems later.
I have learned a lot today ![]() thanks again!
thanks again!
here is another suggestion:
Thank you, MikeWayzovski!