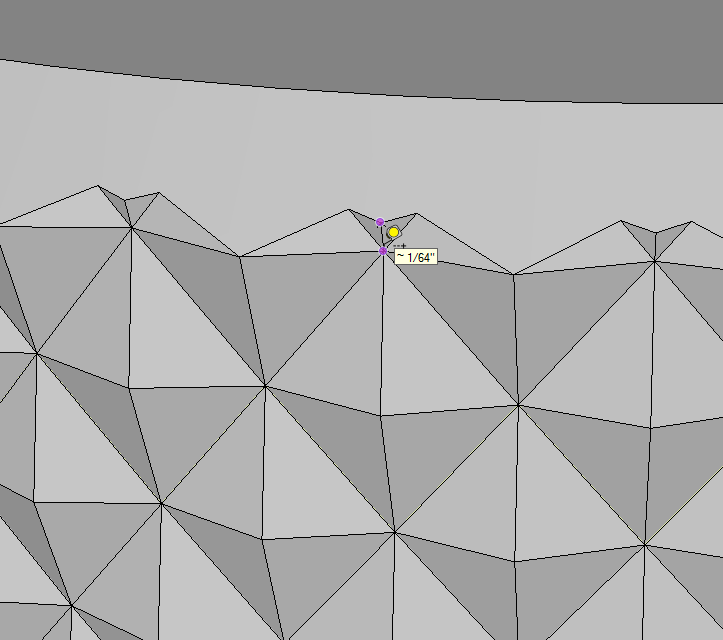
I want to trace a portion of the large sphere to be the inside face of the half cube to the left of the large sphere. I got the edges figured out, but am completely lost as to how I would match that inside surface. Any advice?
Duplicate the sphere, and intersect it and the cube, then erase the extra geometry:

Assuming you want to keep the sphere, too, select the surface of the sphere and copy it to the clipboard with Edit>Copy. Open the sphere’s group or component if it is one of those so you can get at the surface. Hide the sphere temporarily. Open the cube’s group/component wrapper and use edit>Paste in place to paste the copied surface. Then to make sure the surface is split where the cube and sphere meet, select all of the geometry and run Intersect Faces>with selection. Delete the unneeded surface outside the cube and correct the face orientation so front faces are out. close the cube’s wrapper and unhide the sphere.
having trouble getting that. what does the initial cube need to be like? hollow? solid? open face/closed face towards the sphere? hollow/solid sphere?
Usually you’d just start with the entire cube and intersect the sphere with it. this would create the edges you created manually by tracing the intersecting faces. After the intersection is created, you delete the part of the sphere outside the cube and the unneeded part of the cube. The curved surface remaining is part of the original sphere.
What @DaveR said…
Try scaling up but a factor of 10 or maybe 100 before doing the intersection.
just tried making it huge and intersecting, and it missed the same connecting lines in the exact same spots ![]() any other ideas?
any other ideas?
Can you share the SKP file?
here it is. Thanks a lot for the help ![]()
Please upload it here, instead.
in your gif, what’s the dialog that pops up and you cancel?
john
Cube design 1.skp (965.6 KB)
I was doing that in the car, and my computer tried to connect to the university wifi as I passed a building
Dave is right, it is too small. Drag the cube and sphere off to the side, scale them both up by 100, explode the cube (it is grouped) overlap, select all and intersect with selected.
I thought it may have been an interfering plugin…
john
I converted the cube to a component which allowed me to work on a scaled up copy without having to worry about scaling back down. I scaled up by a factor of 1000 for this although it should work at 100.
I cut the sphere to the clipboard, opened the component for editing, pasted the sphere in place and then moved it into position. After Intersecting the geometry, I deleted the waste, closed the component to get out of edit mode and deleted the giant one. Zoom Extents to return to the original.
Normally I would use Zoom Extents after scaling up but I wanted you to see that the original was still where I left it.
For what it’s worth, I use this process of scaling up a copy of a component and deleting the giant version quite often. For example, the knurling on these knobs was drawn while I had a copy scaled up.
I have some simple solution dont have to enlarge to 1000 and then intersect. Just with solidsolver u can make it. Make the sphere and cube solid with solidsolver. and then subtract the sphere with cube and smooth edge
Yes, @atek, but your method requires the pro version which Mr. Stephensen doesn’t have.


