Very cool! Love the thought process.
3 Likes
5 Likes
Lol, I have been toying a little bit with him too recently, though not near as drastically.
Minimized (not my gallery)

Did you just cut his arms off and draw new ones?
1 Like
Yes @LinearGraphs - I re-drew and grouped his arms and head separately so they can be copied, adjusted, hidden or shown and saved to a scene. I may do a ‘Skill Builder’ soon showing the process as there are some interesting tips or lessons I learned from the process ![]()
3 Likes
So I was trying to make a ball of light with beams shooting out from it…so I used Skatter to distribute V-Ray spot lights…but they were facing inward to the sphere to I scaled/inverted them to point out…But I made a change to the Skatter setup, regenerating the spots lights…thus flipping the lights back around to pointing inward. After shooting off a test render I thought the result of the lights facing each other with Environmental Fog turned on…resulted in a pretty cool blob-like shape.


10 Likes
Mildly threatening. Probably poisonous. ![]()
2 Likes
The bouba-kiki effect at play.
1 Like
So yesterday as I wound down my work day, I finally attempted to create my own ‘stylized’ model using @indie3d’s method he shared here (#creditwhereitsdue) - SketchUp Quad Modeling Gallery by Rafael Rivera

I took it one step further by making the head a ‘FaceMe’ component so that when I orbit around, the ‘duck’ looks like it follows me. Fun process that I hope to actually use in a project or animation someday.
Here’s the geometry that’s being hidden just for fun/reference:

8 Likes
The duck is very cute and I like the effect of the outline. There are a lot of possibilities for expanding this outline method. For example, I have seen a png textured image used to simulate pencil texture.
You can see many 3d artists using 3d geometry to create an outline effect if you browse the SketchFab website. Anyways, thanks for sharing your work and for mentioning me!
1 Like
It’s been awhile since I’ve posted anything. It’s also been awhile since I rendered anything in V-Ray. I miss V-Ray. Love it and like everything in life, need to carve out time to go deeper into the many nuanced settings and tools.
The opposite of advanced settings is to see how fast I can get a cool or compelling looking image straight from a blank file.
In about 10 mins, I made this shot:

Here’s all I did…Looks complicated but really minimal setup…
Model:
- Downloaded and added woman from Cosmos
- Added Dome Light from Lights Toolbar
- Downloaded HDRI Sunset from Cosmos and pasted into Dome Light to replace the default HDRI
- Added Infinite Plane via Objects Toolbar
- Downloaded Waves material from Cosmos and applied to Infinite Plane
- Added Sphere light via Lights Toolbar - set to ‘Invisible’ and to not show in water reflection
Render Settings:
- Set camera to Portrait
- Added Vignette effect within camera settings
- Added Light Mix render channel (to allow for light adjustments post-render)
Frame Buffer Settings:
- Added ‘Fimic Tonemap’ correction layer
- Enabled ‘Lens Effects’ for camera glare/softness
- Changed the Sphere light color and intensity in the Light Mix layer

3 Likes
Perhaps because it’s Feb and I’m listening to my 80’s Synthwave mix on repeat…thought I’d put together a super quick retro-wave-inspired beach scene:

Simple setup…beach sand+Infinite plane with Waves material applied+sunset HDRI+cosmos palm and person.

Played around with frame buffer corrections: pushed contrast up, added vignette, used proportion guide for horizon alignment, pushed up lens effects - especially chromatic aberration.

Exported Sandbox fm scratch grid for overlay and played with fonts and color in Photoshop.

4 Likes
This is like Tron meets Night Rider meets Miami Vice. In other words: near perfection!
1 Like
Thanks. Ok one more quick one. Who needs MidJourney when we can do all kinds of cool stuff right here inside of SU+V-Ray.


5 Likes
it’s GTA6, or at least GTA6 when it’s released in another 10 years ![]()
2 Likes

Good design doesn’t happen overnight. But in the long run, it’s worth it!

2 Likes
Finally got around to testing the new Gaussian Splat feature inside of V-Ray 7. And I guess I can say it works! So that’s a good start. I scanned my dining room table using the free Scaniverse App for iOS…took about 2 mins. Not a perfect scan and didn’t enhance it. I think some of the reflections were captured as transparent which only shows up in certain angles so something to keep in mind.
Exported as .PLY to computer. Imported the .PLY as a V-Ray Proxy object. Added a new Gaussian Splat Geometry in the Asset Editor. And pathed to the same .PLY file. And Bam! Shows up in the render.


Will try an exterior scene or even something bigger. It would be cool to capture an entire streetscape and place a new design within it to see the context. Currently I would photo-match still angle and export scene for compositing in Post. This could change that process entirely. Stay tuned!
6 Likes
Polycam has a gallery where people upload their models. You can find some exterior model there made with Gaussian Splat.
1 Like
When i see stuff like this, it makes me feel like im still a novice. Nice work.
1 Like
Lunch break Render. Needed a creativity break. So I picked the Salk Institute by Louis Khan in La Jolla, CA. If you’ve never been there in person you should if you’re in the area. It’s such a simple concept but stunning in its execution and effect.

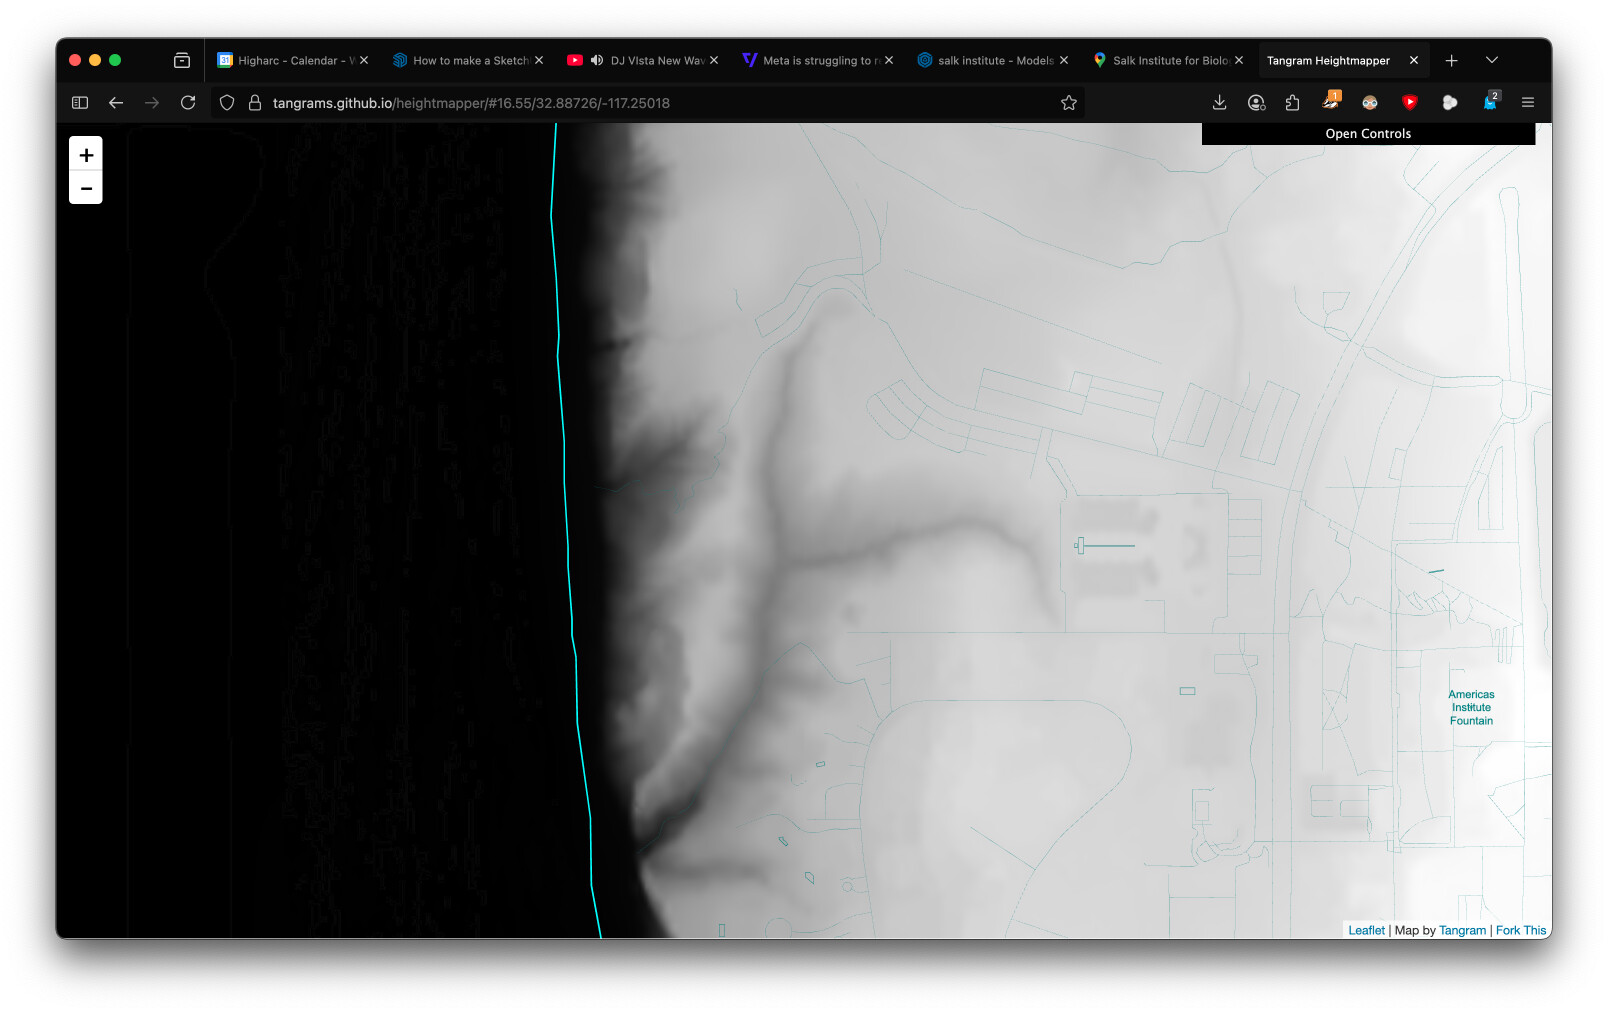
So built out a terrain mesh using my go to, Tangram Heightmapper to get a height map to use with ThomThom’s Bitmap2Mesh.

With the terrain in place, I then found and edited a great building model by Big Meech on 3DW. All I really needed to do was split the model in half, make a component, then mirror it so I could re-material the whole thing with nice V-Ray Materials. Pretty simple palette really: 1 concrete, 1 wood, 1 glass, 2 water (one for runnel and one for ocean applied to an infinite plane) and one travertine.

With the materials in place it was time to run some test renders to see how the HDRI lighting looked. I rotated a Dome map to line the sun up with the runnel, which is what you’d see in real life since the plaza orients due west. I like the lighting overall but since looking west faces directly into the sun, I could either blow out the sun and see the plaza or meter on the sunset and silhouette the buildings and plaza.


I then added a lighting pass with some V-Ray spots turned up behind the angled bldg walls in order to bring back some more definition to the building.


Then exported some linework with the intent of inverting it to white and fading back, again to emphasize the form of the pavers and arch.

Final composite in Photoshop. Quick effort but still a nice result. What do you think?

Update…another version using a different HDRI for the sky+lighting…very different vibe.

9 Likes