I am a new user to SketchUp and am working with the extension of Click Kitchen 2 pro in order to build kitchens quickly into my models.
I am finding an issue of flashing surfaces for the kitchen worktop and side panels when I download the kitchen to one file but not to the other.
I tried rebuilding the troublesome model on a new document where the kitchen looked okay (I first added the kitchen) but it only needed for me to add a new floor and the kitchen went back to the same issue.
I have absolutely no idea what is happening, the kitchen is not even on the floor surface.
Any idea what I am missing?
What does it look like if you zoom to extents? Unless you have two copies of the kitchen on top of each other, the artefacts look like those caused by a large (kilometers) model.
You often get inadvertently very large model extents if you import, for instance, a DWG file that has been created using a map coordinate system, where the origin point may lie thousands of kilometers away, sometimes at the equator.
Another thing that has happened to many new users is to have started a model in a Meters template while thinking i Millimeters, resulting in, say, three kilometers high rooms. I don’t think this is the case with you, as the same model works OK in another file.
As said previously, post the SKP model file for better insights. Without it we can only guess.
The model you shared differs from your screenshot - it is missing about half of the kitchen cabinets. Are you sure that you haven’t superimposed two versions of the kitchen design?
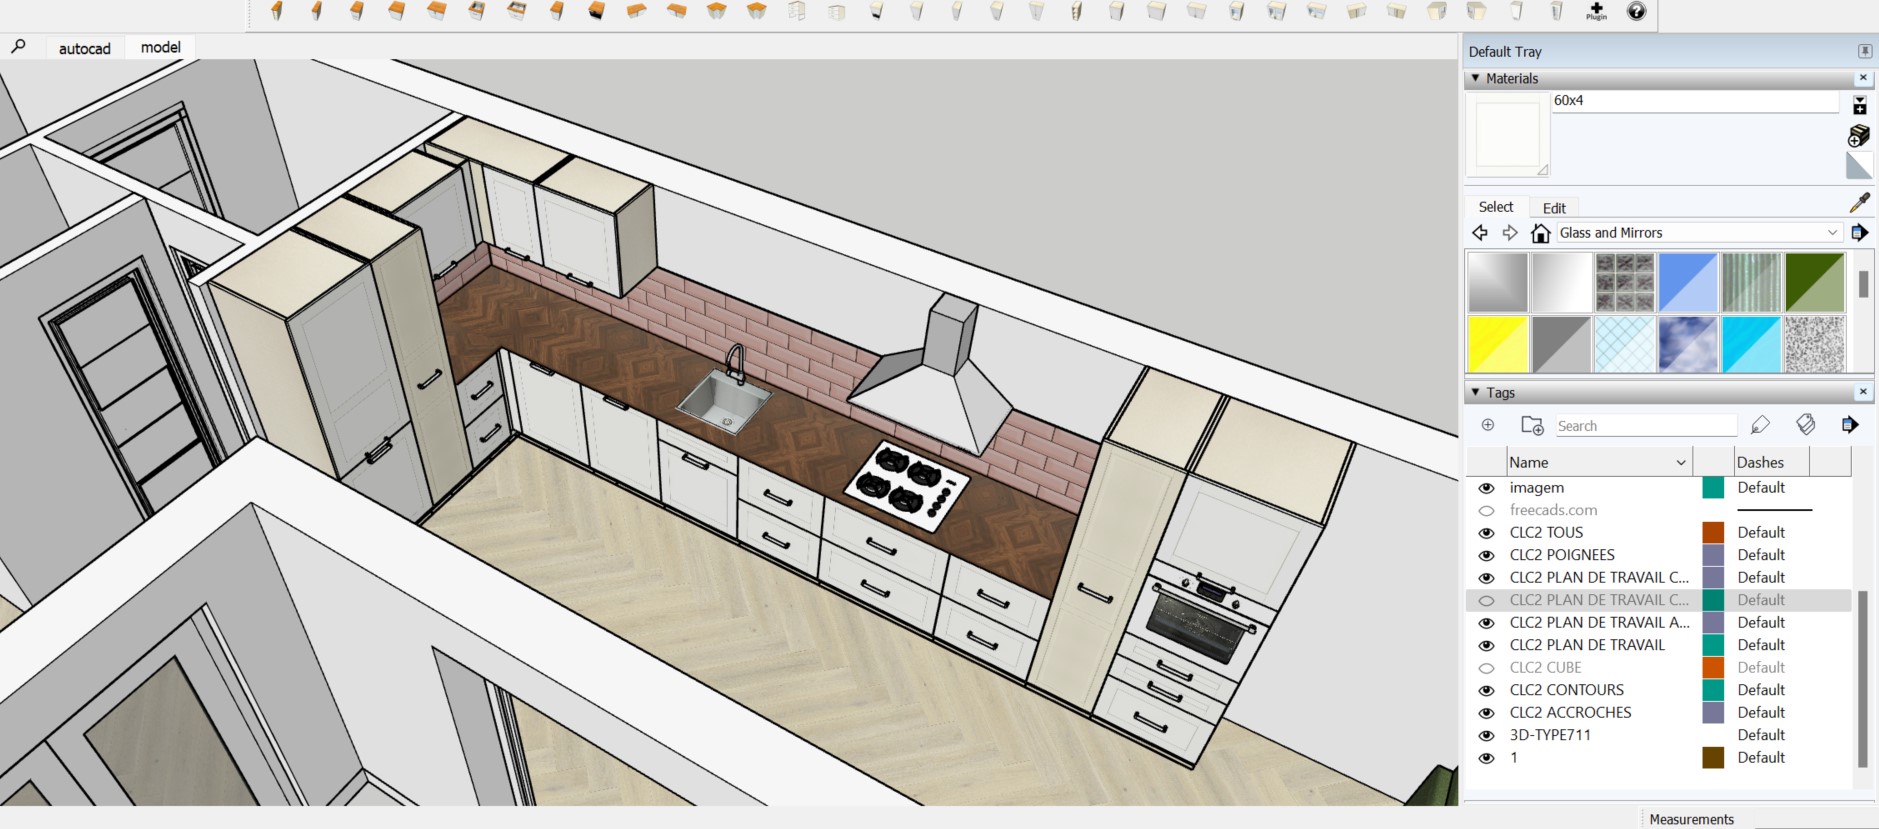
The problem is that you have multiple faces placed at identical locations and simultaneously visible. This causes “z-fighting” because the graphics cannot decide which of them to display. This happens numerous places in the kitchen. One example is between components “CLC2 CUBE CLC2#21” and “PLAN DE TRAVAIL CLC2#27”. They each put a face at the top surface of the counter. The only fixes are to make one of them non-visible, either via its tag (e.g. CLC2 CUBE) or (not as good) hidden flag, or to offset one of them slightly above or below the other.
I attach the image of how it look once I closed both.
The issue now is how am I able to change the colour of the worktop or make the same colour for all cabinets?
I tried to explode but am not getting to the layer I can change the colour…
This is not a kitchen I made from scratch but an extension.
Any ideas?
In principle, this is an easy task: you just paint the appropriate faces with a selected material using the Paint Bucket Tool. It is made more difficult in this specific model by the nesting structure of groups and components inside other groups or components. You have to drill down through the nesting until you find a face that you want to paint (or from which you want to sample the material so that you can apply it to other faces). The drill down can be done either by recursively opening objects for edit or perhaps more clearly using the Outliner window.