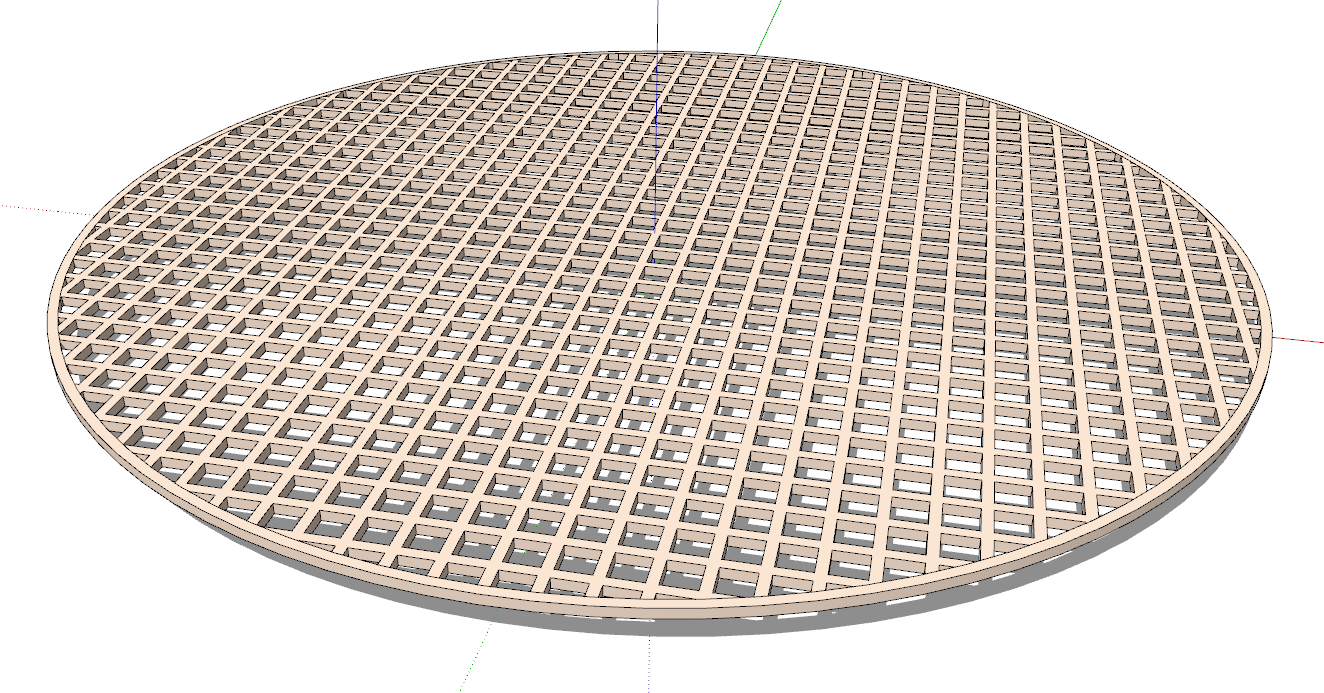
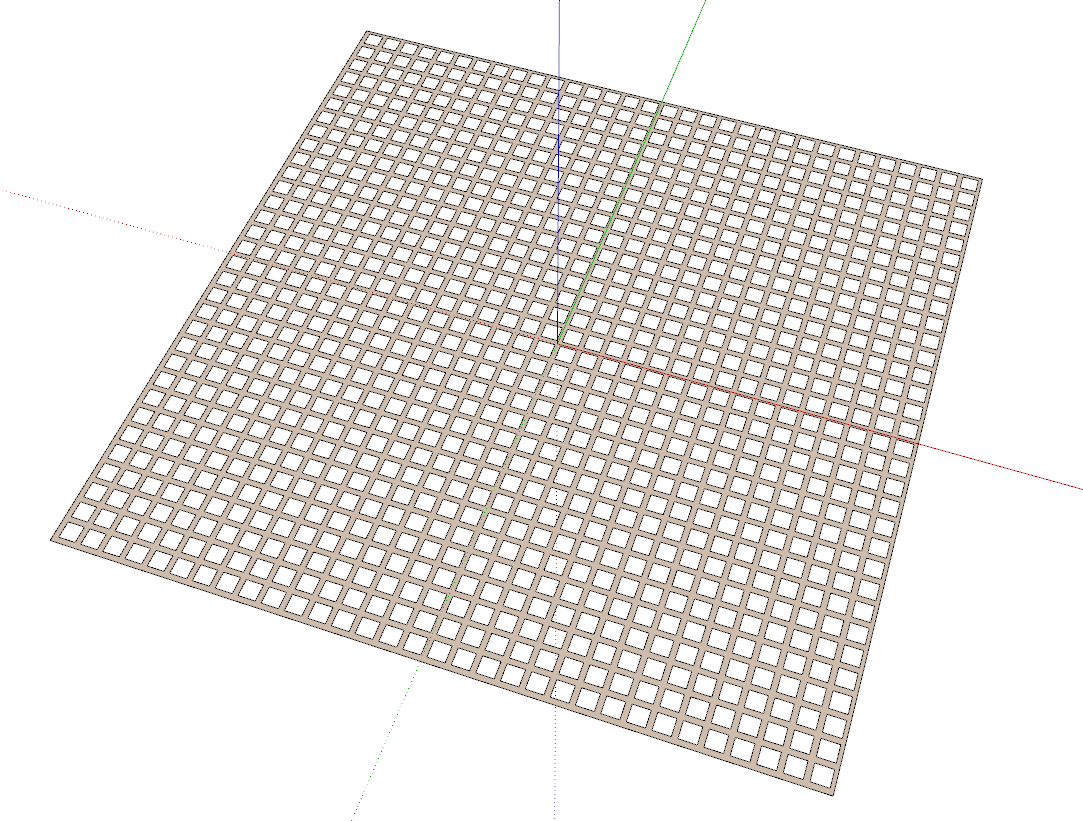
You can start with a large square with square holes. Draw the first small square for the hole near one corner. Delete its face and then copy the edges to make the rest of the holes.
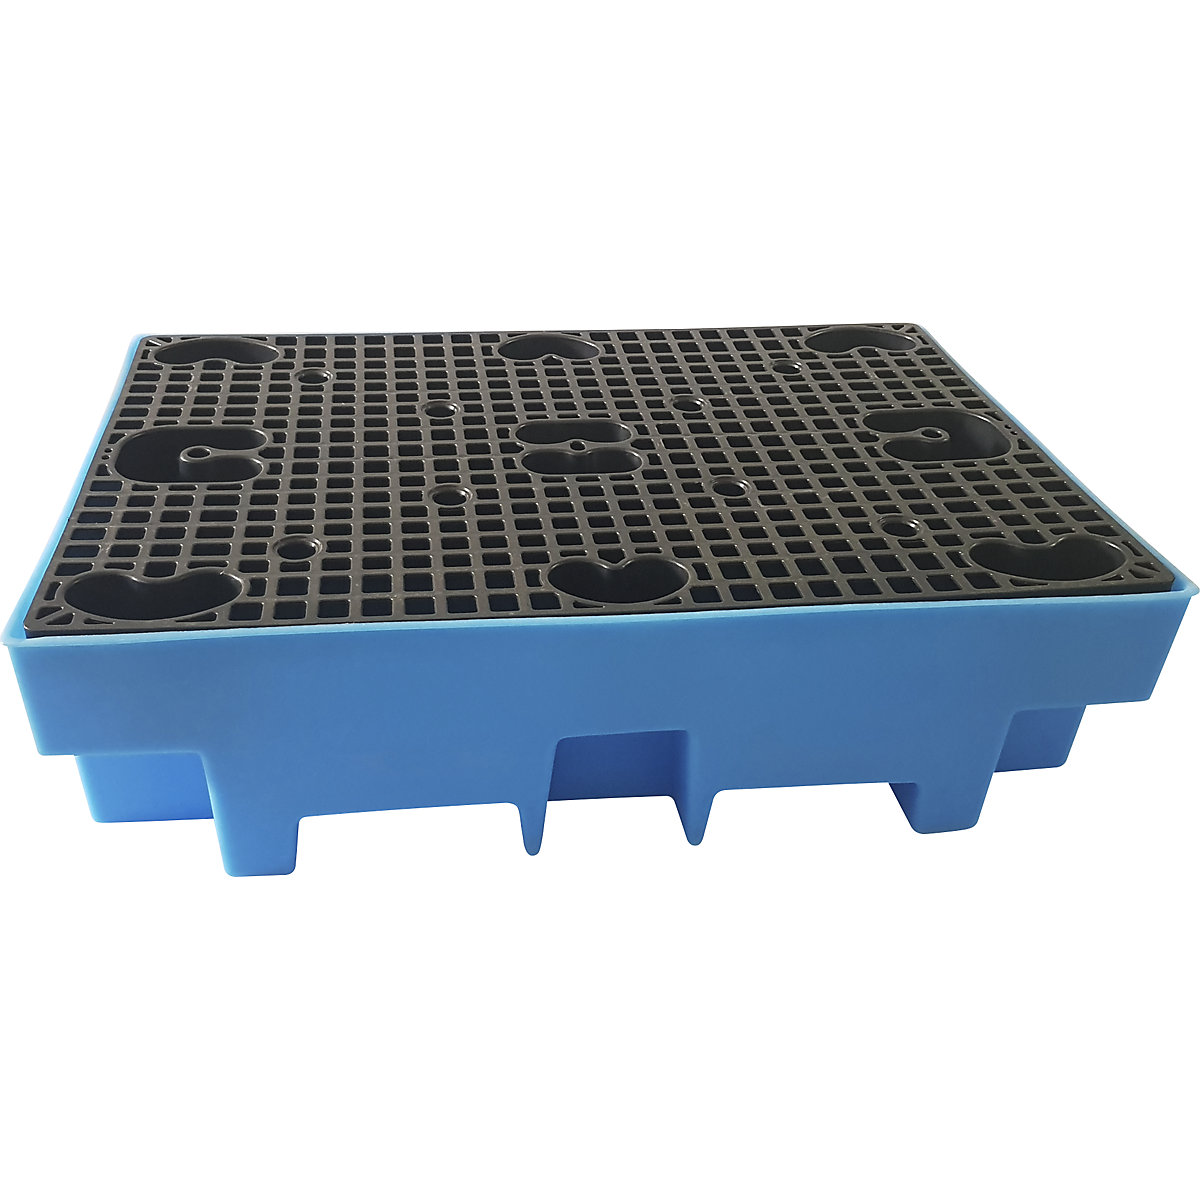
Then draw a circle for the inner perimeter of the edge. and erase everything outside of it. Another circle outside of it will make the rim. Then use Push/Pull to give the thing thickness.
By the way I notice two things you should change about your modeling. First, the radius of circle you used for the short cylinder was dragged out at some random angle. I know we’ve talked about this before. Get in the habit of dragging out the radius of circles on axis. That will make things much easier to work with. The other thing I see if you have Length Snapping enabled in Model Info>Units. That and the relatively coarse Precision you have selected can result in errors.
I was curious how to do this with long strips, because sometimes there are patterns that are not straight lines; then little squares doesn’t fit the bill.
But it is definitely a better way to draw the ‘pattern’ flat; do the outlines and then do create a thickness.
The random angle is not exactly random, but from a start point that stands under an angle, the grid direction should however be on the red and green axis, but I get your point.
The circle should fit into a larger round shaped ‘pipe’, which is a component; and this one is a little rotated. Hope that what I wrote make it more clear.
Thank you again. Will play with your method with some other samples.