A little less than a year ago, me and my two brothers started this house for a friend in Michigan which we finished sometime near the end of last year.
It was a slab with radiant heating, about 3000ft², and had a 12’ vaulted ceiling in the great room.
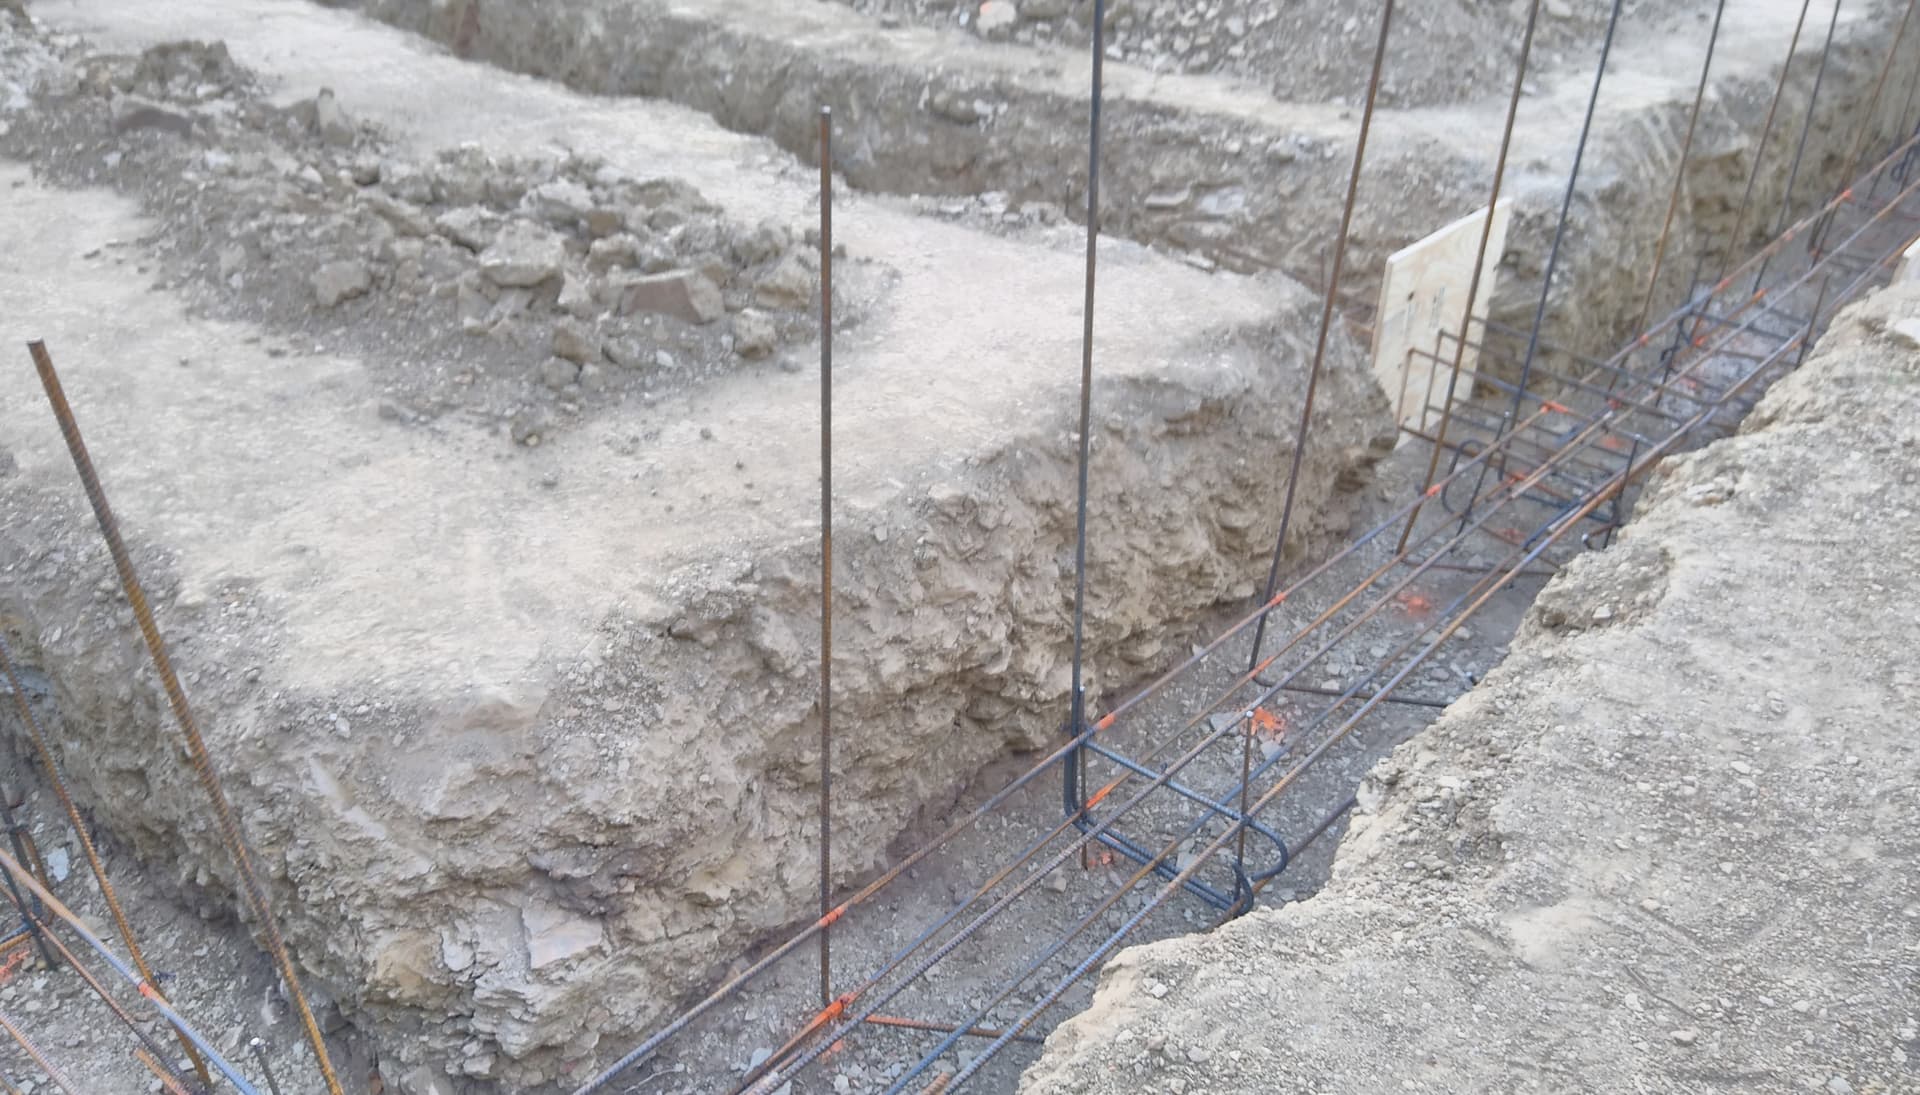
Hope the rebar driven in the ground is not a permanent part of the grade beam reinforcement ? Oh and by the way real “rod busters” don’t use bag ties ! Fun aside, nice job
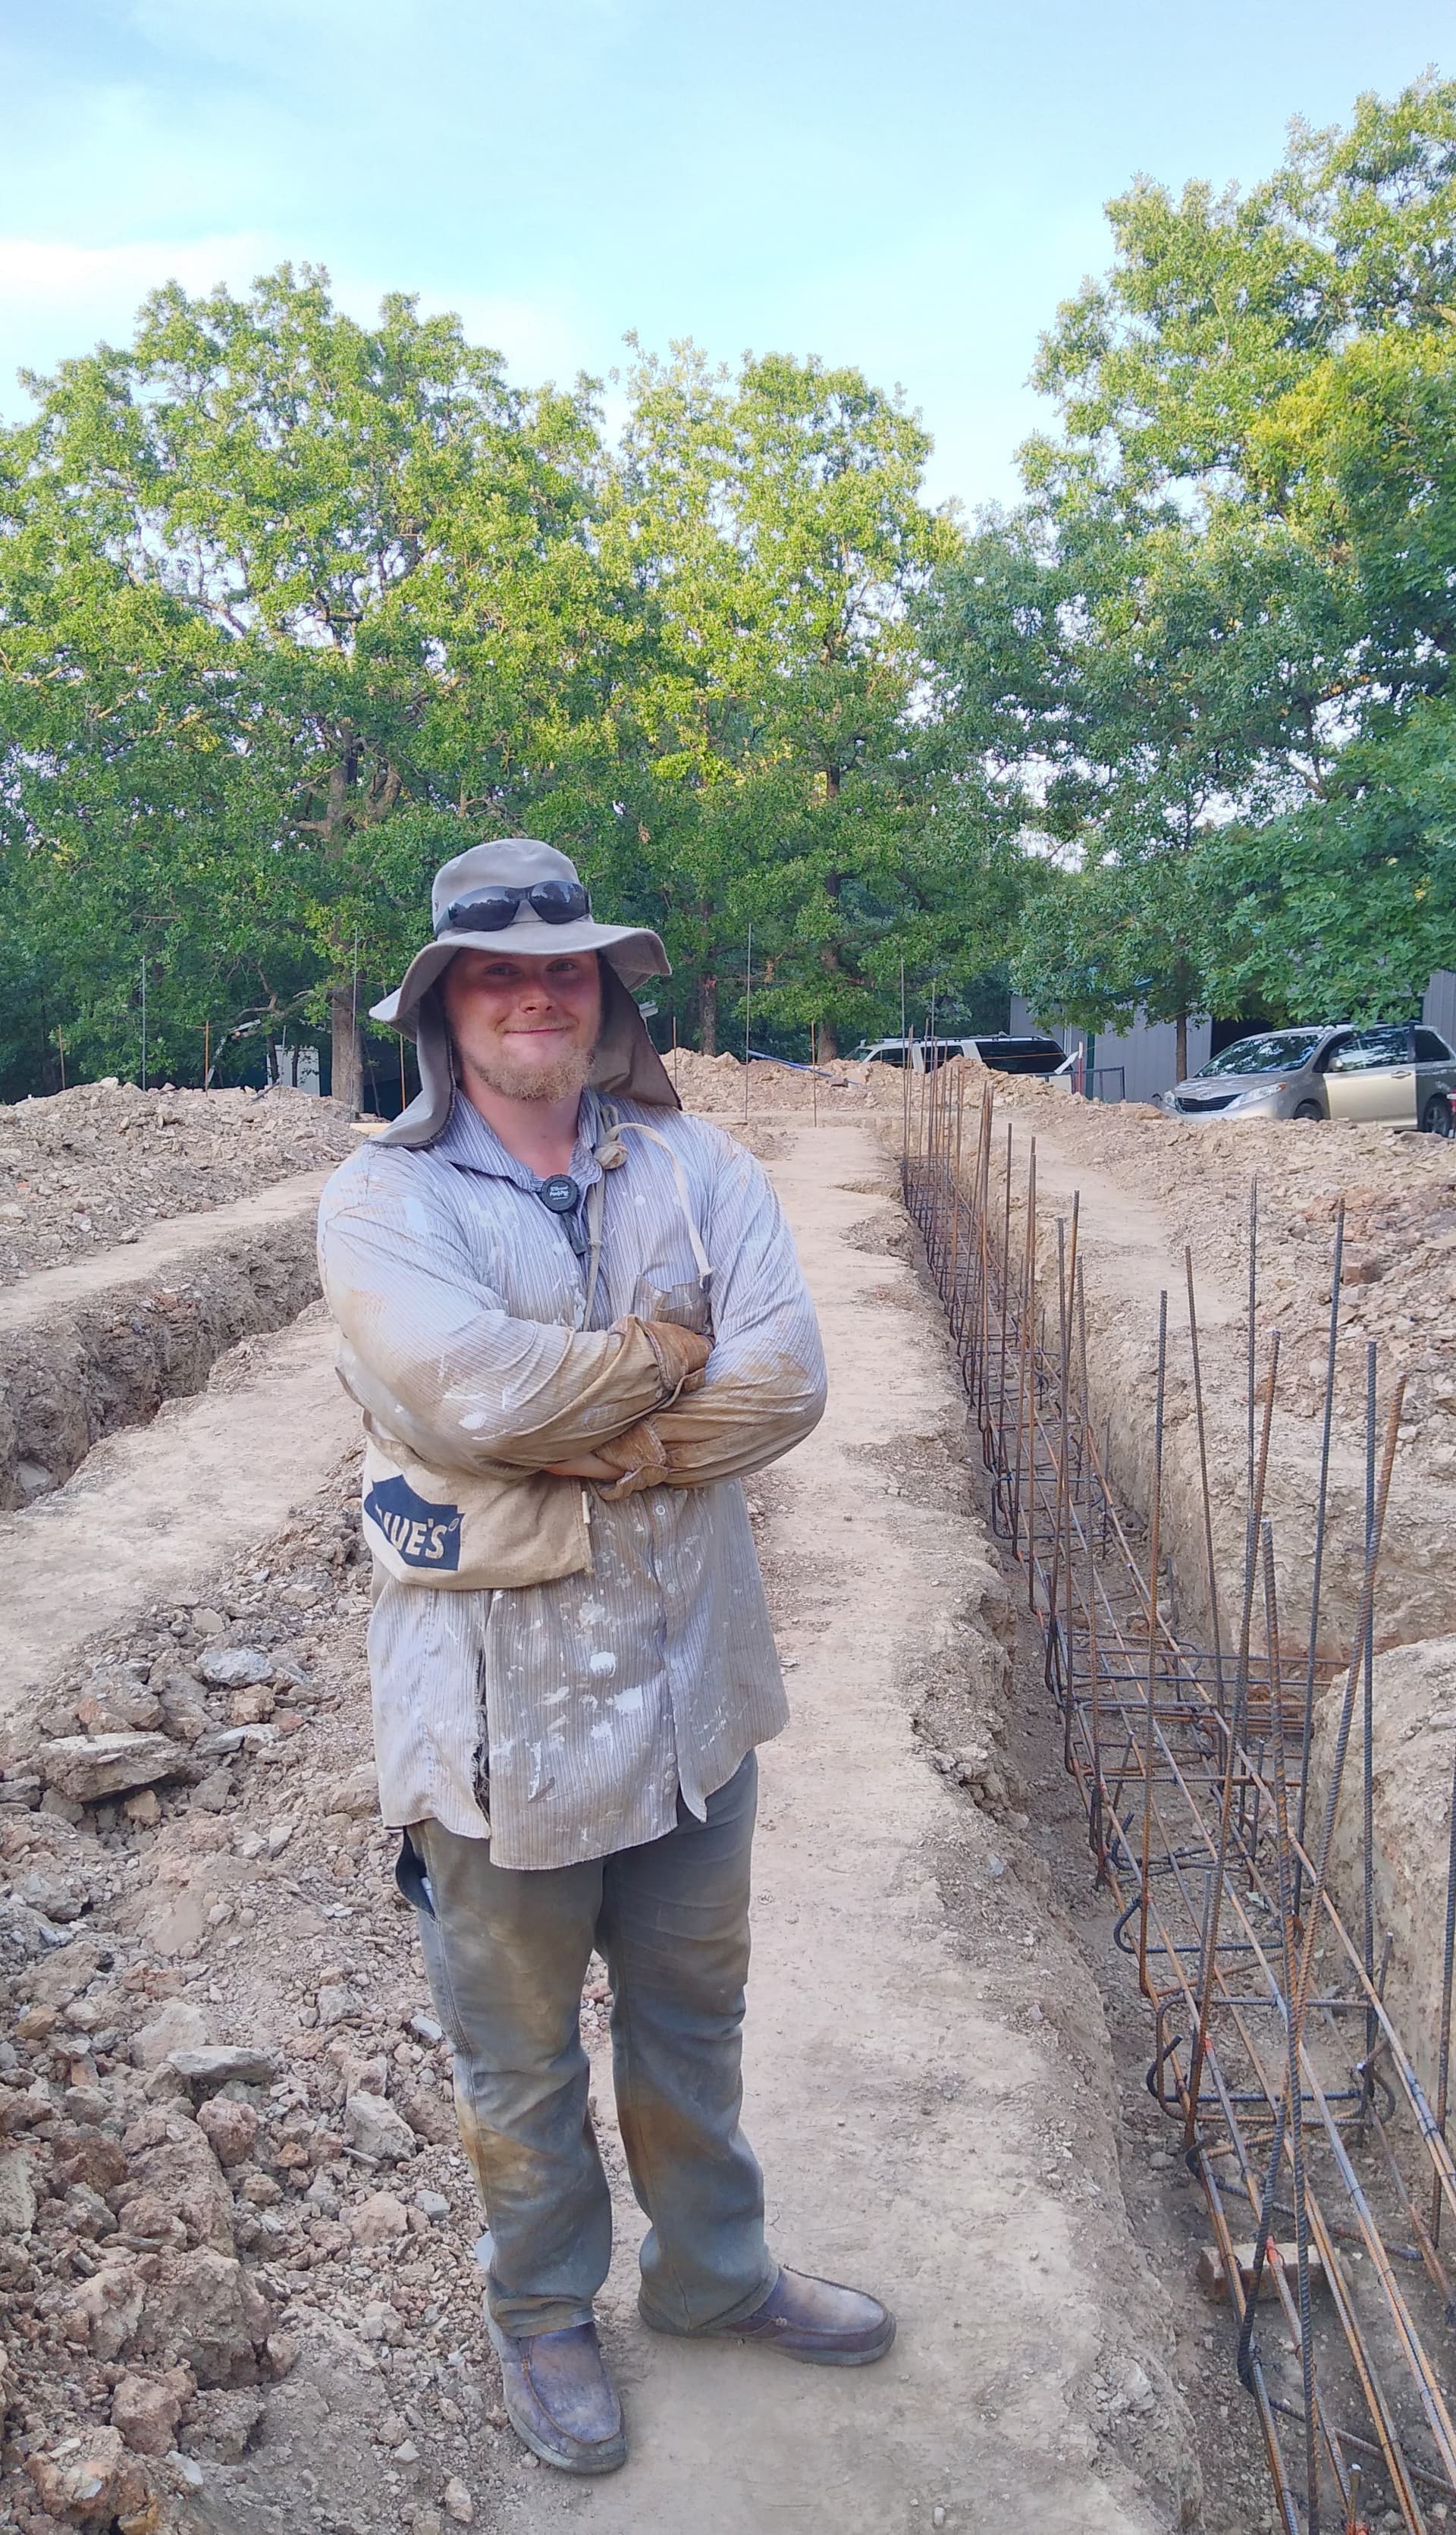
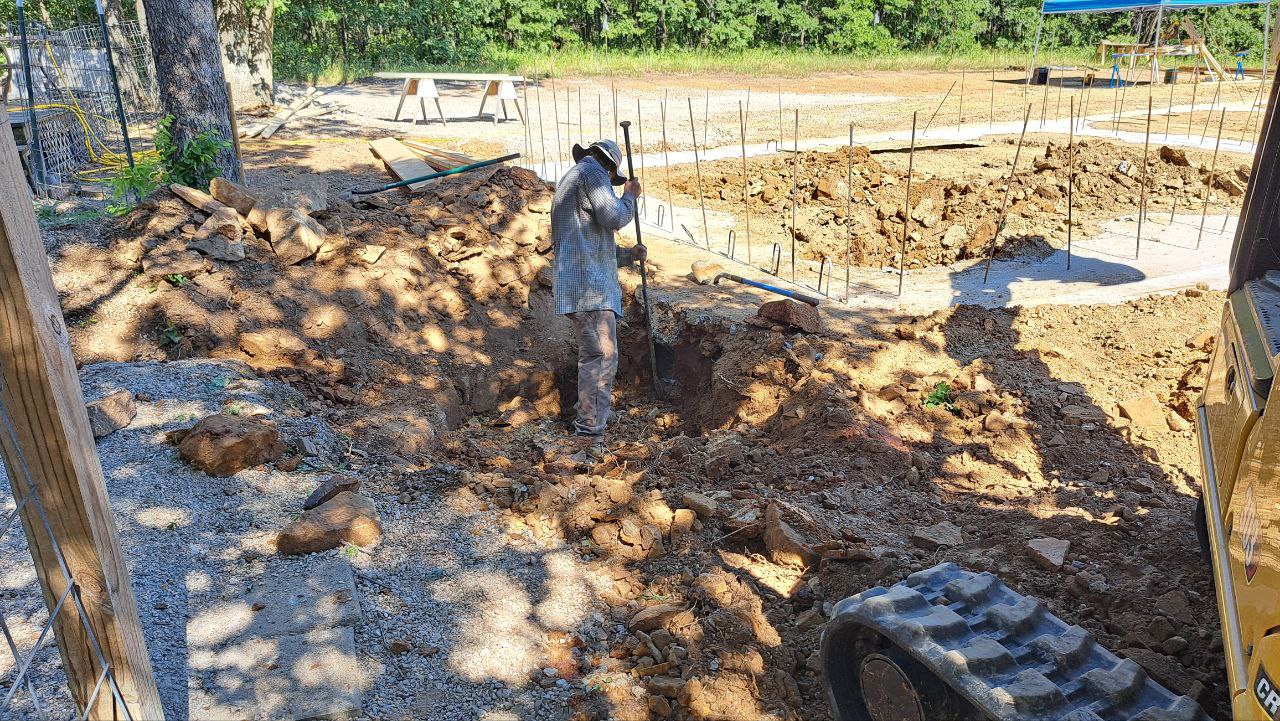
Well, this took us around 20 hours of work, but we’ve got all the bar down!! It’s been pretty hot here, anywhere from the high 80s with a breeze (that was actually super nice!) to a stagnant 105… all three of us were drenched today.
Amen to that ! Been on the end of the big stuff when I was young and energetic. Even the #5’s will work you out when your toting as many as you can get your mitts around. There’s a certain “art” to hustling that stuff so you don’t kill your self or somebody else.
(I am not trying to mock @Anssi, anyone else, or safety itself, the compositing idea just came into my head, and I thought it would be funny. Peace be with you .)
I was half joking. Earlier in my 40+ years of going to building sites it was quite common that I would arrive in my office clothes, and the contractor had something to ask about roofing, and there we went, climbing on some makeshift ladder nailed together from some rotten planks, with no protective clothing and nothing to prevent us from falling, then walking on the wet standing seam roof to reach the actual spot. Still shuddering. And only luck kept me from stepping on nails with my thin soled shoes.
The little orange mushroom caps were what came to my mind. The most impressive I’ve seen were the timber framers from Benson Woodworking that thought nothing of the hardhats, harnesses and fall protection gear they put on like everyday clothes.
As a lifelong photographer, I almost always have a camera on me, and usually serious one at that. One time climbing an iron pipe “mason scaffolding” to get to the roof, my foot slipped, I dropped a rung, and realized I came too close to hanging myself with the camera around my neck. Ever since, when on a job site, I hang the camera neckstrap on a shoulder, not my neck.
Glad you made it out of there, navigating the site can be risky business…
For all wondering what this topic has to do with SketchUp, the whole house was modeled in SketchUp, and I will be making comparison images as we go along to show the congruency (or lack thereof) between the model and the real deal.
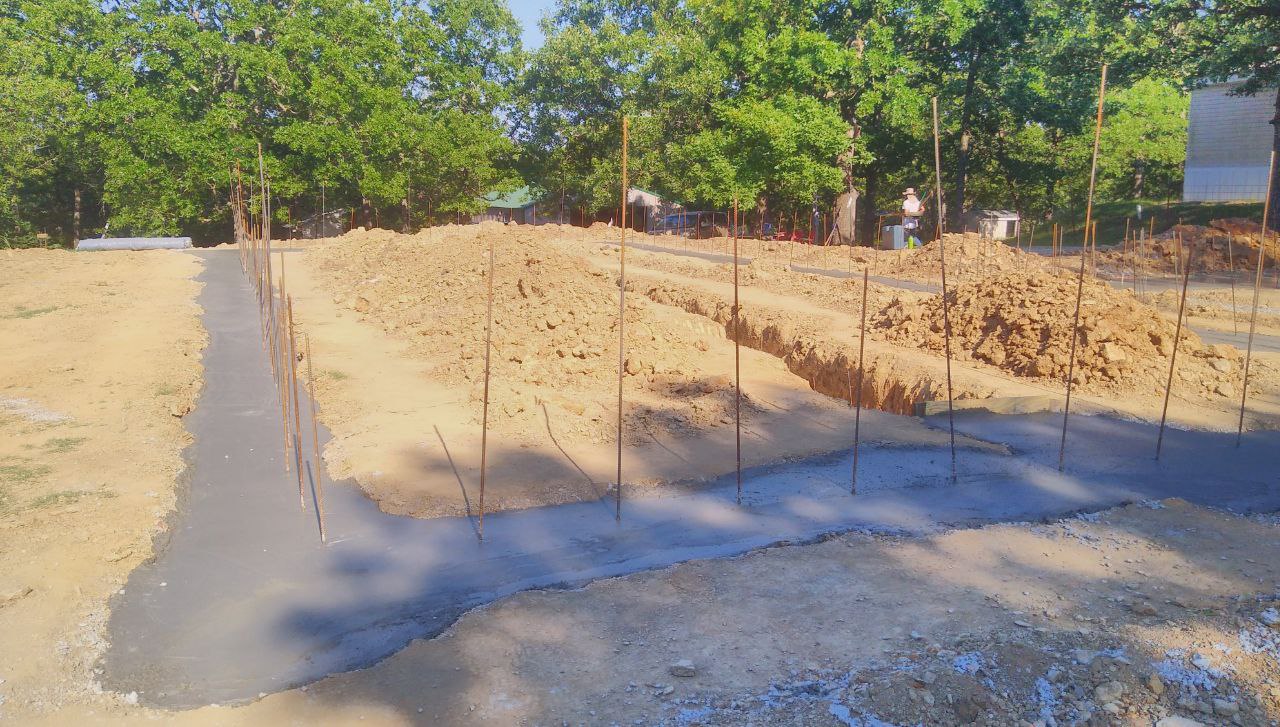
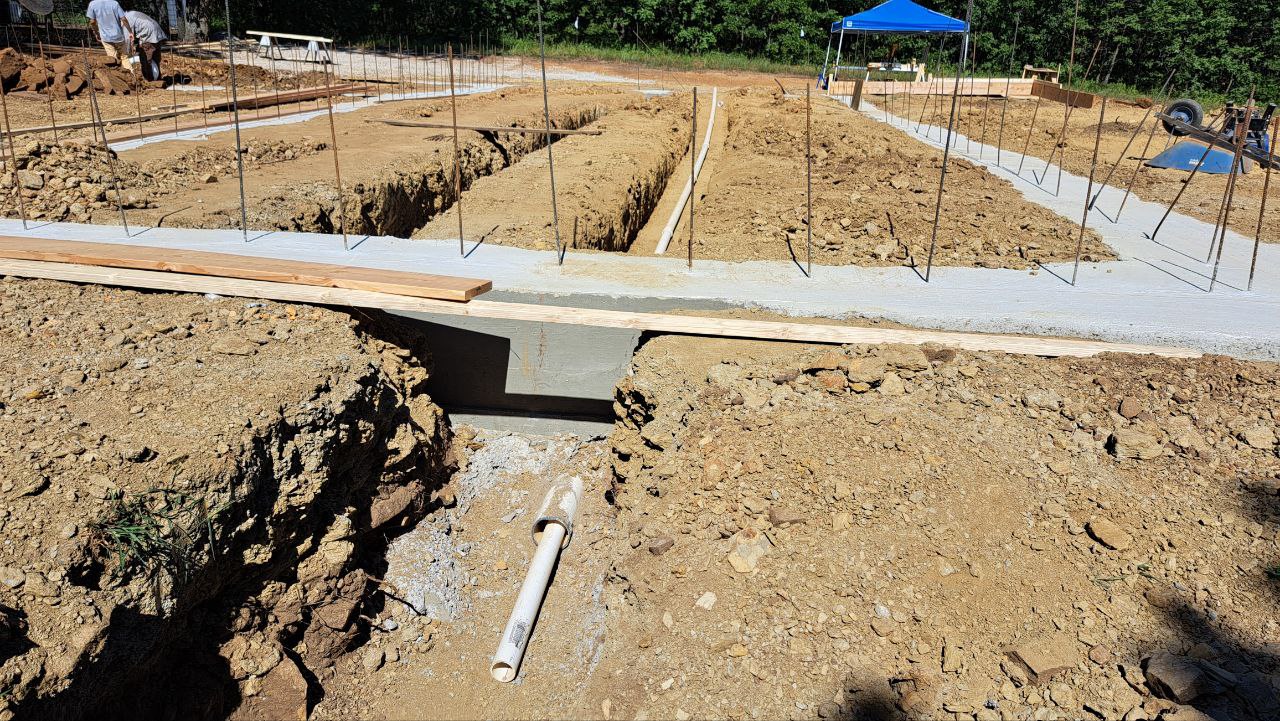
No side-by-side pictures have been taken of the concrete due to the rebar plans changing as we went and of course, the footings not looking quite as planned due to the rocky soil, but just for fun…:
So, it’s been a while, we’ve been quite busy but we have also been able to get a lot more help than I had initially expected, praise the Lord!
The heat index has been steadily in or just shy of the triple digits so it’s been pretty rough
(I’ve lost about 5 lbs since we started), but we have managed to:
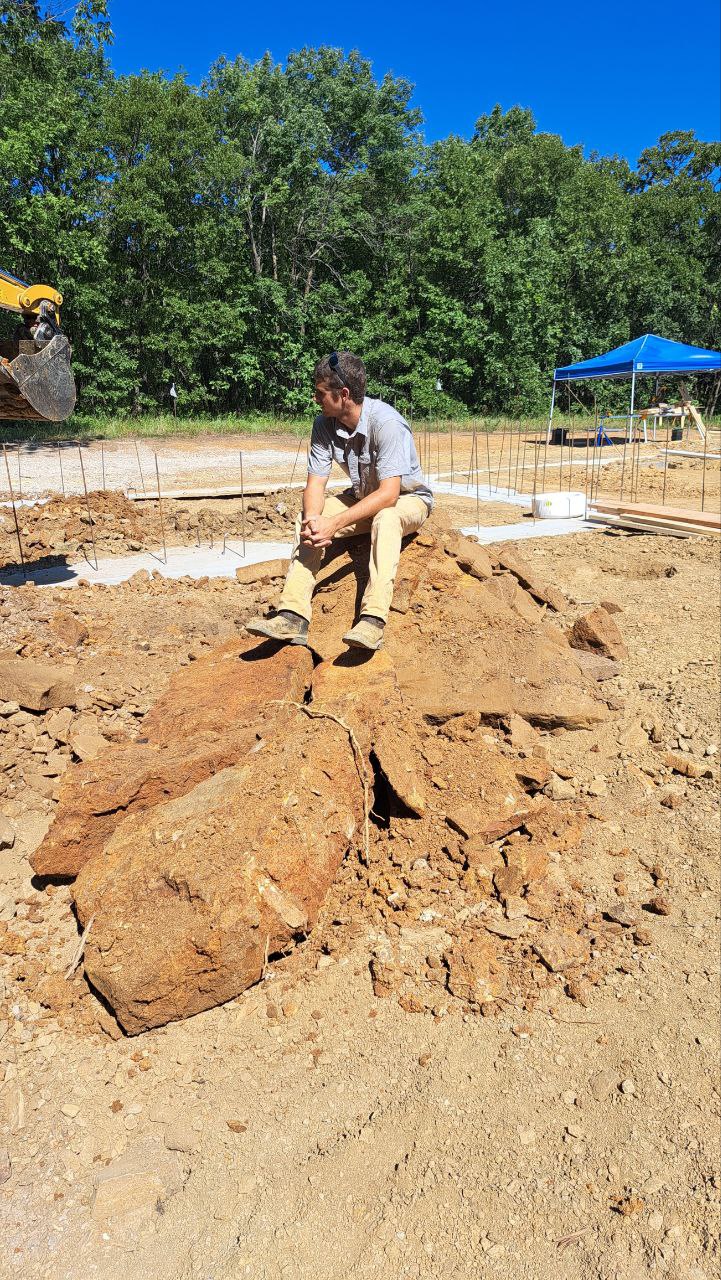
Dig the column footings, main trunk line for the plumbing, and uncover the sleeves we installed during the pour (with some “minor” setbacks (big ol’ rocks))
The house slab and garage wall pour will be in around two weeks, and by then we need to:
Form the master shower (its a roll-in with a rain head)
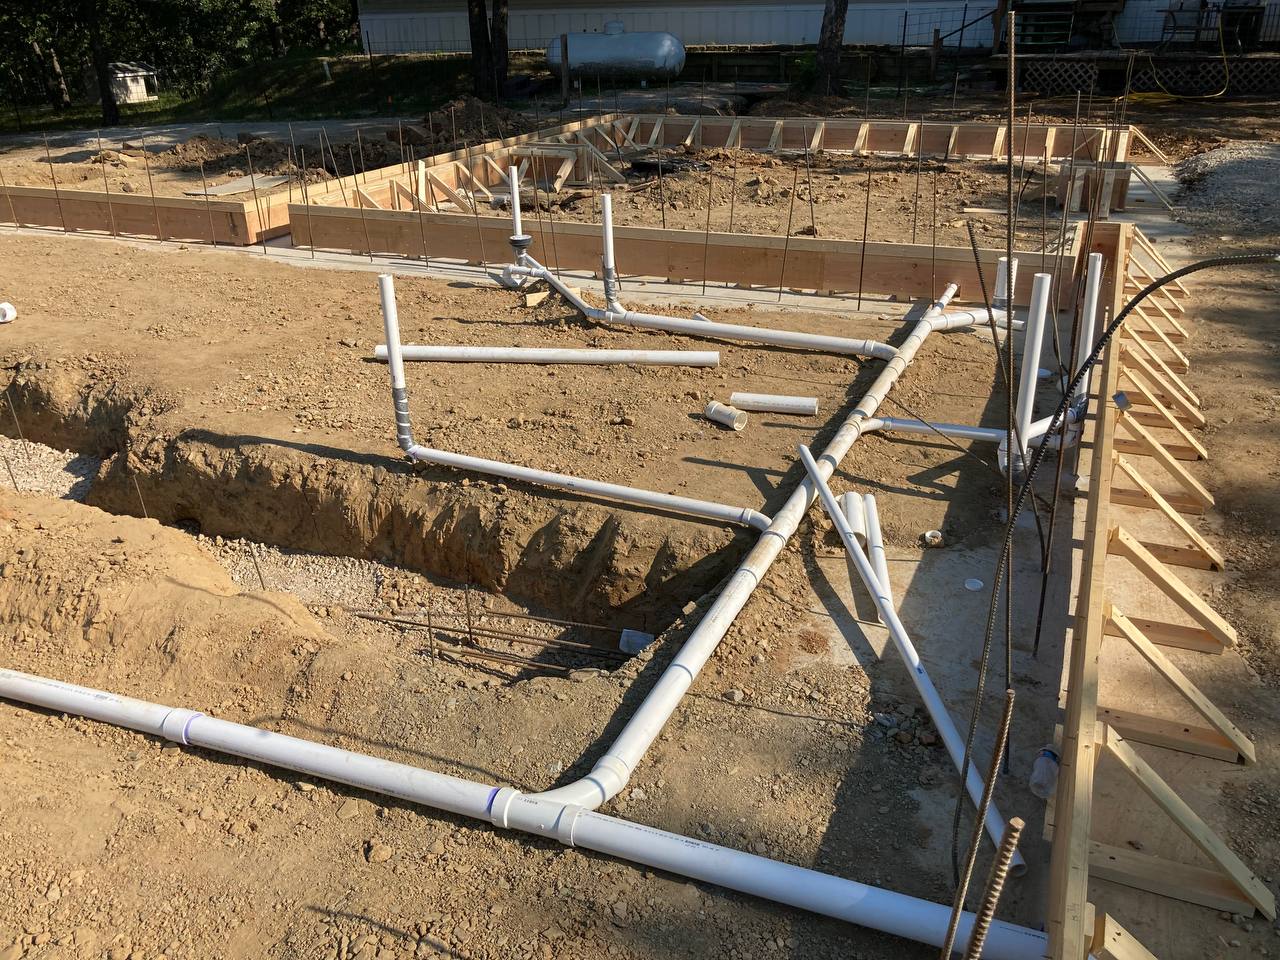
Finish the plumbing
Dig and Run the underground electric
Bring in the dirt, spread it out, and compact it all
Install radon vent
Install the vapor barrier
Lay and tie all the rebar for the columns, slab, and the interior footing
Moving right along!
Sorry, not very many Sketchup comparisons this time either, as it wasn’t necessary to model the plumbing, and the concrete forms really just aren’t that interesting in my opinion.