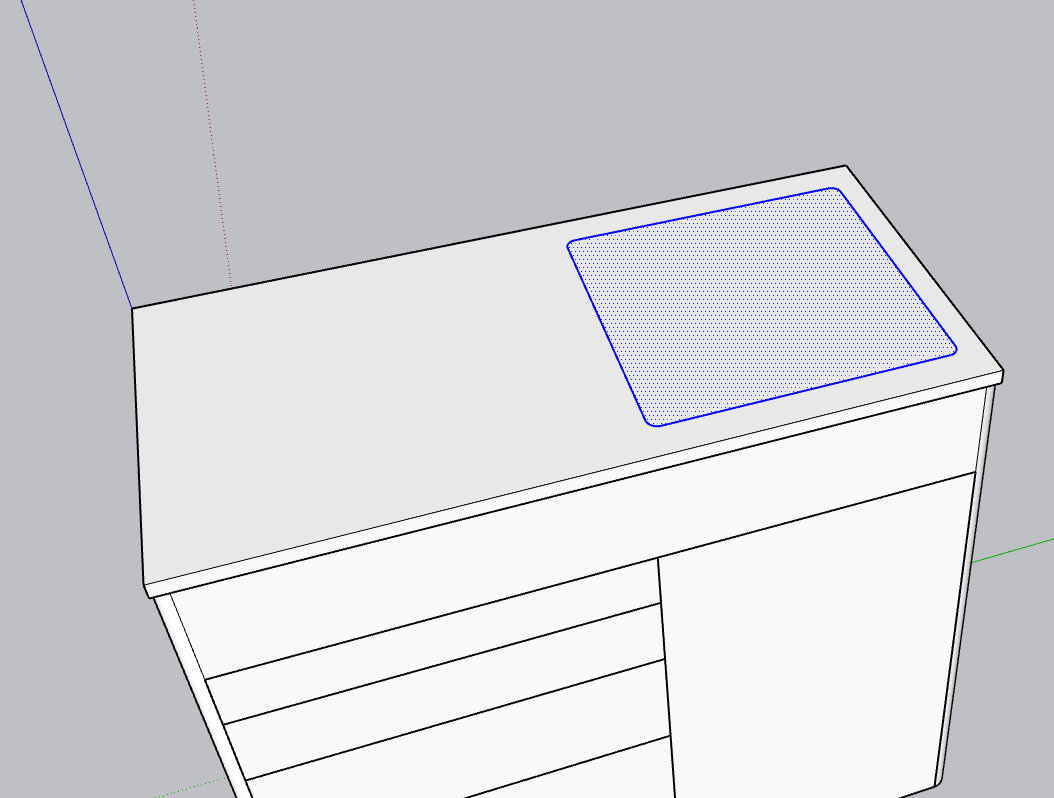
Apologies If the header sounded confusing. But what I’m trying to achieve is a cutout “hole” in my galley sub-top to accept a particular sink. I’m wanting to take my highlighted, non-grouped cutout and basically create a hole in the sub-top (which is currently a grouped object) and the net result be a perfectly place cutout in the sub-top ready to accept a sink. I would attach my screenshot but I do not see a means to upload it from this create topic… Thanks in advance, especially if you understood what I mean!!
EDIT In the photo you’ll see my non-grouped selection of the impression im trying to leave in the sub-top beneath it which is a grouped object. How do i intersect with a grouped object to leave a cutout as a result?
You could just drag and drop the image into the message window here. Better, upload the .skp file.
When I need to create a sink cutout in a counter top I use Push/Pull to make the cutout a 3D shape. Then make it a group or component. I make sure the countertop is also a solid component. Then I use Solid Tools or Eneroth Solid Tools to trim the counter with the sink cutout.
If the cutout shape is in the same context as the countertop, you could just place it on the counter top and use Push/Pull to push an opening.
I should probably have said I’m a beginner at Sketchup. Normally I’d do the push/pull method to achieve my result. I was simply looking for a faster way to achieve the same goal. At this point I’m curious about “solid components”. is that an extension, or just a way in which you build with certain tools?
By the way, I took a few minutes and sort of rebuilt your model such that it could be pulled apart , easily revised, and a cutlist generated from if that would be useful. Galley_pettway.skp (154.8 KB)
Due to the way you did your grouping, the dimensions aren’t terribly useful in the cutlist. And it’s hard to know what any of those things are supposed to be.
wow, DaveR you totally just made my entire day! to be fair, I hadn’t finished my product to do the cutlist. Beforehand I was manually calculating the cutlist and creating a separate page in LO that included my cutlist. I am going to assume you used an extension to get this cutlist? If so which one? I see a few “cutlist” extensions.
I’m so excited with my newfound knowledge! thank you so much DaveR!
Yes. I used my favorite which is called CutList it’s in the Extension Warehouse. Easiest one to set up and dependable.
The key is that each part you’d make in the shop needs to be a component or group. I only use components for a number of reasons. The naming thing is one of them. The cutlist is only as good as your model so as you can see, from your model, it’s not very useful. It’s also extremely fast
I didn’t do it here obviously but I could have set it up to identify the parts as sheet materials instead of solid wood.
Here is my final result. That extension helped a LOT! Feel free to inspect my work and point out anything that may not be “correct”! I still have a lot to learn so i’m open to constructive criticism.
That looks pretty good. You could improve the efficiency in your model if you would use components rather than groups.
Also for something this size I would suggest increasing the display precision and turning off Length Snapping.
The Cutlist extension can be handy for checking dimensions of parts. I would normally not expect any 64ths in something like this and wouldn’t intentionally design a project with dimensions like some of your parts have. there are more like that in the lower part of the list, too.
I understand your reasoning for increasing display precision, however there are at least two issues with increasing it. One is this doesn’t need to be 100% accurate. Second is the wood in any shop is almost never exactly 3/4" thick or 1/2" thick etc. normally it’s about 1/16" short of being a full 3/4" thick piece of plywood. As for the components thing, I haven’t played around with it much, and I can see why it would be important in my situation or most situations. I’m going to start using those techniques more in future builds. Thanks for all your help DaveR!
I understand what you are saying. My point in suggesting the higher display precision is so that you can see potential errors in your model. 1/64th in isn’t going to be a problem but if you have multiple errors you could have a cumulative error that is a problem. Low precision in your model can mask that.
Reinforcing @DaveR’s point: depending on view direction, it is possible that multiple inference points come out very close together on the screen. It is also possible to click for a point and not get an inference you expected. This can cause you to accidentally snap to the wrong place, and thereby draw a part at a different size than you intended. Even after years of using SketchUp I sometimes fall victim to this.
If you see a size come out as (say) 24 31/64" or 24 ~31/64", that is a pretty sure indicator that you drew something incorrectly unless you really mean to work to strange sizes. Even if you don’t care about 100% accuracy, it’s an opportunity to detect issues with your technique and learn to draw what you really meant.
Edit: as a real example, I had a cabinet a while ago where a side had a height of exactly 32" and what should have been the matching stile was 31 ~63/64". It doesn’t help anyone reading the plans to see strange values and need to study other parts to infer what you really meant!
I see both of your points. I understand now. I suppose the smart thing to do would be always start building in the highest display precision to ensure my components are as accurate as they can be.
I work at a custom shop where almost every cabinet we make is 1-off. mostly because the oddball dimensions we’re dealing with to begin with (in a sprinter van). But taking into account what you both have said, I will apply it to what i’ve all ready built to spot errors. Again thank you got the input!
I think the key part of using something like SketchUp to model before building is to let it help you sort out all the details so there are no surprises when you get to actually building.


