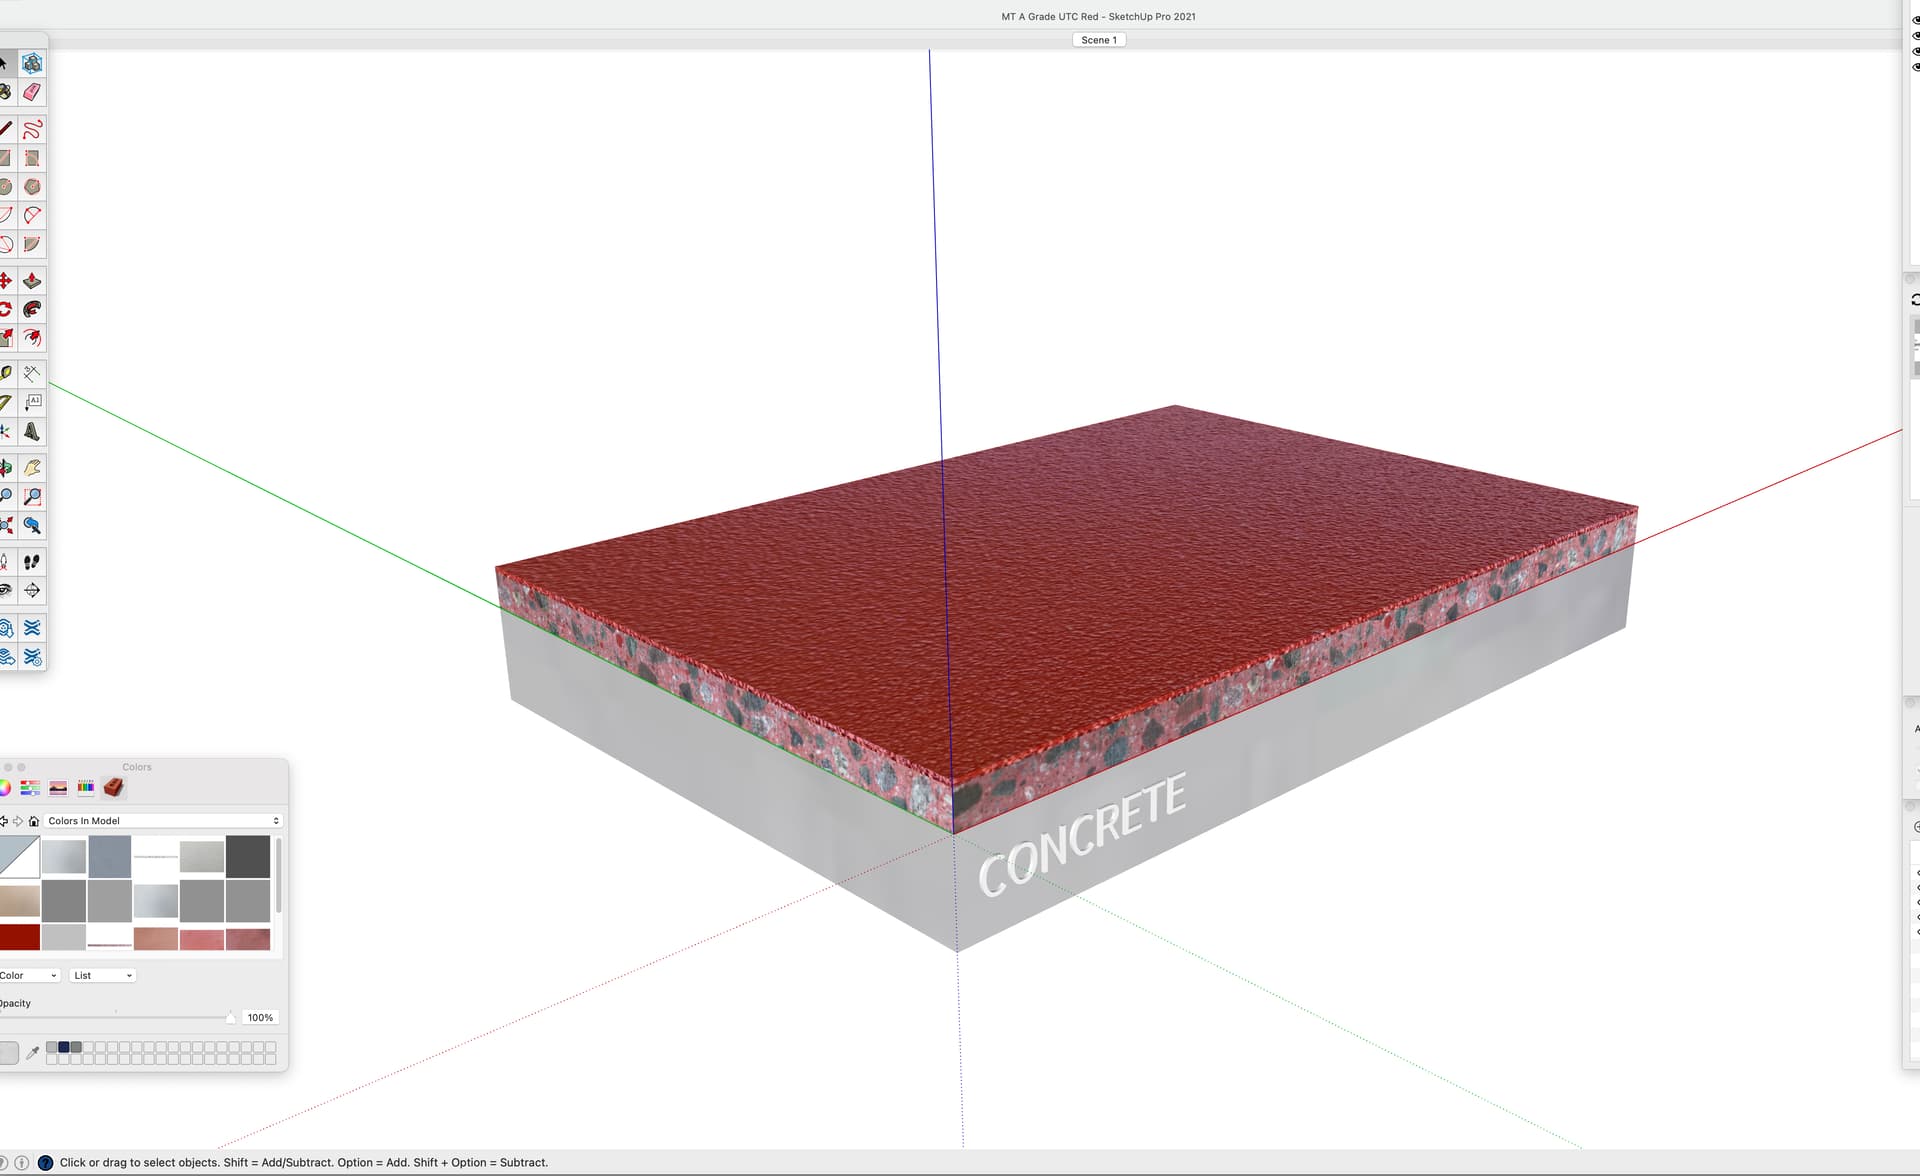
Here’s the so screenshot of my small drawing and camera > standard view > iso chosen.
Here’s the result in Layout. The image is clipped on the bottom and rotated up from the back of that makes sense. Any suggestions on how to fix is most appreciated.
It’s not visible in the screen shot but did you manually select ISO in the Camera section of the SketchUp Model panel? If so, you aren’t using the scene’s camera setting.
As for the clipping at the bottom, very likely you only need to pull the edge of the viewport down. If you did select ISO in the Camera section of theSketchUp Model panel, click Reset first before you resize the viewport.
Yes, I manually selected ISO in the Camera section. I haven’t used the camera setting much (I use SU pretty infrequently). I thought when I saved the scene it also saved the camera location?
I guess if that’s not the case, what do you suggest I do in the camera setting?
Solved the clipping issue by moving entire model up.
Don’t do that. There’s no need to do that if you’ve set up the scene correctly in SketchUp in the first place. I find best practice is to avoid doing anything in LayOut that results in the Camera section of the SketchUp Model panel showing a dark gray background and Reset button.
It does IF you have Camera Location selected as a Property to Save in the Scenes panel.
How did you do that? Did you do that in SketchUp and update the scene or did you do that in LayOut?
OK. I’ve got a bunch of similar drawings, each saved and viewed in the ISO Camera view. How do I set up the scene correctly to match what I currently have with ISO?
I selected all layers and moved it up to where the bottom corner of the concrete was in line with the X, Y, Z intersection. Seemed to work.
OK. If I were doing this I would have them all in the same SketchUp model file with each slab sample as a group/component with a tag. I would have of the different versions in the same location and then create a different scene for each one with the same camera location. Each scene would have only one tag visible for the slab it is showing. When you go to LayOut, you can set up the first viewport’s position on the page and size. Then copy that viewport and change the scene to show the next slab. If you are planning on one viewport per page, use Edit>Copy for the first viewport and then Edit>Paste on each of the following pages. Again, don’t do anything to the viewport that results in the Reset button showing in the Camera section.
If you really want to keep each slab sample in a separate file, you could set up the scene in the first one and then use an extensoins called Eneroth Camera Memory to save the camera’s position. Then retrieve the camera position in the next file and save or update the scene. Save, rinse and repeat for each of the other .skp files. Then insert each of the .skp files into your LayOut document.
Personally I think the first method I describe would be easier to manage all the way through but you can do it whichever way you prefer.
You’re welcome. I hope you find that abetter option. As I say, that will be easier to manage when you are setting things up but it also makes it easier to deal with if you need to make a change later. For example, if you want to change the camera position for all, you only need to make a single change and then select all of the scenes and choose to update only the camera position. And when you go to update the LayOut file, there’s only one reference for LayOut to look at.