I have two separate rolls with 60deg angle between them. I want to connect the two rolls together with another roll like they are 1 part like a tube. I tried to use the follow me tool but it won’t work. does anybody have an idea how should I do it???
Which version of SketchUp are you actually using? If you are using SketchUp Pro version 1 as your profile indicates, the method for doing this will be a bit tricky. It can be done but with more recent versions, it is very simple using the Follow Me tool.
As @DaveR, mentioned, FollowMe might be the way to go.
Using what you currently have in your model, here is how you might go about joining them into one
You could also try TruBend if you need to experiment with the tightness of the bend.
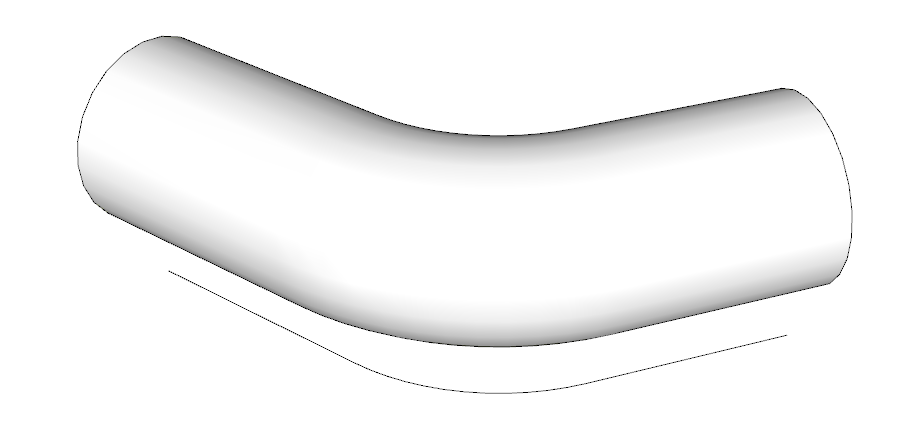
Create a short pipe section and bend to 60 degrees (vary the length to change how tight the bend is) - once completed, you can extend the pipe to the desired length on either end.
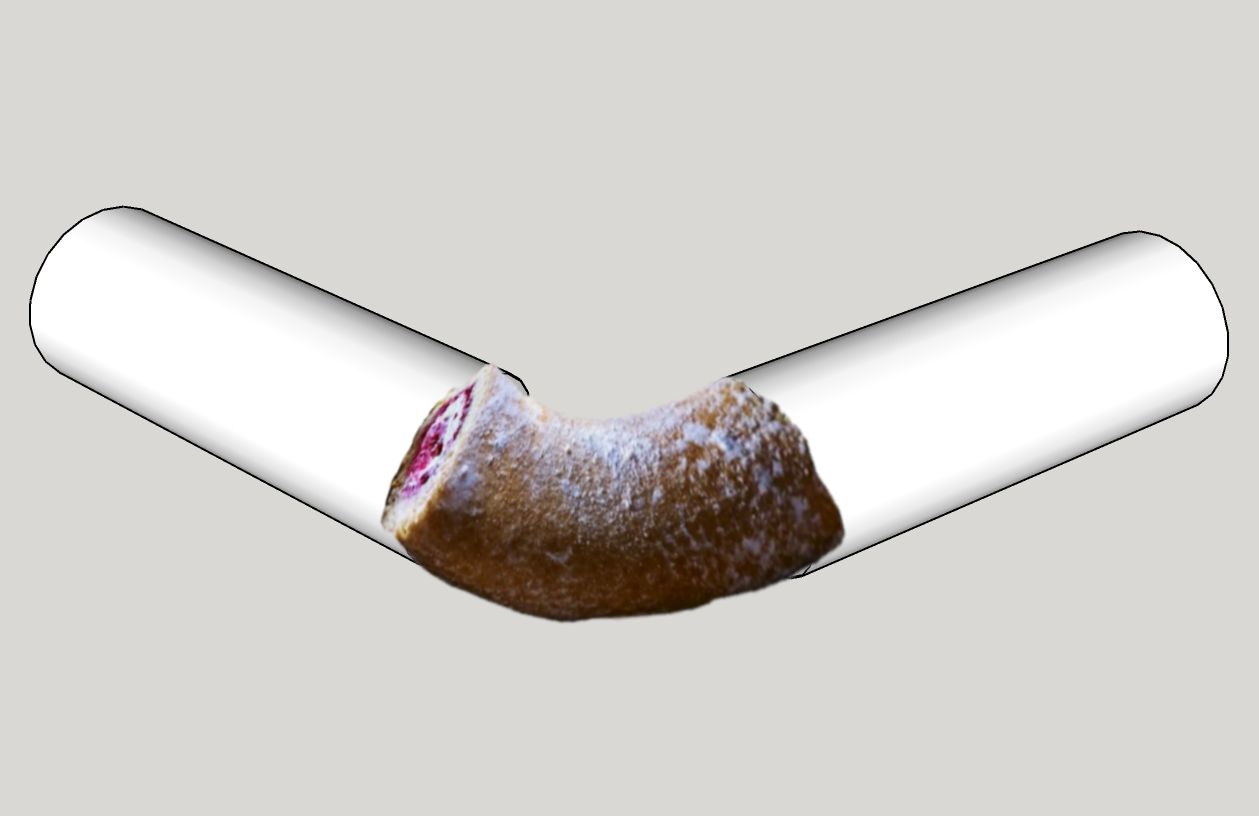
@DaveR recognized a problem with forming a realistic bend between the two cylinders: it’s unusual to fabricate such an assembly without a small inner radius where the two cylinders join. Dave’s solution separates them by some amount, although I believe a smaller amount might be what the OP is after.
I’ve always used a centerline path to extrude pipes. Dunno why, just have. My results aren’t always very nice, doing that (see attached image). But @ChrisDizon uses a “follow me” path that is on the outermost edge of the surface, which appears to eliminate some of the problems. I think too, that all this would depend on the size of the model, numbers of edges in the circles, etc.
Pipe bending utilities, as well as “Follow Me” changes the geometry at the junction of straight and curved segments of the bend. It is possible to model a bend without this, but it is super tedious.
I believe that Dave did a start from scratch approach. I tried out taking the existing setup and using built in tools. It was mostly successful, I could draw an arc that went from the mid point of each tube, and could bend the arc until it was leaving each tube at 90 degrees, then use the follow me tool. There were issues, but mostly it was good.
One thing that didn’t happen, that I thought should, is that there was no inference hint in pink to let me know when I was exactly at the correct angle.
Anyway, the starting from scratch way makes the most sense, but even not doing that, you should be able to do what’s needed without using extensions.
Just out of curiosity, Dave, when the radius of the arc forces tiny faces/lines on the interior surface of the bend, why does SketchUp make those visible edges? (ref my illustration, a couple posts up) When I tried using centerline path and joined cylinders, the interior (small) radius of the surface “blew out” with missing faces. I realize that scaling the model up to avoid miniature edges is one solution, but in the heat of creating wonderful things, we often forget. Yet when Chris used the outer edge of the surface, those non-smoothed (not smothed) lines didn’t appear. Any idea why?
@tpdes, you’ll see these edges appear when the path consists of several sections, not welded into one curve. Here in your example where edges connect to the arc’s segments. added : From another thread I see that you have ‘Weld’ extension. Experiment with different paths with and without welding the segments.
I didn’t get any seam lines at the ends of the bend and typically you don’t. I generally always weld the path before running Follow Me because it makes it much easier to select the entire path. In most cases, although not all, I also don’t have the path connected to the profile. That just makes it easier to select only the path.
I have seen cases where very small arcs and circles get exploded during a Follow me routine. I don’t know why that happens but my usual procedure for those sorts of things is to make a component of the path and profile prior to running Follow Me. Then I copy the component and scale it up by a factor of 100 or 1000, run Follow Me in the giant copy, close it and delete it before returning to the original.
Thanks, Dave.
I, too, try to avoid Follow Me paths that are connected to the profile, except when making domes. Once I’m happy with the extrusion, I delete the path. Which, sometimes, has come back to bite me on the rear as I’ve deleted the path too early.
A question about the scaling component. So doing allows larger geometry (faces and edges that stay put and don’t blow out), but isn’t it cheating the limits of SketchUp to have those minuscule features in the original component?
I’ve had that happen once or twice. If you remember not to delete it too soon, it can often be useful for more than one Follow Me operation. An architectural example would be skirting, crown, and chair rail rail around a dining room.
If I think I might be able to use the path later, I’ll make a component of it. Then I explode the original component to use it with the current profile. this leverages the fact that components remain In Model even if they are deleted from the model space. (I could untick the box for Replace selected with component but then I’d have to remember to tick it again the next time I create a component.
I don’t know. I never thought of it as cheating. Those tiny faces and short edges can exist. SketchUp just won’t make them. Scaling the copy of the component up before making the small faces is the same as scaling the entire model up but you don’t have to scale back down.
Doing this sort of thing is what allows me to create models like these. There’d be no way I could create the threads and knurling if I didn’t utilize this feature of SketchUp. These are created at actual size except for leveraging the scaled up copies of components when needed.
I guess I’m still used to AutoCAD, which allowed zooming in ridiculous amounts to accomplish such things. I’ll get to the point soon, I hope, where I can remember all these tricks to make SketchUp behave. Of course, by then, SketchUp will probably have evolved to the point where half of them are no longer necessary. Such is life.
Your responses are much appreciated, Dave. Thank you.
Thom
Without knowing exactly what the op is wanting it is worth pointing out the underlying basics of the geometry.
A straight connection can be made simply by stitching the endpoints together and smoothing the edges.
I haven’t bothered to do it fully here but it shows the method.
ctrl with eraser to smooth.