SketchUp 21.0.338 on iMac running Catalina 10.15.7
I’m looking for a native way (no extension) to create a “texture” that I can overlay on a surface and have the surface transparent.
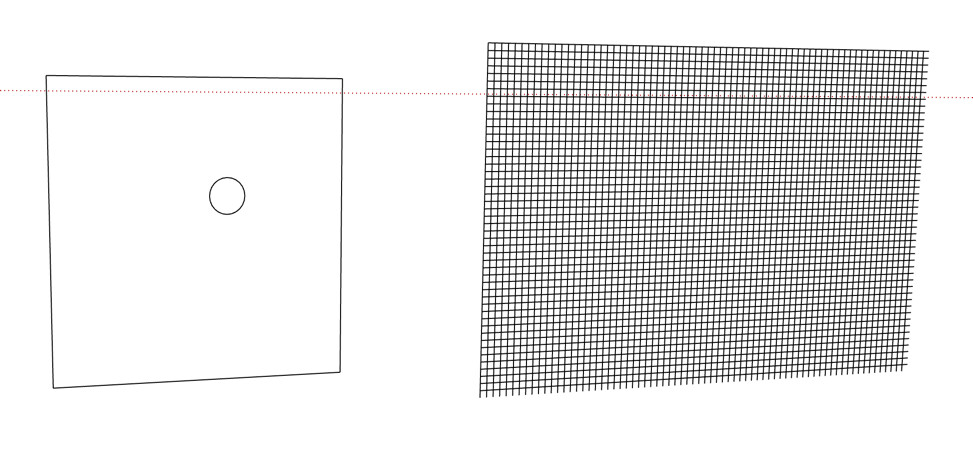
For example, in the screen shot below I created a 1/2" wire mesh, a simple box, and a circle behind the box. I’d like to be able to place the mesh in the box and then have some magic happen wherein the box has the mesh as it’s “fill” and be able to see the circle through the box’s mesh.
I tried the 3D Warehouse and could not find any appropriate wire mesh materials. I tried creating an image of the mesh and using it as a texture but when I paint it on the box’s surface, it is not transparent. I tried overlaying the mesh on the box and then using the intersect selection tool but that didn’t limit the mesh to the box.
I can of course overlay the mesh and then selectively and painstakingly erase areas outside the box but there must by a better way. Ideas?
Create a Parallel Projection view of the mesh and export an image that you can then import as a texture. Make it a PNG with transparency.
Quick and dirty. Grid modeled in SketchUp.

Changed camera to Parallel Projection and top view. Exported PNG image with transparent background. Cropped in image editor.
Saved image then imported into Sketchup as a texture. I could have reduced the export size or increased the Line Scale Multiplier to get thicker lines but this was just as an example.

Dave,
That’s what I did a few days ago and it kinda works by adjusting the opacity of the imported texture to less than 100% but if I go down to zero (e.g. my idea of transparent) the image disappears. I also tried a new image with opacity set to zero in my capture app (Snagit), but that ends up being a muddled mess when I import it and try to use it as a texture.
Some time back I found a chain link fence material on the 3D Warehouse. That works nice when dumped on a box, I see the links but still have full transparency. The only issue with using that again for my current application is the spacing on the links is to big, I was hoping for something more like the 1/2" hardware cloth you get the hardware store.
Did I miss a step somewhere?
I’m off for a root canal, so catch you on the rebound ![]()
It sounds like you missed nearly all of the steps.
Good luck with the root canal.
From your description it doesn’t sound like you did anything as I described it.
Don’t adjust the transparency of the imported texture in SketchUp. That will make transparent the areas you want to keep as opaque, too. Don’t use a screen capture application to create the image from SketchUp.
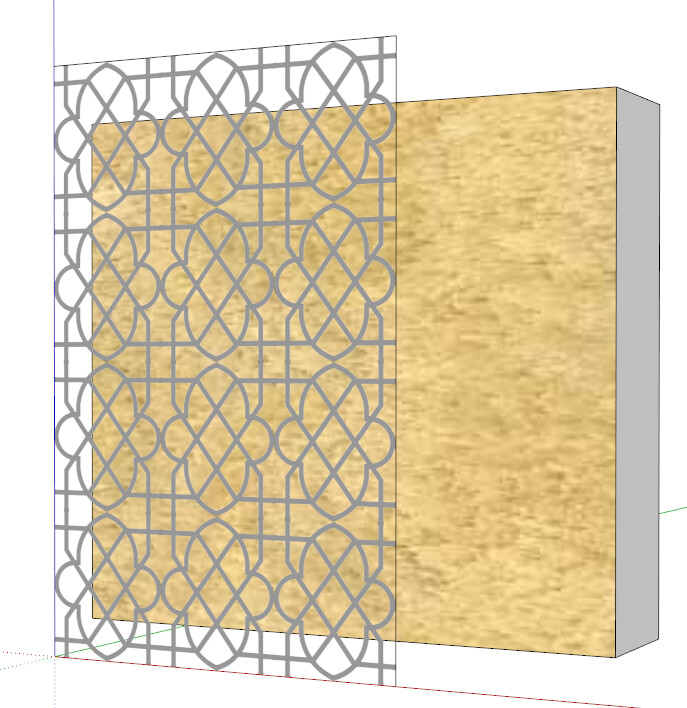
Use SketchUp’s export feature to make the image. Save it as a PNG with transparent background (set in the export options) and then crop the image in an image editor. Here I’ve done this again with a different pattern this one has a face for the pattern instead of just being edges but the process is otherwise the same.
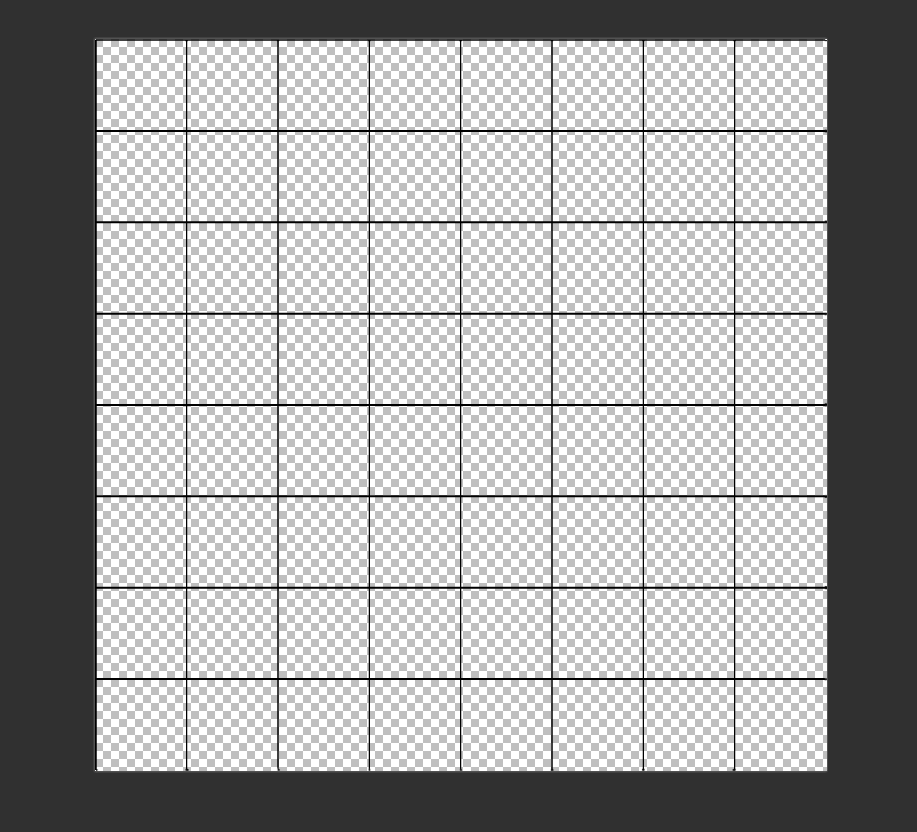
PNG as exported from SketchUp.

After cropping to the pattern. Note that as shown in the image above, I added a border around the extents of the pattern to make it easier to crop to the pattern.

The areas that show as white in those images are transparent.
After importing the image, above, as a texture, there’s no muddiness in the texture.
Dave,
Ow! I’m back…
You’re right I didn’t follow your original intent, I captured the image and didn’t use SketchUp export.
So… this time I exported directly from SketchUp to my desktop as .PNG and selected the option for a transparent background. Then I opened it with Snagit, cropped it a little and saved the image to my desktop. I then created a new texture using that saved image, and painted my box with it. This is the result, no see through.
Obviously I’m still not getting some critical details.

While the background have been transparent, it looks like your model has faces between the edges. You either need to edit the image to delete the light gray areas between the edges or you could set the face style to Wireframe and then export.
You also need to be careful with the way you crop the image if you want it to appear as a seamless texture. What you shared won’t be. It also seems like a pretty small image to use for a decent texture. this is from the image you posted.

Dave,
Good morning. I thought I had it figured (i.e. my grid had faces in each little square), but it does not, it’s just a grid of lines with empty spaces. I tried saving as wireframe, and a couple different screen captures (SnagIt, Preview, Mac’s Screenshot). None of them produced the desired result. The only way I can get a transparent image is by using X-ray in SketchUp.
You are right in that the desired texture, although real world accurate (i.e. 1/2" wire mesh), won’t look very good when used on my model. I’m working on a house model so at that scale the mesh looks like solid fill. However, I would like to understand how to make a transparent texture for future reference.
Why are you still using screen captures? The background won’t be transparent in the capture. Why won’t you export the PNG from SketchUp like I’ve mentioned several times already?
Try it my way and see what you get. For the time being don’t worry about making a seamless texture. Get the transparent texture sorted first.
Follow these steps exactly.
- Face Style set to Wireframe.
- Camera set to Parallel Projection.
- Standard view so you are looking square on at your grid pattern.
- Zoom Extents to fill the model space with the grid as much as possible.
- Create a scene for this view so you can come back to it if needed.
- File>Export>2D Graphic…
- Choose .png for the file type.
- Click Options in the Export window.
- Select Transparent Background.
- Export the image.
- Open the exported image in an image editor that will support transparency in PNGs.
- Crop the image to the grid.
- Save the changes.
- Start a new SketchUp file.
- Draw a rectangle of the size you want for the texture.
- Use File>Import to import the png image you just saved. Make sure you select Use as texture.
- Click and release on the lower left corner of the rectangle.
- Move the cursor across to the right edge of the rectangle and click again.
For a screen texture like you are making, you would be better off using the gray glass texture that is shipped with SketchUp.
Dave,
I AM doing everything up to the point where you talk about using an image editor. That apparently is where things are going haywire. I need guidance on the definition of an “image editor”. What “image editor” are you using?
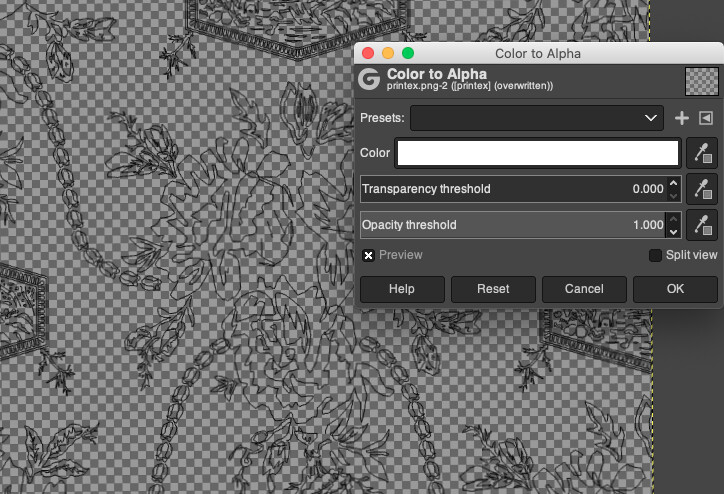
An image editor is something like Photoshop. I use one called PaintDotNet which is a Windows only option. You could also use GIMP or any of several other ones.
Dave,
I tried downloading GIMP but when it came to installing it, Mac OS said it couldn’t verify the source. You know what, it ain’t worth it. I’ll just forget trying to create my own textures.
Thanks anyway.
GIMP is a great application. Apple tries to check apps coming in for security. It doesn’t mean you can’t use it. I believe the GIMP (volunteer) community is on the up and up.
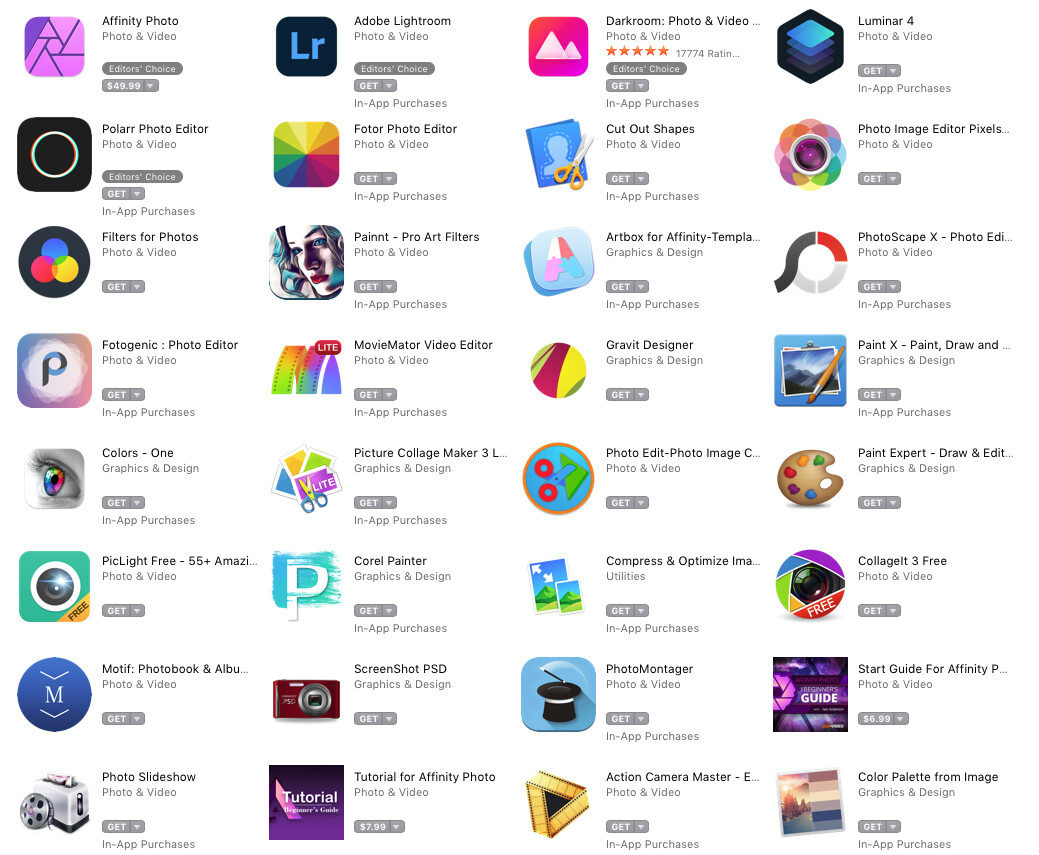
GIMP is more popular on Windows. I’ve used Photoshop since the early 90’s, but there are other choices on the Mac. Affinity Photo is a serious contender, and so to, I think, is Pixelmator Pro. I know nothing about much of the other ones as I haven’t needed to search that much.
Preview has “Instant Alpha” but It is probably not nice enough for what you want.
Just go to syspref > security to approve Gimp if necessary. GIMP has a nightmarish UI overall but is the easiest app for assigning transparency on Mac. Does it in literally two steps.


pbacot,
What’s the “instant alpha”? Is it something new with Big Sur? If not, how do I find/use instant alpha?
Brian,
Maybe I’ll try GIMP another time. It looks way more complicated than what I want to deal with.
Actually, the process he shows in GIMP to do that one task looks easy compared to what I’ve learned in Photoshop except for Select… a color range and then delete. Gee, I might get GIMP on my machine just for this one task.
It’s a tool in Preview. choose “Markup” on the toolbar and there’s a magic wand. It’s not that great actually. First of all it is not “instant”. You have to select each area with the wand and hit delete. The quality is not great, but could depend on the resolution of your image. You have to use a .png image.
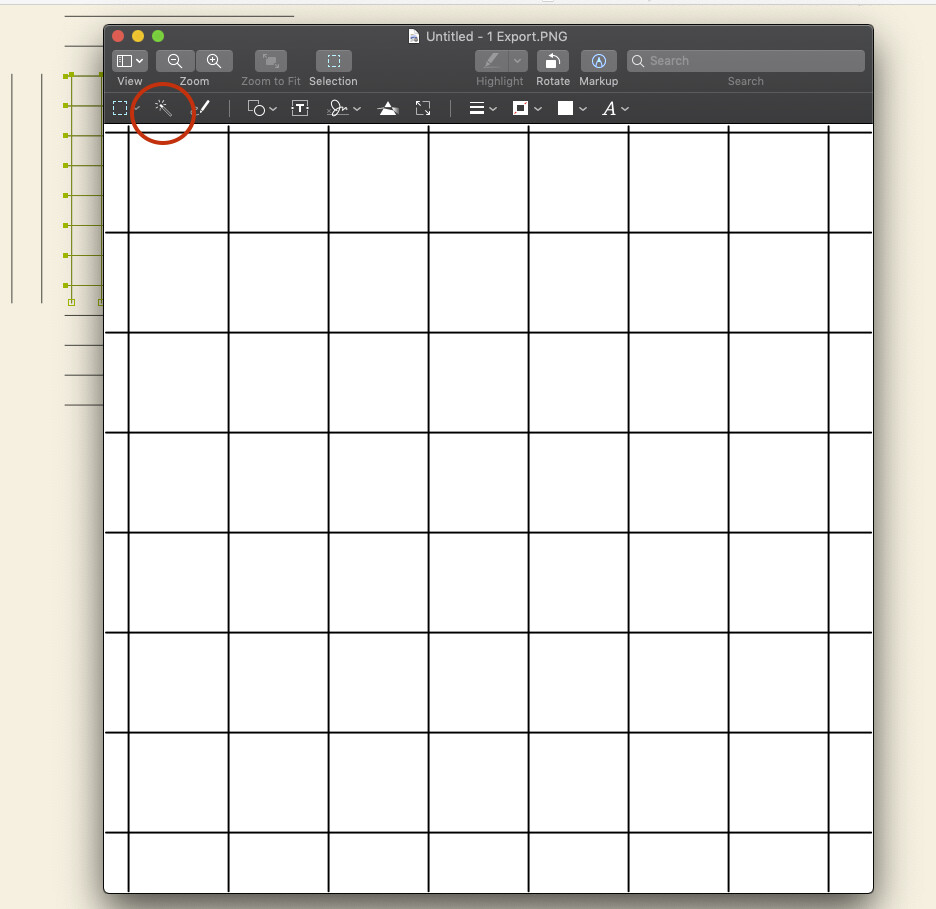
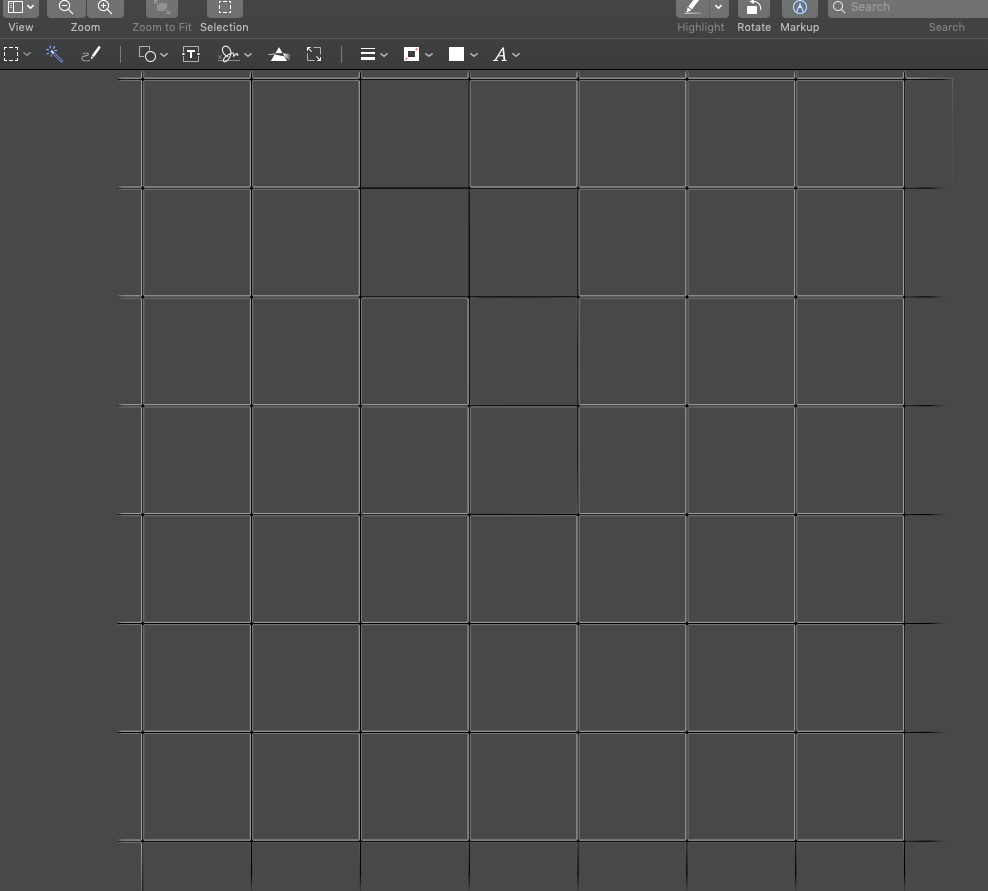
I removed all the white and saved the png, then imported to SketchUp.

I find that the Instant Alpha in Preview on Mac (available for many OS X versions, not just Big Sur - I use in on Mojave, and used it on Sierra and High Sierra before that) works fine to create transparency, but you do have to select each separate part of the image to make transparent.