I am trying to take as detailed as possible terrain elevation data for an area approximately 1.5 km x 2 km. I can zoom out and grab all of it, or I can zoom up close to grab the entire area in 30 or so separate grabs. Is this necessary, to zoom up close in order to get all possible terrain (elevation changes) data?
Hello Edward,
Two things affect the resolution of the imported TIN; area and location.
• Grabbing a small area imports a finer mesh than grabbing a large area.
• Google uses more than one elevation data source. What you get depends upon where you are.
As you’ll see in these models…
Some areas, like Portland, Oregon, feature quite fine height data.
While others, like Portland, Wisconsin, are barely half that resolution.
Making two or more TINs into one functional terrain (no gaps, overlaps or stray edges) is not a quick task.
See Ref: [1] regarding functional terrain
Subsequent operations may be difficult or impossible unless the terrain is functional.
The problem being the geometry of successive grabs does not perfectly align with each other.
See image Ref: [2] … Shadows are on. Note the gaps where the two TINs overlap.
You might try using this plugin to make multiple TINs into a functional terrain. YMMV
Clip or Trim Terrain Mesh v1.1 by SD Mitch
Then there’s the manual method of bringing them together to create a single, functional terrain.
Melding 30 TINs into one functional terrain surface will take no small amount of time and patience.
Before you begin:
Unlock the TIN groups and assign each to a separate layer to control visibility.
Turn on hidden geometry and monochrome face style.
• Trim the Individual TINs
Draw a temporary vertical cutting plane where the TINs overlap.
Copy > Paste in Place the plane within the context of each TIN group and then erase the original plane.
Open each TIN group and intersect the TIN with the temporary vertical plane.
See image Ref: [3]
Erase the unwanted geometry of each TIN where it overlaps the other.
Erase the temporary cutting planes.
The edges where the TINs meet are now coplanar, but in many places, they are not connected.
See image Ref: [4]
• Fix the Gaps
Select both TINs > Make Group
Open that group and explode the individual TINs
Now drag adjacent vertices together with the Move tool. Use Auto-fold (Move+Alt) as necessary.
See image Ref: [5]
• Flip Edges
Use the Sandbox/Flip Edge tool to restore order to the TINs, as needed.
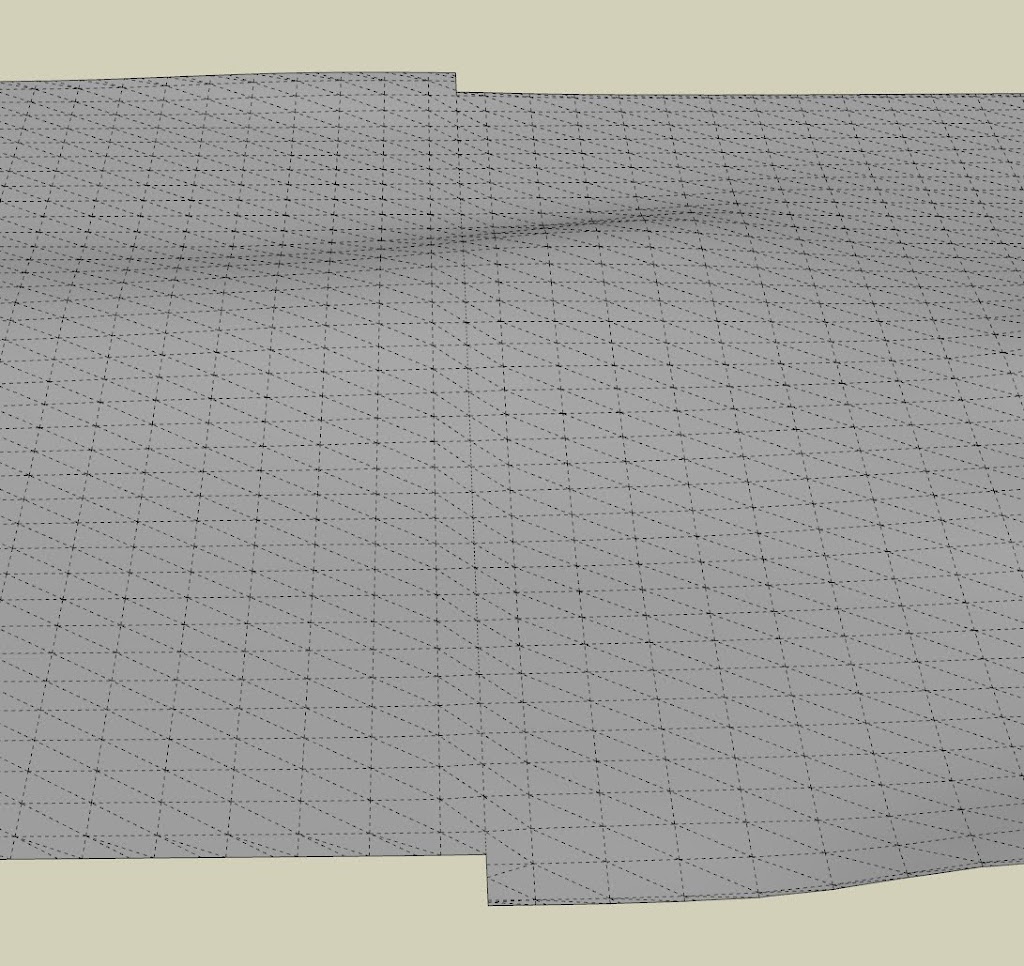
See image Ref: [6 & 7]
The result is a single, functional TIN with one surface. No overlaps, no gaps and no stray edges.
See image Ref: [7]
Ref 1
Sculpting and Fine-Tuning Terrain / Functional Terrain — SketchUp Help
Ref 2
Gaps Between Two TINs

Ref 3
Trim Each TIN with a Plane

Ref 4
Gaps Remain Where the TINs Meet

Ref 5
Drag the Vertices Together

Ref 6
Flip Edges to Keep the TIN Orderly

Ref 7
TINs Neatly Connected
Ref 8
A Single Functional Terrain from two TINs

3 Likes
you ask some question 1st. Is this necessary. Ans: I think is not necessary for separated grabs.