I’m modeling this.
I’ve gotten some help from Justin Geis to put the pattern onto the blower body, but am stumped getting it to work on the air plenum that sits below. Here’s what I’ve gotten so far.
Here’s an image of the test file I’ve created to do this without messing with the main drawing.
I’m attaching the SKU file too. Flowify keeps telling me that my target lines are not connected to the correct vertex. I’m not even sure what that means. I also want to know how to do the carving on the back face of the plenum to give it the same shape as in the photo of the engine. Intend to resin 3D print this part when it’s done.
Flowify Test 2.skp (386.5 KB)
Forum help will be greatly appreciated.
I regenerate the main surface with curviloft plugin and flowify worked, but here is the resault… It can be fixed but needs too much works… I suggest you to use intersect operations and joint push pull…
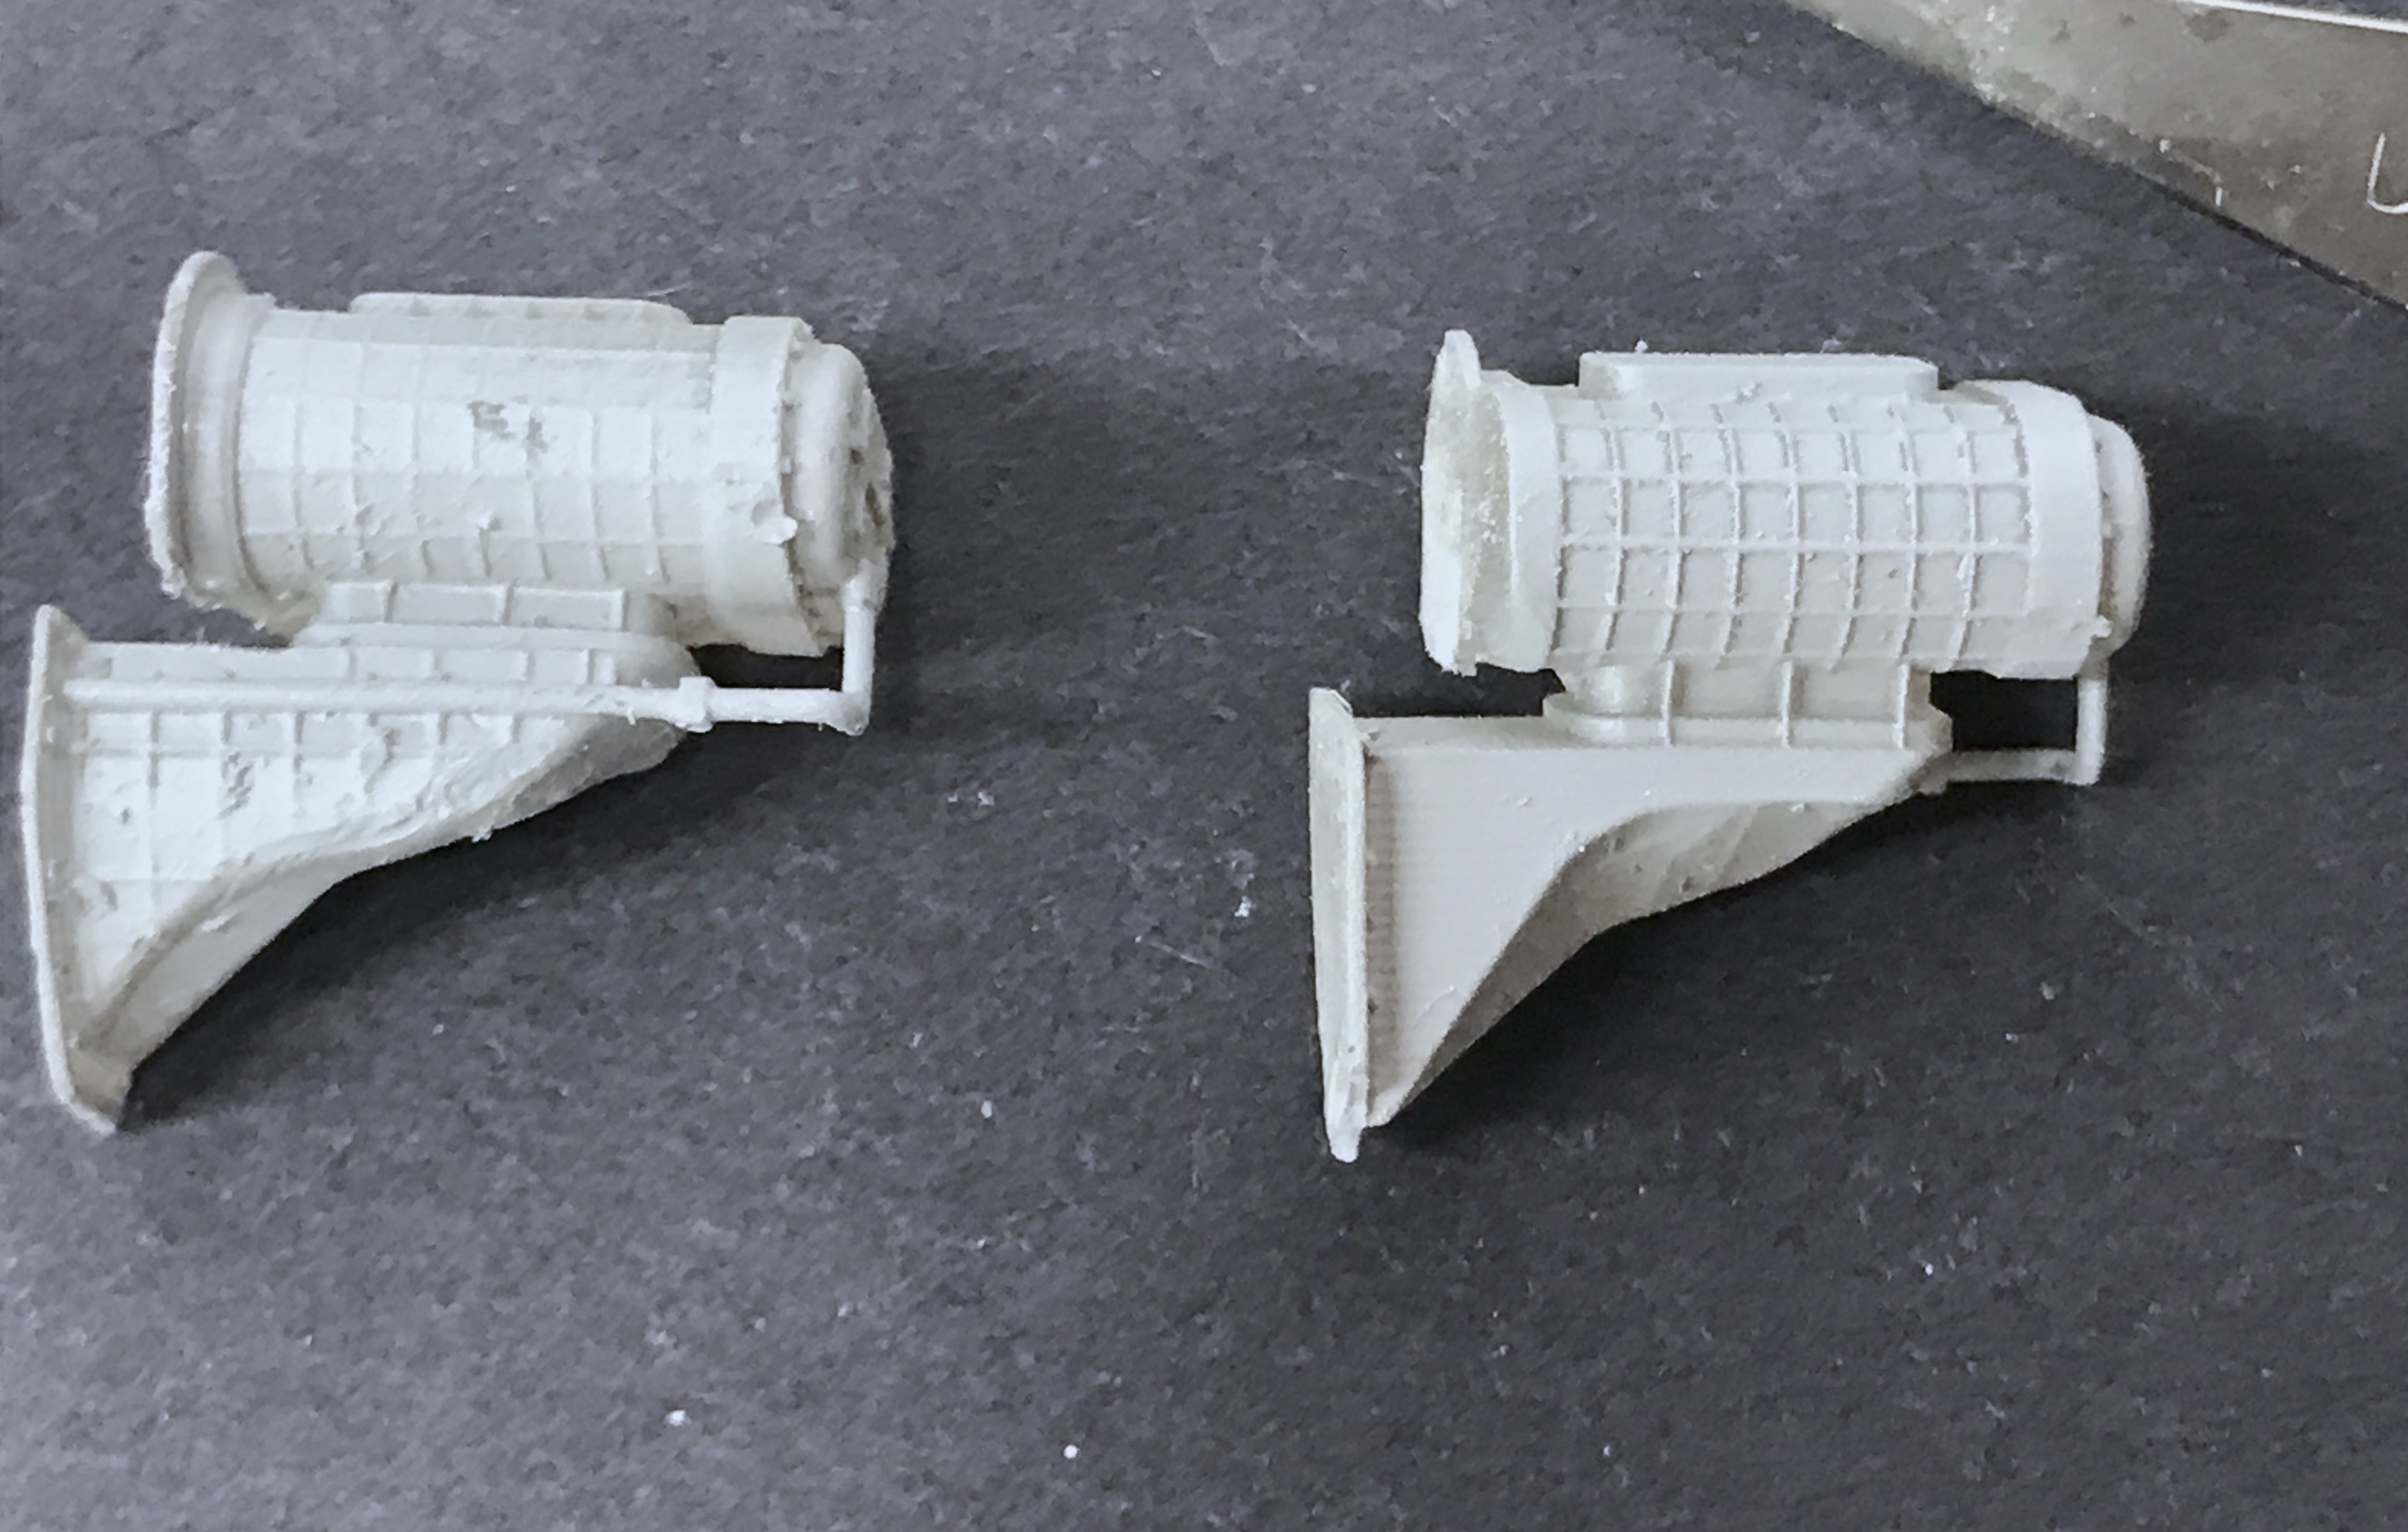
I got the front face done by bending the patten and then intersecting faces. It was a bear. Lots of hand work to erase all the unwanted stuff. Then I had to do the back. That was near impossible (for me). I had a colleague in Lyon, France try and work with it and between the two of us and five days of effort, I got the shape I wanted. Again, I had to go back and remove and add triangles by hand, constantly searching for any gaps or reversed faces. This part had to be 3D printed so it needed to be solid and without reversed faces.

!
The model is 1:48 so the blowers are a little more than a half inch long. The ribs do show up!
567%20Grown%20Blowers%202|690x438


