I’m just starting to design some products for 3D printing. After I have the base design I want to import a product vector logo designed in either Illustrator or Affinity and deboss the logo into one of the products sides. Can anyone tell me if this is possible? I can’t seem to work it out.
I don’t know about Affinity, but you can export the logo as DWG or DXF from Illustrator and import it into SketchUp Pro, add faces if necessary and push or pull.
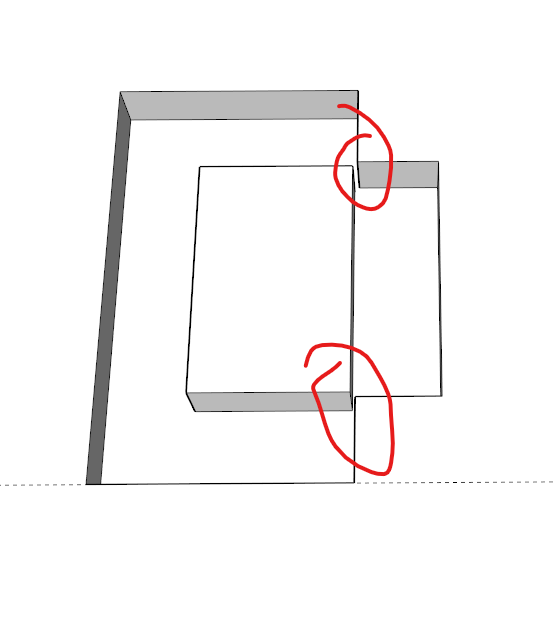
Thank you for the reply. Just one question, how do you add the text to your solid in prep for using the push/pull tool? When I put the text on the same plane as the solid and use the push tool into the solid to try and create the deboss, it just goes into it and behind and doesn’t make a deboss. Hope that makes sense. Cheers
Hi Dave, here is the file… I’m trying to deboss the DXF file of the text Digitakt into the case component as you’ll see. When I double click the component to enter edit mode, I can’t push/pull the text. I need to pull it down by 2mm. No doubt I’m doing something stupid!
For pushpull to work the way you want the geometry needs to be in the same context.
So Here you see I use Cut, then Paste in place to get the lettering inside the block component.
The context menu off screen is Explode, which removes the wrapper from the text so that it intersects with the block.
Then a simple pushpull and double clicks to repeat.
Two side notes on your model.
You should delete the tag Layer 1 and when it asks choose assign to Untagged.
This layer has probably been brought in from the cad file and it will only cause problems.
The nature of your logo, the points coming together, means the component will not be seen as a solid by sketchup, but will probably print ok.
I’m adding support panels in the inside of the component now but it’s not allowing me to add them to the existing component because as you say, it’s now not considering it as a solid. I assume the only way around this is to complete the component fully before adding the logo?
By the way, if you want to make it a full solid it only needs a couple of tiny adjustments on a couple of letters. I just used pushpull to make a gap at these points. Depending on how you do it there will be a couple of small faces to delete.
Because you are working at such a small scale it is difficult to just pushpull a small amount, but you can use the offset tool to give you something to snap too. Then delete the bits you don’t need.
The added benefit is that the Pushpull tool will now double click the same distance so you don’t need the offset on the other letters.