I am not going in depth as I am a newbie myself. Plenty of like minded railway modellers have learnt the basic’s of designing model buildings and cladding them with Oob brickwork.
I put a link at the top so you can have a look and tell me where I am going wrong.
Of course that’s your option. Even when I’m modeling for my hobbies, I prefer to use the most efficient methods I can while I’m modeling in SketchUp so I can spend more time actually working on my layout or building a piece of furniture. That’s only my point of view, though.
I have tried this in SketchUp make and someone else tried the same file in SketchUp Make, it looks like this procedure does not work, unless there is a SketchUp make user out there willing to try it and tell me its me at fault?
Eddy
There’s no functional difference between SketchUp Make and SketchUp Pro as far as the method Box and Mihai.S showed you. It must be a step you are missing.
Your wall is a very complex piece of geometry and as such needs a bit of persuading, hence the scale up by 1000 and the selection of only the area around the intersection. Without scaling up you will run into problems with the edges not actually cutting through fully and limiting the selection area means it doesn’t have to work so hard.
You need to understand the various steps. Softening the whole thing makes the face become one allowing selection easier but it also means you need to turn hidden geometry on and off at certain times.
Here is the process done on a simpler piece of geometry, hopefully you can follow the steps here to reproduce it.
Oh why cant I get this!!!
We are neck and neck up until this point where the extruded cube has been intersected and the cube has be deleted.
You can select your intersected bit of wall and I cannot.
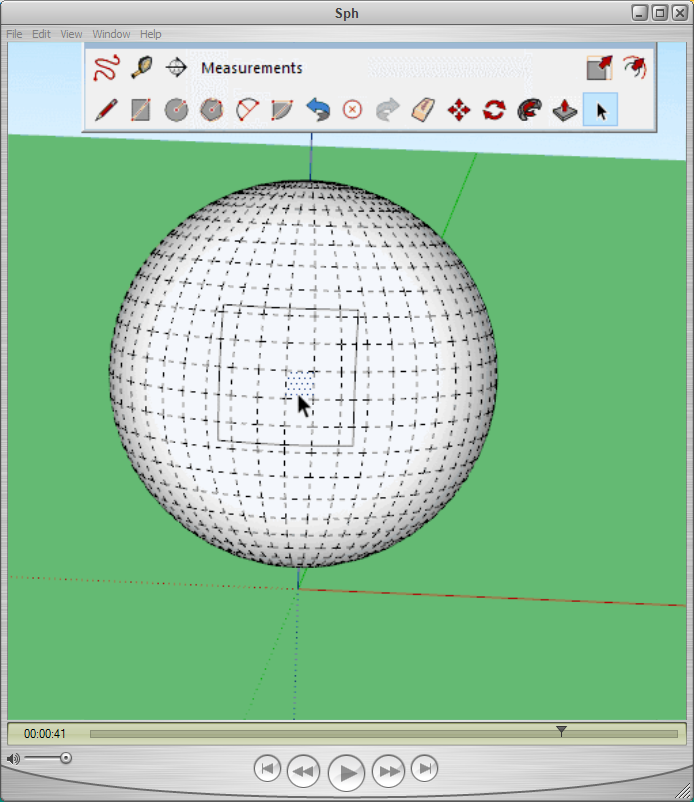
Hidden geometry, a fundamental of sketchup, everything is made of staight edges and flat faces. All curves, whether they are lines or faces, are faked by by using ‘graphic smoothing’.
So go to the view menu and untick or tick hidden geometry depending on when you need it and when you don’t. This is such a basic tool neither of us felt the need to explain that part. I have it set to a keyboard shortcut as I use it so often.
If you look closely at what I have shown you and written to you, and in the first step you will change the settings for edges to the soft and smooth edges, then you will be able to get the desired result.
Your unsoft and unsmooth geometry
I created you and I showed you a special gif for this step, you just have to read it and watch it carefully
So I have finally sorted. I did soften & smooth edges right from the beginning but I don’t think it was affecting the model, so I started toggling the Soften Edges buttons and hey presto the model started reacting.
I goes to prove you get stuck in a mindset and it doesn’t matter what people tell you it just does not get through especially a newbie pensioner
Thank you very much for your patience and perseverance it is much appreciated and very good lessons learnt.
Just to prove I can model a little, some rolling stock for my railway.