I am trying to figure out how to design from 4 photos a Bike Seat. I did find a few tutorials, how to do front back and side of the car, but I can’t figure out how to do it from the bottom…
Also, I need a guide on what tool to use. What to press… Proper tutorial…
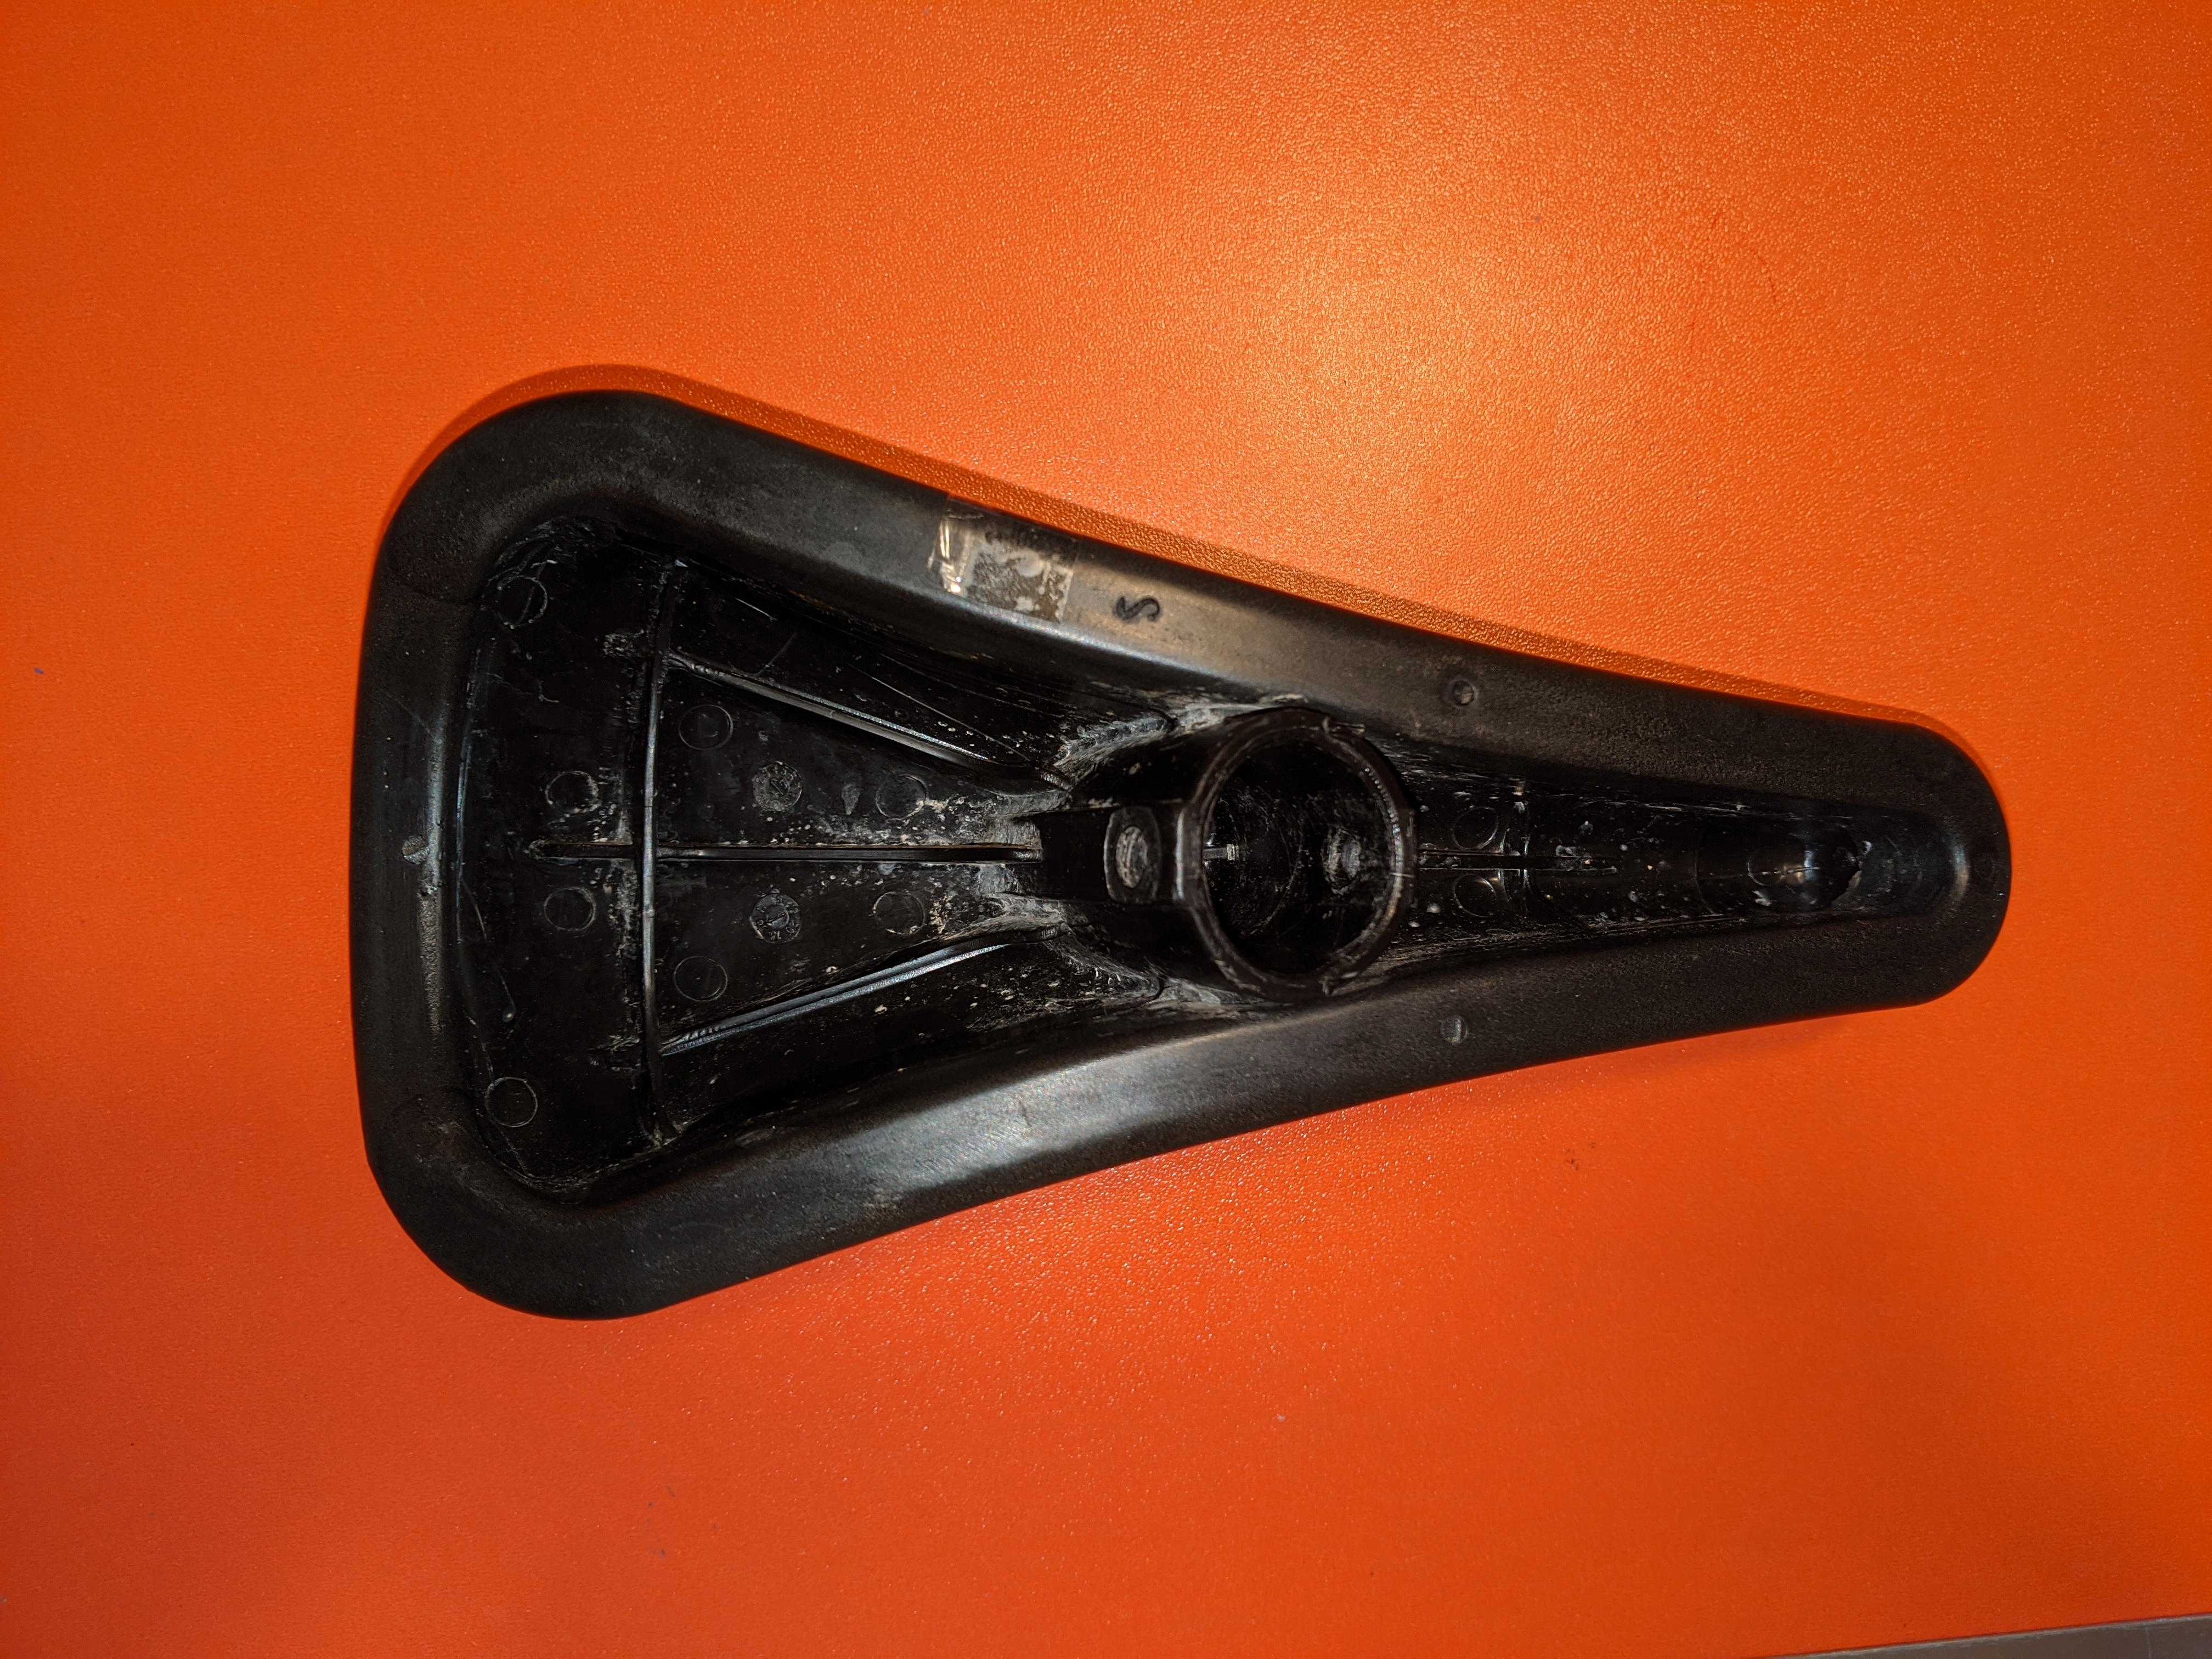
In the warehouse, I found a couple of bike seat models, with quite nice design from the bottom.
Where can I find a good tutorial? Please
Can you share what you’ve got to work with?
It is a photo of a real bike seat… Made with a mobile phone…
I know the model will not be perfect, but I want to customize it
Share what you’ve got.


OK. So you can import the images into SketchUp as images and trace them. Then use Push/Pull to extrude them through each other to create the 3D shape. Although more complicated than your seat , take a look at how Aaron works from images in this video.

Great thanks. I already did watch it… I am a bit confused/scared of how it will work with the bottom since this tutorial hasn’t been done anting on the bottom. Is there maybe any simpler tutorial than Cobra?
Really the bottom isn’t any different from the top. You just have to work out the geometry required. IfI had the seat in front of me I probably wouldn’t use any images. I’d just take measurements off it and work from them.
Yeah ok, but you are an expert, I am new at 3D modelling… I guess I just need to grab it, and start with it, and see how it will go ![]()
I was hoping that there is some simple tutorial like you can find for Blender… But then again Blender seems complicated…
Thanks
For the non-Aaron approach, using solid tools to do most of the work, you need at least three images that are scaled and aligned nicely. I made a SKP, after doing the Photoshop work. I will play with it more, but this is my starting point. I made it be 2016 format so that more people can play along.
saddle.skp (1.3 MB)
That is nice, thanks… Would you mind recording a tutorial ![]() ? I am sure some others might require it also?
? I am sure some others might require it also?
I’m not sure I’m an expert but I didn’t learn what I know without practice. Start with simpler models and work up to this seat.
Here is a picture and a SKP I can talk through.
I used Photoshop to isolate the parts and to straighten them. I used a 1280x720 document size, then made three rectangles of 128x72 inches, and imported the three images to be textures for the three rectangles. That’s the first set.
I then traced the outline of each one. Still the first set on the left.
I made them be groups, and used push pull inside each group so that it stuck out beyond where the others reached.
Then I removed the three rectangles and closed off the back side of each part, to make them be solid.
Last, I selected the three and chose Tools/Solid Tools/Intersect.
The rightmost one is just the same, only exploded and given a brown color.

saddle.skp (1.8 MB)
I can see that something isn’t exactly right. Just thinking about it now…
Ok, it seems the photos may have been different field of views. I cheated it until things looked right, and then the solid tools came out looking more normal.

saddle2.skp (3.0 MB)
You are far too modest!
Wow in 10 minutes you have done this… Awesome… There is a bunch of tutorials, which are basic. And tons of tutorials than are hardcore, But nothing in the middle…
How did you cheated, please ![]()
Aaron’s approach is often to block out the general shape with cubes, and then use extensions (SubD and Vertex tools for example) to mold the cubes into exactly the right shape. It is more advanced, and does give better results. I rushed the tracing that I did, it could be smoother than I made it. Also the underneath hollow parts might have to be done manually, there isn’t an outline you can trace in the way that I did it.
I actually learned this approach when I was a technical reviewer on this book:
For the cheating I scaled my tracing of the back of the saddle to match the size of the side view, then I only scaled the width of the top view, as the length was already correct.
It is basic, but still a lot for couple of minutes… I do want to make it more smooth and accurate, so I guess I will have to go with Aaron’s approach, and bottom is another issue… I just wish that Aaron’s approach would be done on some simpler model…
What is the end use for the model?