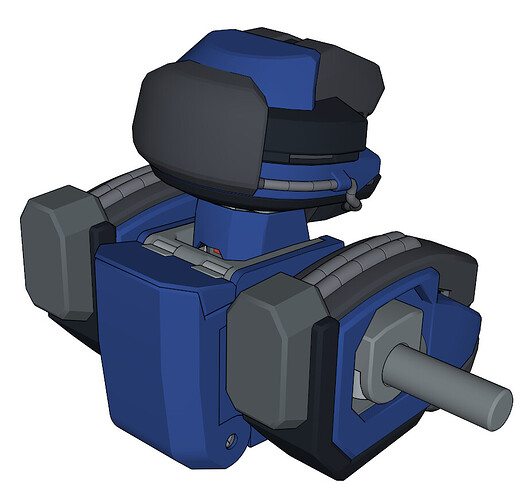
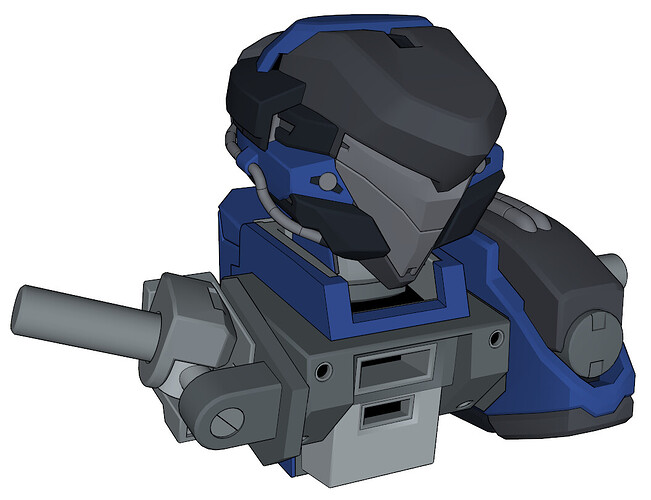
Arcwalde's Robot Sketchup Gallery

Figured since I started posting here, I’d go ahead and drop a few samples of my work. I’m pretty much a hobbyist and make things for myself for various story ideas I come up with. I’ve never done commissions. Most of my work I make air tight with as little clipping as I can, so the models can be quickly and easily converted for 3D printing.

I primarily design mecha, or robots. I’ll sometimes dabble in ships, rarely in actual architecture (But I do make buildings and areas for backgrounds.when I want to). The extensions I primarily use for my works include CleanUp, a ton of Fredo6 stuff and Material Tools. I’m pretty much self-taught, so I don’t understand the more complex intricacies of 3D modeling and a lot of the terminology thrown around.

Some people question why I do this in Sketchup and not other programs like Blender, where they can be rigged and animated. But my friend got me hooked on Sketchup enough to buy a Pro License back when Google still held the reins, and never really looked back. The simple user interface and easy to use tools really clicked with me, along with the readily available number of functional extensions.

This is one of the latest models, the Maxwell.

Like a lot of my models, it features an inner frame. This allows me to pretty much make multiple different models on the same frame, so it’s pretty convenient.

Here’s one from a couple years back, called the Nocte. Tried making it more fantasy-themed, but, well… it’s a giant robot, what can y’do. This one also has an inner frame.

For some models, even though it’s pretty pointless except for my own satisfaction, I’ll even go and design little mechanisms and fully detailed cockpits, like so:

You can see some of my works rendered through Sketchfab here: Turinu - Sketchfab

Thanks for any comments!

19 Likes

Have been watching you on Dev for awhile, a big fan of these awesome mechs. (Was scouring the forums wondering why they weren’t here lol) I’ve also always wondered how you make so many of them, it’s really quite the lineup. If you’ve printed some that would be a cool thing to post too :grinning:

I’m in the same boat with making mech things as a hobby, if you ever want to do a collab like an animation let me know.

Thanks for sharing! What’s your approach to begin making pieces of smoothed geometry, for example the top of the “head” of that first robot. Curviloft? How do you like to modify those surfaces from there.

Awesome! And a very nice gallery in sketchfab too!

Wonderful work - i like it - particularly the art is made with sketchup.

Pretty much everything is done by hand, I guess you can say? I do use Curviloft to connect the odd edges here and there, But for the most part I start with lines and connect 'em, or I create a square face and cut it up with lines, using tools such as scaling or just the selection and move tools to make the shapes I want. If the faces end up as a tri, I’ll try turning it into a quad.

I keep at this until I have a solid piece in as close the shape I want. When I’m connecting pieces using Solid tools I’ll usually have to re-adjust parts by connecting the edges to endpoints so it doesn’t create an odd “blemish” on a smooth surface, though that usually results in the creation of tris on a former quad and I have to adjust it again, :thinking:

This pretty much lets me shape it the way I want to get the curved surface I want, then I use soften/smooth to generate the effect I want.

Thanks!

These are awesome! Have you 3D printed any of them?

You might appreciate some of the stuff Justin Chin (not on our forum I think), aka InifiniteMachine. He doesn’t do mech, but his use of SketchUp is just so creative.

An image for attention:

He did this work back in 2007 (so a much older version of SketchUp) but has recently started working on this again since the quarantine, he does a Twitch Stream 3x a week as he works on the storyboarding for this project.

1 Like

Only ever had one model printed out, and it was a pretty standard pose. It cost $150 bucks at this size so I’ve been ultimately holding back on getting more done. This was printed out by a group called the FORGE 3D Printing Studio in Florida a few years back.

Never touched it up, pretty sure it’s yellowed by now. Gave it to my mother because she like’s collecting my art stuff like this, lol.

At some point want to get another printed out, have the print lines smoothed out, and get someone to properly prime and paint it. Might be easier printing it out in pieces for that though to make my stuff easier to print.

5 Likes

The scale is smaller, but you should check out the subreddit for 3D Printed Minis… there may be some tips for tuning your model, but probably moreso you’ll see that the quality of doing this stuff at home can be amazing. For the $150 to print your model, you could actually get started with a resin printer.

Actually, on that note…

image

A mini was attempted. It wasn’t that bad, and the material used to make it was pretty good, but, well… as you can see, was a bit flimsy on account of how the joints were modeled at the time.

They did test print my model using a new material, and the results weren’t too bad (Probably needed to make the sword thicker for this) and it turned out like so:

This might be the future size for any print attempts lol.

2 Likes

I figure it’s been awhile since I’ve posted any works, so decided to post my latest WIP. No name for the project yet.

Currently working on the upper body assembly. I start with an inner frame (shown below), and then build around it:

This particular model also comes with a built-in cockpit (Currently a WIP), screenshots below:

I don’t know why I try to add detail to the cockpits, as if I expect someone to be actually sitting in there… but that’s part of the fun.

With this model I’m trying a new assemblage with the joints to give them as much decent motion as you can give a mecha:

I do try to avoid clipping as much as possible, so I build the armor around the joints in a way that I get at least 15 degrees of movement in most of the directions it can be oriented. I also try to build in rotation points on the inner frame so I can just had the armor via tags to rotate parts into place, since I can’t do any rigging.

Anyways, that’s my progress report for today! Next time I upload one should hopefully be completely done with the core of the unit, then move on to the arms, waist and legs.

12 Likes

A progress update on the model, showing the current progress on the armor, current progress on the inner frame, and good ol’ Sang added for scale reference:

8 Likes

Another design update. Finished the shoulders, made an inner structure for the head, and pretty much completed the upper torso. Starting work on everything from the waist down now, :slight_smile:

Also updated the color scheme to something more dark and muted, makes it look a bit more intimidating now, :thinking:

4 Likes

Another day, another update:

Testing out part articulation as I progress with development of the hips and legs. Hammer kick!

3 Likes

well, call it all you want, but we all know that originally…


:innocent:

6 Likes

Nearing the end. Just gotta finish the legs, feet, and add some skirt armor:

4 Likes

I’m not mech fan, but I do want to congratulate you on the excellent work. Very well done. :grinning:

Finally finished this one. Official designation the E601 Laplace.

11 Likes

First WIP using Sketchup 2024, playin’ around with that ambient occlusion:

Getting a lot more FPS even with more complex models. Testing it out with older models:


Really enjoy some of the new features introduced with Sketchup 2024. That doesn’t make up for the fact the toolbar icons are still mid. :frowning:

4 Likes