new member and new to 3D design
Looking to make a embossing wheel to imprint a 3D design onto leather
The 3D print will be a animal about 2mm thick and be wrapped all around the cylinder so that you can roll the cylinder along leaving a imprint of the animal like lots of cameo’s
Can anyone advise if this is possibe so i can 3D print the final item
Yes it can be done.
How depends on several things.
Your skill level
The detail of the design.
The final result needed.
The Sketchup version you are using, It would be difficult in the web version.
Hi thanks for the reply
Unfortunatly skill level very basic as just looked at Sketchup and as a persioner unable to afford the full version
The detail is small basically say a horse embossed would only be about 30mm high so basically enough to show main mussle lines around top of legs and face
Thinking of running horses embossed onto a leather belt similar to this
I had hopped that it would be possible to wrap a design around a cylinder easily like you can do in Tinkercad for text just like engraving a logo onto a ring sort of thing
This is one way, this can be done with the free desktop version, Sketchup Make 2017. Assuming you are not doing it commercially.
I made this by importing a .dxf for which you need Pro, but you could trace an image to get the geometry. However, muscles and such makes for some intricate details that may require a significant learning curve.
I have use an extension called Truebend to make the flat into a cylinder.

Thinking about it, ideally you would want to start with a flat vector graphic which you could adjust as necessary to produce pullable faces, then use Fredo’s Joint pushpull Molding option that will pull the faces to a taper centered on each face, Then Truebend or Shapebender to make the cylinder.
Another good plugin to wrap that on a cylinder would be “Flowify” (with a version that can handle plugins)
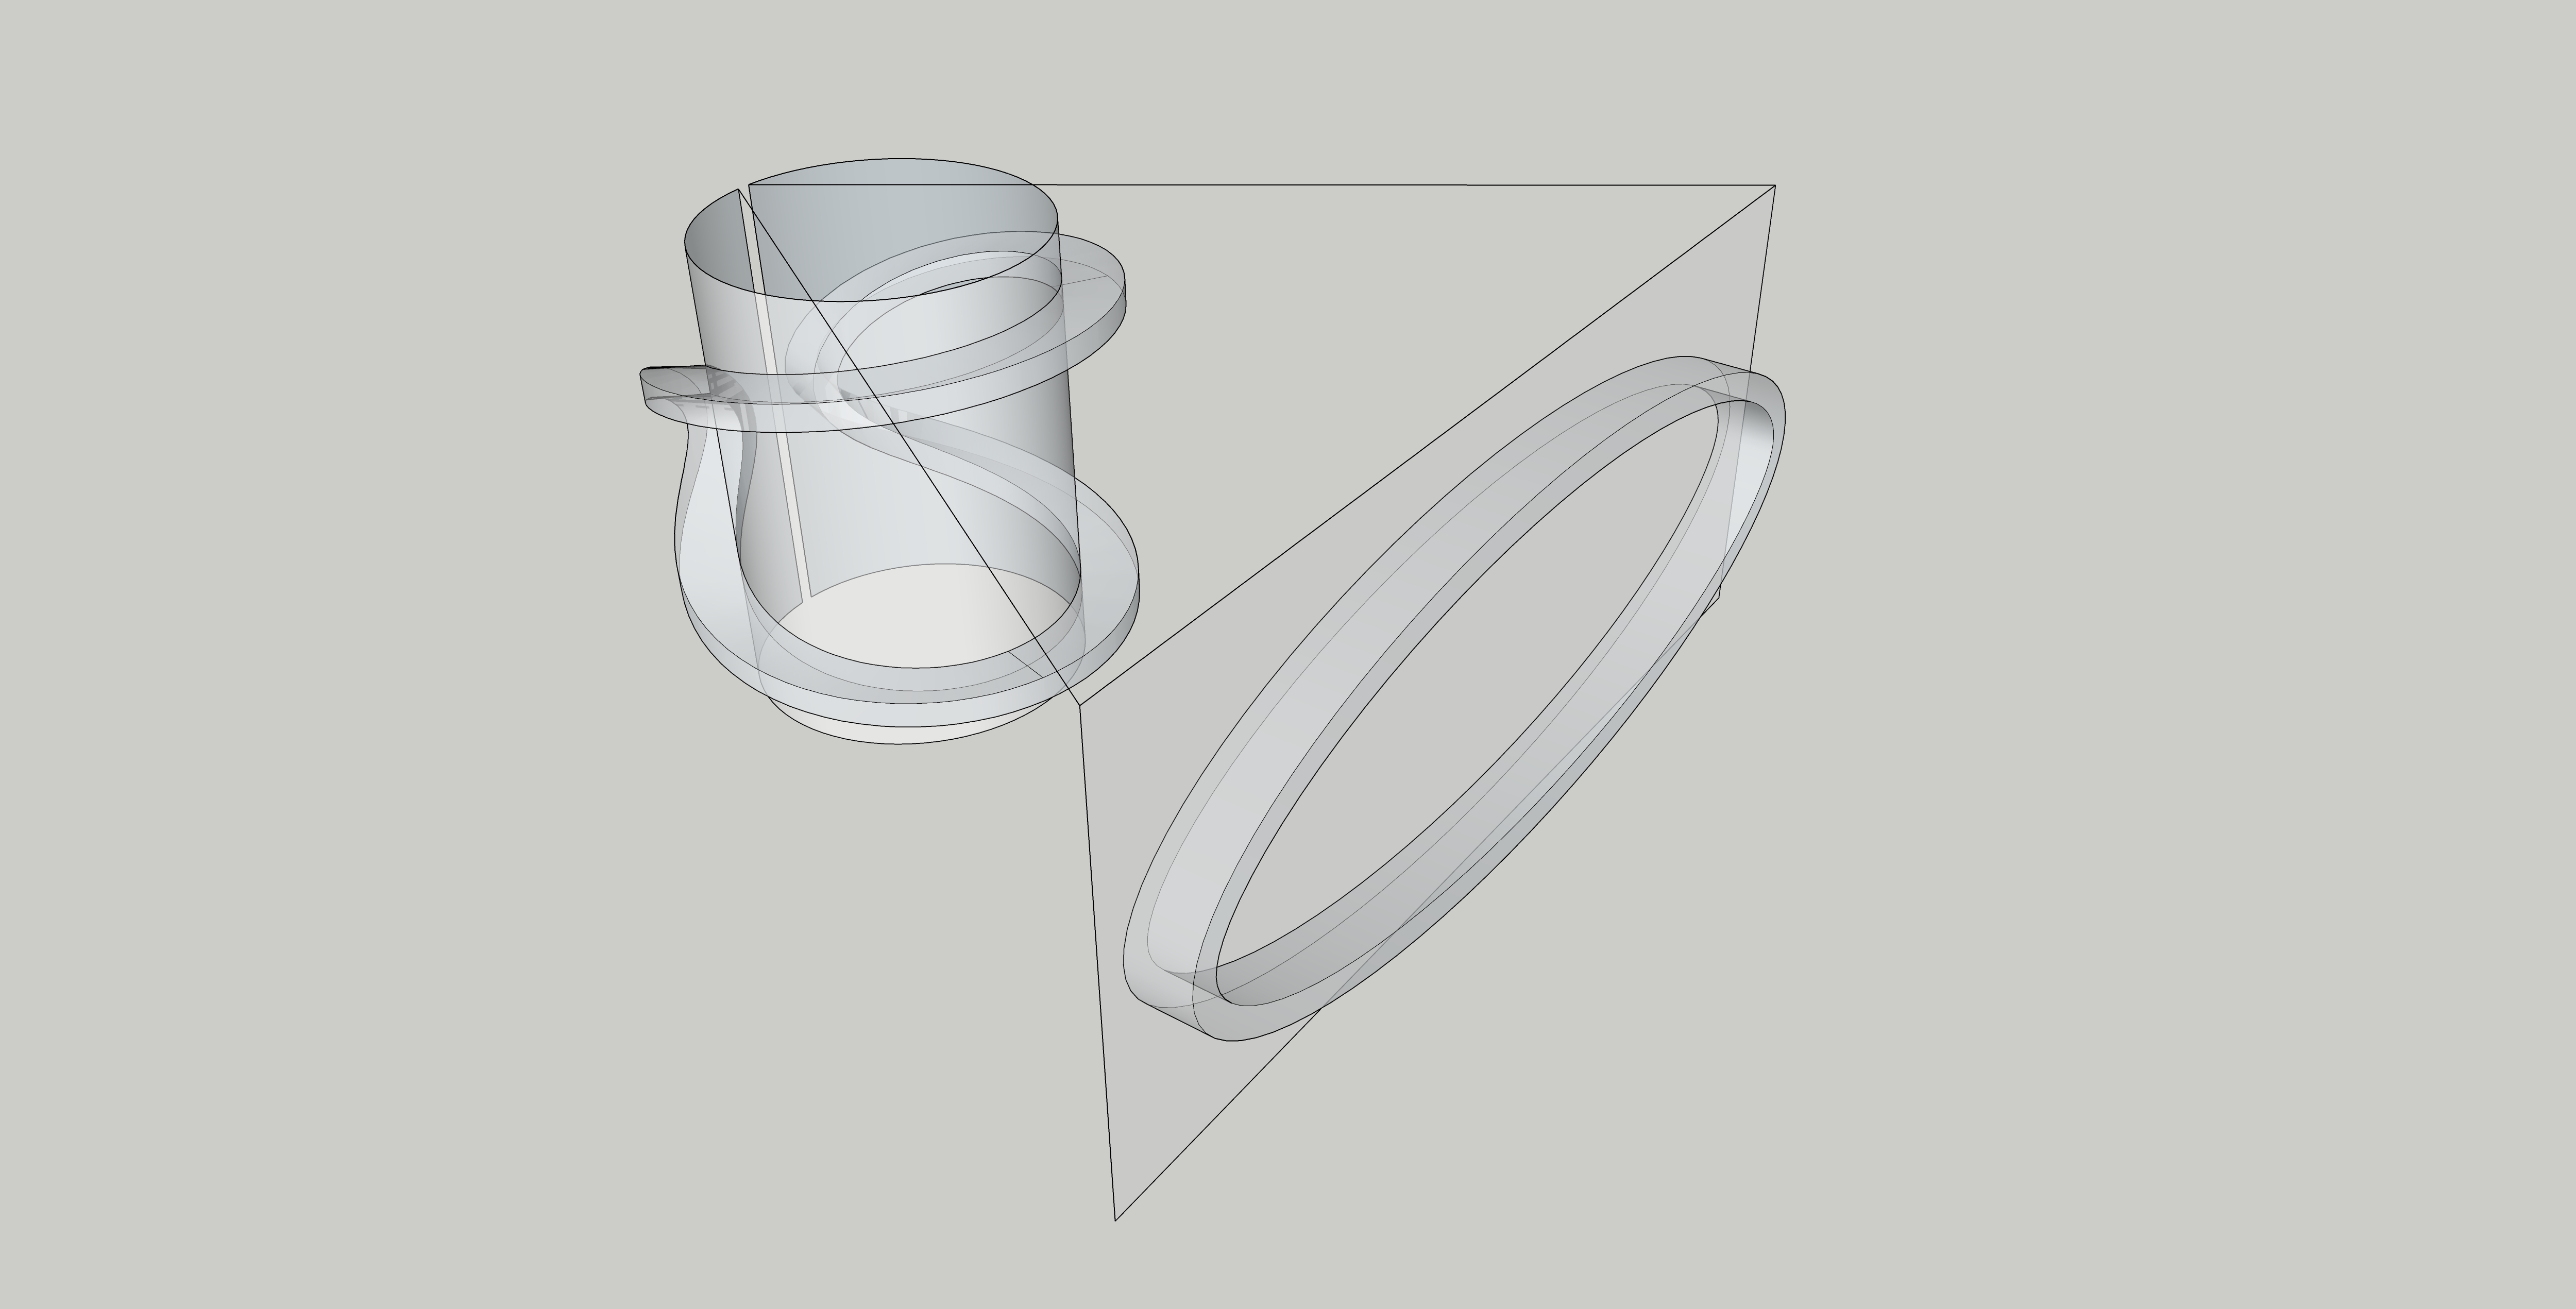
I’m curious as I haven’t actually tried flowify, will it do 360degrees?
Kind of. (See attached) much like the “true bend” it needs a four corner face, so I removed a slither on the back of the cylinder and then would reheal that gap after. For the cylindrical bend, perhaps true bend is easier? but flowify really comes into its own with more complex/bezier surfaces.

comparing the two. Not sure if there is any way to control the facets in true-bend, but it creates a coarser transformation, even though there is finer geometry within it?


edit( added comparison )
Just type the number of segments you want during the bend process including the s.
If you watch my gif above you will see a quick flash of me typing 72s.
Many thanks folk’s
The problem i see in my inexperienced way is that i believe the 3D animal would have to be in STL format to show some shape even though it;s a small model shape and that it cannot be distorted
Also once sorted hopefully i could just import a fresh stl design and everything else remains the same as circumfrence would be identical
I have done this in the past by making a Template [ to generate a custom 3D font set that wrapped around a helix ]
I set up and ‘locked’ proxies for the plugins I needed…
this could work for methods shown by @Box or @whiterabbitdesigncompany…
I was using it with Shape Bender and needed to ‘bend’ along two curvatures…
I dropped the line work into the first proxy >> run the extension >> selected the result >> ran extension on it…
there were more steps, but once I had the Template, it was very easy to make the next one…
john