Following up on this rendering topic (What do you use for rendering?), I was asked how I get good results with VRAY (without being a VRAY pro as I am surely not). Here was my response in 8 steps to this poster for those that may be interested as well.
Would love to hear others with tips and tricks with SU+VRAY to streamline workflows, find good assets, increase quality of result, etc.
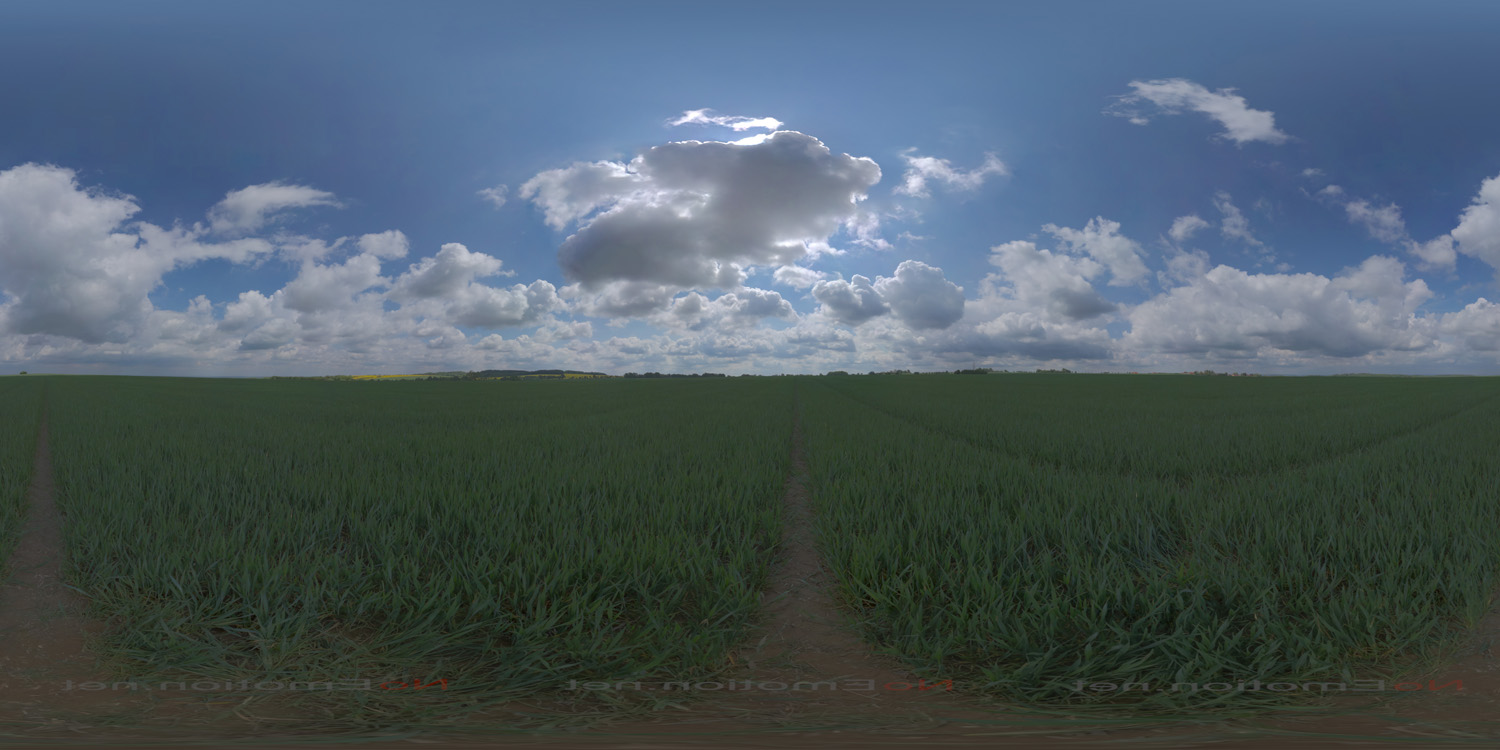
HDRI images used to light the scene (especially when downloaded from a free source) can often be way over or even underexposed, causing unnecessary sky issues for the final render - and the need to replace with a static image.
With 32bit colour photo editors such as Adobe PhotoShop, you can edit the exposure (using the exposure tool) to end up with useable HDRI sky images in the final render which also maintains lighting consistency between sky and building.
This example is from Noemotion - available for free download under a creative commons license. I have deliberately overexposed the first example and the second is a correct exposure without blown highlights or black shadows.
The second image does look dingy, but is fine as an HDRI - you can increase the light intensity significantly in render software - they are not meant to look like a normal 8 or 16bit colour image.
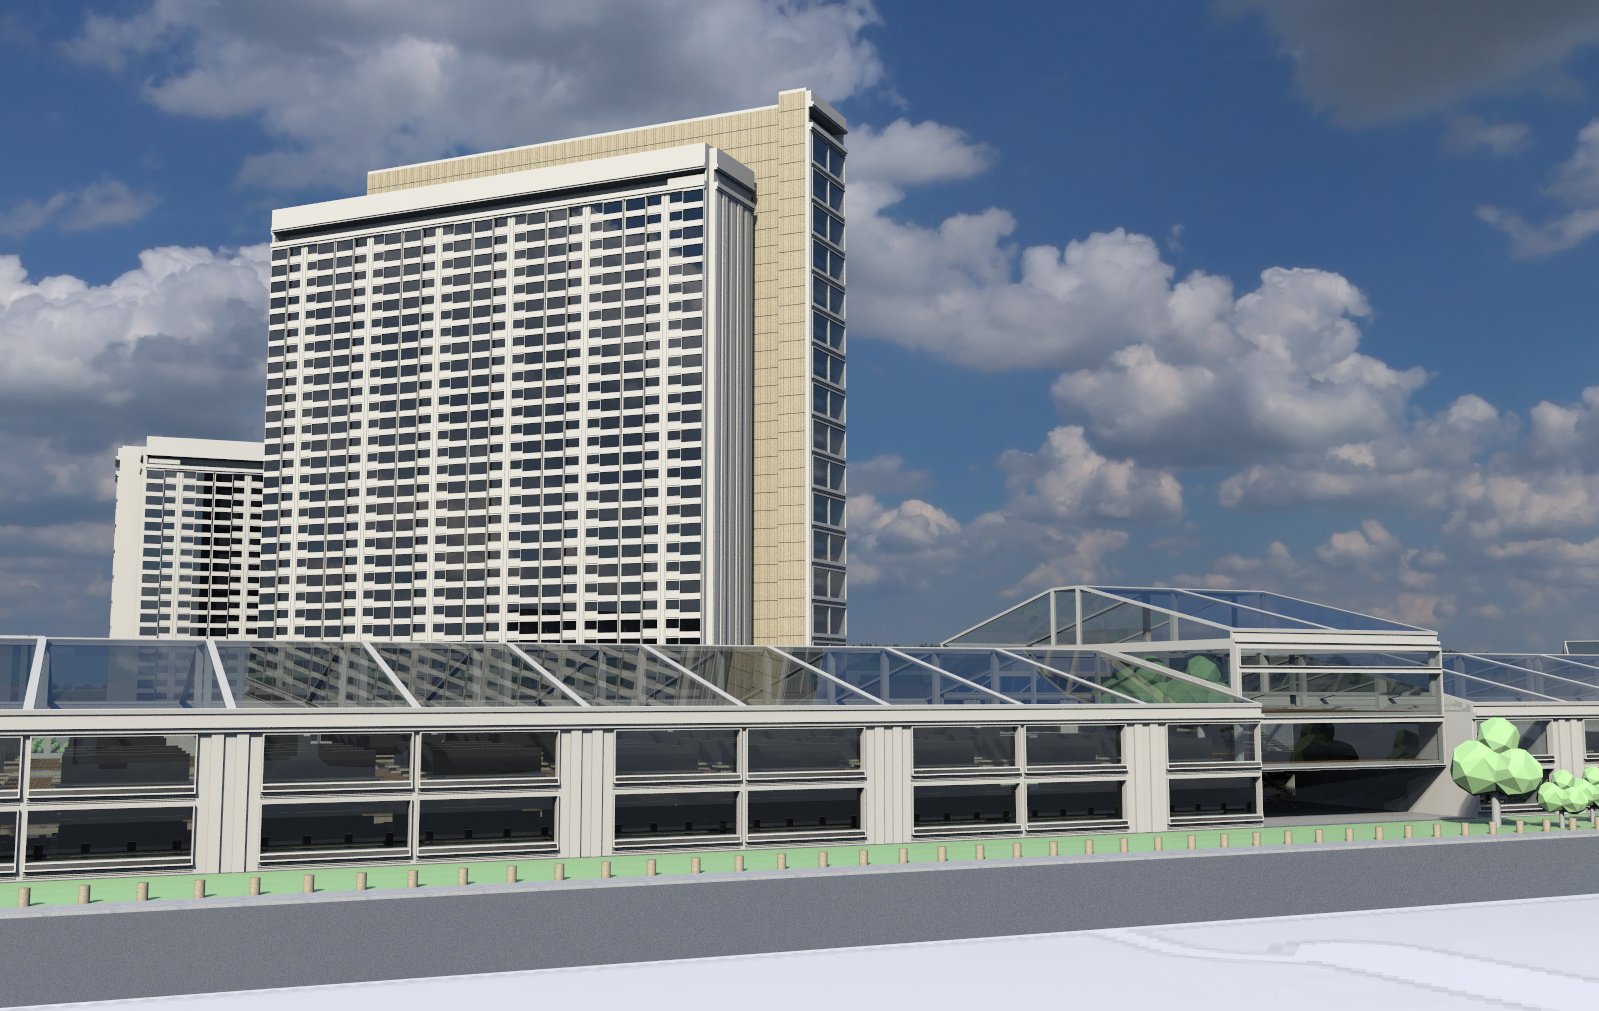
On the topic of window reflections, another option is to fine-tune this in your renderer and saving as a global setting (if possible). I prefer a touch of interior visibility myself with a strong reflection of the sky.
Thanks for sharing these tips. I’ll be honest and say that HDRI environment lighting has always been a challenge for me. Some HDRIs seem to work great while others do not. The intensity value varies so much between them as well - for example I bump the default HDRI map in VRAY’s dome light up to ‘3’ intensity, while others downloaded may need to go as high as ‘300’ or ‘500’. Lots of trial and error required to get it looking as it should.
I prefer a touch of interior visibility myself with a strong reflection of the sky.
Can you explain what you mean by this or how you achieve better glazing reflections?
There is an option in vray reflection settings for fresnel ior, you can check this on an you can control the strength of reflections at the grazing angle (as the incidence angle approaches 90 degrees away from the camera target (which would be 0 degrees directly in front of the camera). This may not be entirely correct but I know what I mean. Sorry
Thanks @bifterx - I had a brain fart and totally forgot it’s that easy. It because I assumed that the default materials in VRAY’s library have been preset correctly but realize that their ‘Glass’ could benefit from increasing the IOR value. See comparison of with no IOR and bumping up to ‘6’.
The standard setting for architectural glass in my renderer is 10.34 shine, 100% transparency. My current setting is 24 shine, 100% transparency, but It may not work the same in all renderers.
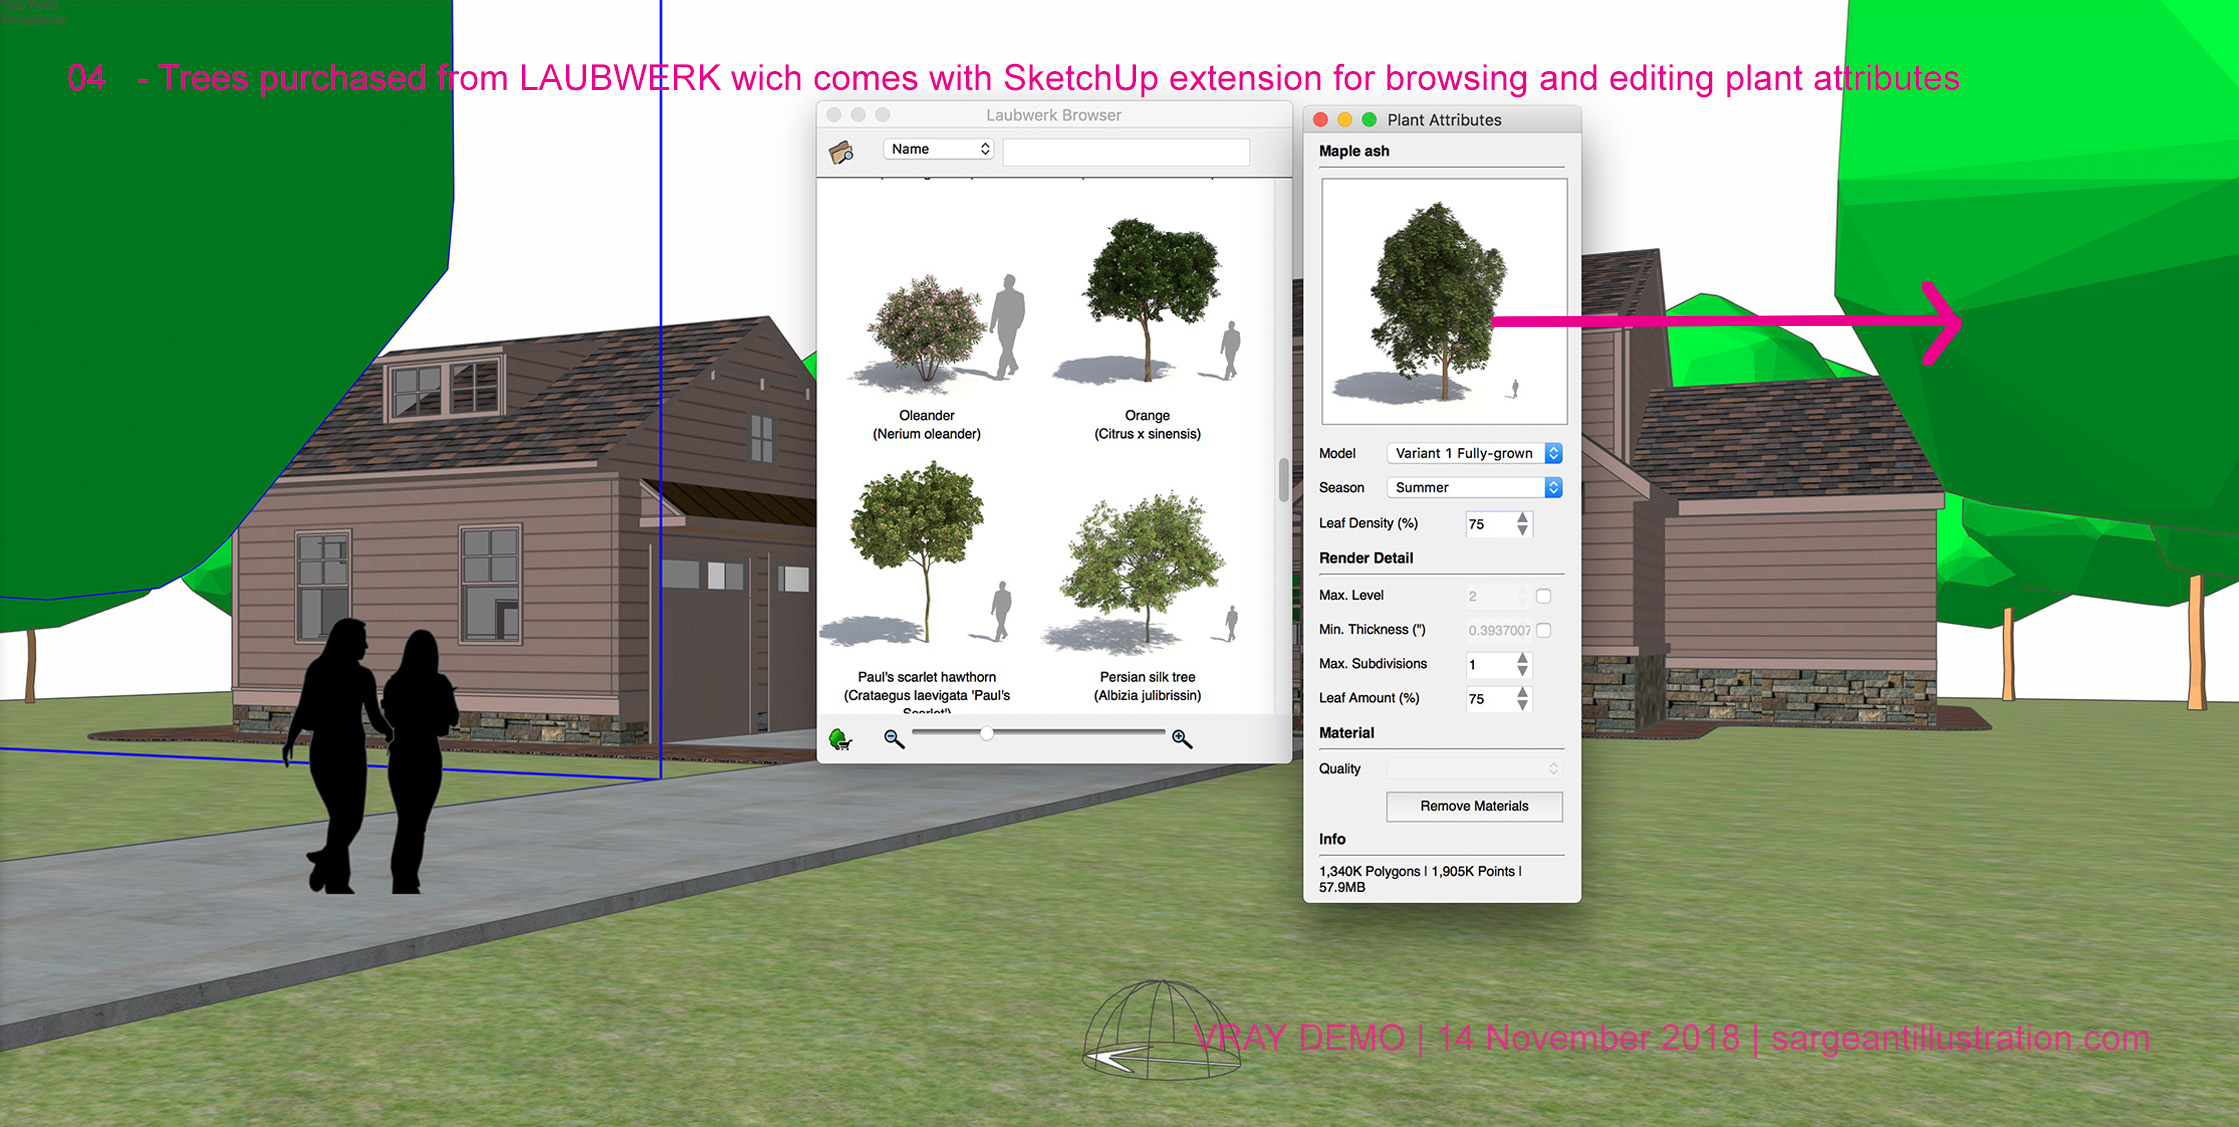
Yes, thanks for sharing this. As an architect, plants haven’t been a strong point in my process, so I very much appreciate tips from people who deal with them as their prime mission.
Also, I’m still enjoying the VRay mints from 3D Basecamp, so I guess I owe them a closer look.