Trouble: Tags & Grouping

Final Heck House_Mara Lang .skp (226.9 KB)
Forgive me, I am currently week 8 into my first ever sketchup class. It is an asynchronous class so I often need to find solutions to my own problems.

I have looked through some of the questions about tags in this forum, but have found an answer to my problem.

In our final project we are modeling a building and then will use enscape to render it.

We are to use groups and tags to isolate walls, building segments, floors, etc.

I feel like I may have a big mess here, but Im really trying. My building segments (tower walls, kitchen walls, garage walls, tower roof, kitchen walls, etc.) are sharing walls and so when you turn one thing off you are turning half another wall off and Im not sure if its supposed to be that way, or if thats just sloppy.

Right now, I just drew two windows in my kitchen tower. I’ve pushed them through. When the tower walls is on, the windows are pushed through. When I turn the tower walls off, the windows are not pushed through and I cannot push them through. I have erased them and re-drawn them to no success.

Im also have issues with my “groups”. When I try and group one building it brings in these phantom lines from the other building sections. I have no idea why.

I would really appreciate any help.

I have only looked briefly at your model.

First thing that is odd is that you are using an X-ray type style which makes it quite hard to see what you are producing. That will only get worse as you add detail.

Second thing to notice is that whilst you do have the main section of the building grouped, the rest appears to be raw geometry. That will get you into a lot of trouble as you go on. The general rule is that as soon as you have modelled something discrete (the staircase, say), group it. These days, you can even start a group before starting to draw, which makes it even less likely that you will get stuff you don’t want in the group.

If you haven’t already worked it out, do take time to understand the difference between tags and Groups/Components in depth. Proper use of tags makes the Outliner a powerful tool. But it can be confusing that you can turn things off either by using their tag or their grouping.

1 Like

As suggested by @simoncbevans I turned the shaded style back on so you can see grouping and geometry better.

Here is what the tagged geometry looks like with visibility turned on:

It’s best not to tag geometry. Only tag groups and components. This image shows groups (selected so they have the blue box highlighted):

Undo the tagged geometry, create groups and/or components, and then tag those. You can rename groups in the Outliner. You can also put tags into tag folders for organization.

A few observations: Your stairs/walls are not straight. 4" Walls in front, then 3" something in the back. The person is tagged 3-ROOF-KITCH. It’s a good start but you need to get grouping/components and tagging sorted out before moving forward.

1 Like

I do retail interior designs in detail. For me, I find it works best to tag objects as individual tags and families of objects as tag folders.

For instance cabinetry will be used throughout the store in various areas. So I will have a TAG folder named cabinets. Tags within that folder will consist of Cabinet bodies, Cabinet Faces, Cabinet Panels, Cabinet Faces (includes door and drawer faces as well as fixed faces as a sink front panel.), Cabinet Kick space, Cabinet shelves. (a bookcase is a cabinet body with shelves but without a face).

Countertops have a separate Tag folder. The reason being is that countertops often span several cabinet assemblies. Tags in the countertop folder include Countertops, Back or side splashes (end and side rail), Front drops and counter supports if the counter has no cabinet beneath.

Another Tag folder is Walls. Tags within walls are interior walls, exterior walls, walk-in cooler walls. As Doors and windows almost always are built into a wall, I include those as tags in the wall folder. If you work includes exterior siding or bricks on the wall. I would include those as Tags (objects) in the Walls Tag folder.

I also have a Utilities Tag folder. Within Utilities are Water supply, Drains, Electrical and etc.

The idea is to Tag objects or categories of “stuff” that will appear in many places. These objects or categories will appear again and again in your many projects over time.

Use as many Tag Folders as you need to identify objects that may appear throughout you project.

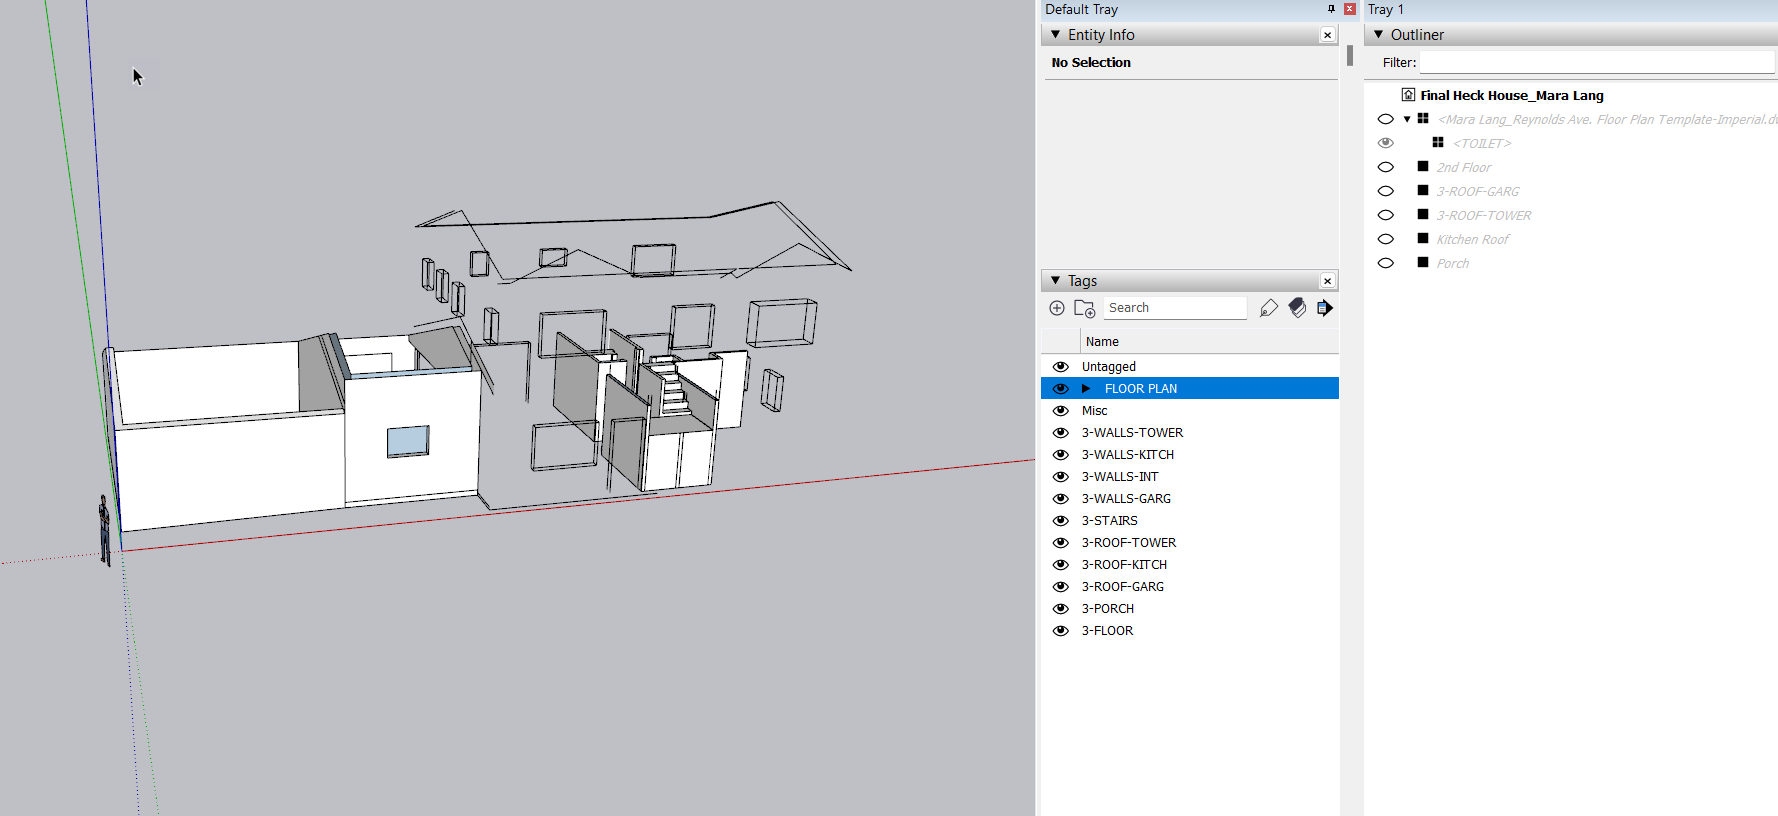
Now on to Outliner. I use outliner as a map of my current project.

Map the project into areas. Areas are Sketchup Groups of Tagged objects. I may have a Cashier Area. a Refreshment area, a Coffee vending area, A Beer cooler Area, a Pizza Vendor (area), a sandwich cooler, and maybe and auto parts section. Within each of these areas are Cabinets, Countertops, utilities, and other objects tagged in the tags folder.

By having the areas separated in Outliner I can “Turn off or hide” areas I am not working on at the moment.
The Pizza vendor, for instance, won’t care about the Auto Parts section; so I can easily show them just what pertains to their interests.
The owner or general contractor will want a general overview of the entire job. Turn on visibility of the whole works.
The Bricklayer will be interested likely in Exterior walls only.
The countertop supplier will just want counters shown.

In your case show Garage, House 1st Floor, House second floor in outliner as “Sketchup Groups”. Then you can isolate those parts of the building as needed.

In the recent Sketchup releases Visibility can be controlled in both Tags and Outliner. That opened many possibilities for organizing our drawings. As you move on to using Layout you will need to create “Scenes” for presentation of your work. Efficient drawing organization in Sketchup can make Scene preparation a pleasure of a nightmare.

2 Likes

Thinking about this situation a bit more since my earlier reply.

In the “designing a structure” business;

  1. Think of anything you get from the supplier as an entity or object that should be tagged.
    … For example you may use 2 kitchen sinks and four bathroom sinks.
    I would setup 1 tag for sinks. Could setup two. But too many tags can get cumbersome. I will show Tag Folder sinks and two tags below

  2. Where it is used (location) within the structure belongs in the outliner.
    One kitchen sink may be used in the “Lower Level” (a main outliner desigation). Further it may be in the “Family Room” (an outliner designation) below and belonging to “Lower Level”.
    One bathroom sink may be used in the “Lower Level” (a main outliner desigation). Further it may be in the “Lower Bath” (an outliner designation) below and belonging to “Lower Level”.
    Another bathroom sink may be used in the “First Floor” (a main outliner desigation). Further it may be in the “Main Bath” (an outliner designation) below and belonging to “First Floor”.
    Another kitchen sink may be used in the “First Floor” (a main outliner desigation). Further it may be in the “Kitchen” (an outliner designation) below and belonging to “First Floor”.
    Another bathroom sink may be used in the “Second Floor” (a main outliner desigation). Further it may be in the “Child’s Bedroom” (an outliner designation) below and belonging to “Second Floor”.
    Another bathroom sink may be used in the “Second Floor” (a main outliner desigation). Further it may be in the “Guest Bedroom” (an outliner designation) below and belonging to “Second Floor”.

Tag Folder …Sinks
…Tag…Bathroom Sink
…Tag… Kitchen Sink

Outliner
xx Structure
xxx Living area
xxxx Lower Level
xxxxx Family Room
xxxxx LL Bath
xxxxx Utility Room
xxxx First Floor
xxxxx Kitchen Area
xxxxx Main Bath
xxxxx Living Area
xxxxx Dining Room
xxxxx Office
xxxxx Deck
xxxxx Entry and Mud Room
xxxx .Second Floor
xxxxx Bath
xxxxx Childs Room
xxxxx Guest Bedroom
xxxx Roof
xxxx Garage
xxxxx Car Park
xxxxx Workshop
xxxxx .Roof

With this sort of an arrangement you have a well organized drawing that is easy to work on and work with.

Note: Outliner “groups” are groups of tagged objects.

1 Like

Thank you - I did know about the stairs. I inserted a CAD floor plan and the floor plant was slightly off axis. I was able to fix one wall with a lot of clicking around, but left the other wall - I have no idea how you so quickly recognized that wall was off.

I am going to try and digest your comment. I am not entirely clear what “geometry” is… are you talking about the lines that I’ve used to create structural components? The roof, walls, etc?

Im wondering if I should just start all over. As you can see, its not a super complex structure. I need to figure out how to make sure the walls are straight as Im building them.

Thank you for this. I am reading all these comments and digesting a bit.

My instructor did not go over outliners, but your breakdown is still helpful to understand. I can search how to use outliners on YouTube and get an idea of what you are talking about.

I think I must have been just drawing windows and doors in the wrong tagged it quickly got out of hand!

Outliner has always been important to use to organize groups. Naming groups is important. The recent addition of the function to turn off visibility of groups in outliner is valuable.

Good fortune in your endeavors.

Hi Mara,

One thing I did (after I changed the style to shaded and turned profiles off) was to rotate your model and just look for “z-fighting”. It looks a bit like a shimmering and happens when surfaces are too close (often because a line isn’t straight somewhere).

I could see that the back wall of the stairs wasn’t on the ‘floor plan’.

By “geometry”, or “loose geometry”, I mean edges (like lines) and faces. You can see that info in Entity Info. Also, when you click on a group or component the bounding box of the group or component will show. So, no ‘box’, no group or component.

So lines/edges for a roof or wall should be grouped or made into components. Then tag the group/component. It’s a good idea to rename each group or component to a unique name (like “roof” or “wall” instead of just “group”, “group”, “group”).

I didn’t check to see if everything is crooked (but there are a few places that are ‘mixed up’). You could start over for practice. In my opinion grouping and making components from the start is more important than that the lines are off.

Something to think about: those aren’t the windows. Those are the edges of the window openings. In other words, those are parts of the walls. :slight_smile:

I would draw the walls with the openings. Group the walls or make them components and then make windows and doors (that are components).

You could add tags along the way… just make sure you are tagging groups or components.

Also, always draw with “untagged” selected as the current tag.

1 Like

I have a style that forms part of my standard template that shows lines on axis coloured appropriately. Anything off axis shows up in black. So you can immediately see if lines you thought were on axis actually aren’t. That can be really important.

1 Like

I did not realize that could be done. It almost seems like the definitive way to check alignment. Following on your original tip to use a shaded style I turned off profiles which makes it difficult to see when a line is slightly off (because the lines are too thick). I’d say the OPs model was a good start but some of the settings made the work more difficult.

You may want to spend some time with Inferencing - Square One Series and Down Arrow Key. Both are part of Square one series. These videos may fill in some of the blank spots left by the instructor.

1 Like

But beware that color by axis tests to within a tolerance. Edges can be very slightly askew and still show the axis color. On occasion these tiny misalignments can cause confusing issues in SketchUp such as push pull failing to cut a hole.

3 Likes

thank you for the reference video links. I will take a look at those. My instructor is MIA so I will have to learn on my own! The feedback in this forum has been beyond generous!