As @Box told you, Follow Me always explodes curves when it runs.
Eneroth Auto Weld welds the edges after Follow Me.
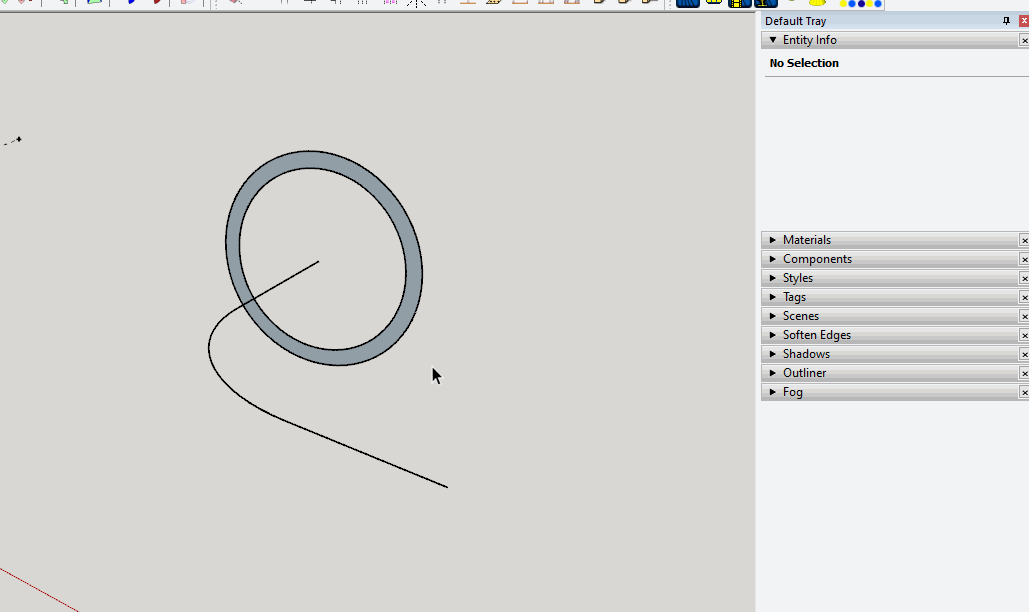
How are you going to use this elbow once you have it created? It’s got a lot of geometry for such a small component especiially if it’ll be used in a large model.
No. It’s in the Extension Warehouse. It’s not a free extension but if this sort of thing is a concern to you, it’s well worth the price. Or you could get the Weld plugin from the extension Warehouse or TIG-Weld from Sketchucation and go around manually and weld the edges. As a hobbyist those options might be workable for you. I find it worthwhile not having to deal with manually welding the edges after I use Follow Me.
I’m actually having trouble creating the the elbow to the correct specs. My mistakes come during the creation of the path. The overall component is supposed to be 2" by 2" but as you can see, it’s not. So I have to keep working it out.
Now to answer your question. In 1987 I built this humongous arch top red oak entertainment center with attached curio cabinets on each side. The center - where the TV resides - I am converting to handle a new 55" smart TV. I am making a turntable which extends outward and rotates. The turntable will house a beefy 3/4" black pipe configuration that functions as the VESA mount for the new 55" TV.
Based on your answer it seems like the elbow will be a fairly small part of the overall design. It seems like you are putting much more into the elbow in terms of geometry and work than you’ll get benefit of. Good luck, though. I’d be interested in seeing pictures of your mount when you get it built.
Yes, a lot of work; but very enjoyable and rewarding. The whole process is so that the new TV can be rotated 21 degrees and then pushed back into it’s resting cavity. I’m going through the detailed work because there are such tight tolerances for the TV to recede back so that two vertical double door roll tops can be closed to hide the TV. 250 lb drawer slides, the 3/4 black pipe VESA mount, and a 12" diameter lazy susan turntable are all overkill but I do not want any flex whatsoever once the entire apparatus is fully extended out from the resting cavity of the entertainment center.
I’m just being nosy here. How do you compensate for the relatively imprecise fit of the tapered pipe threads? Sometimes it’ll take 3 turns to fetch up tight and other joints will require more.
Once everything is assembled one joint will work against another to compensate for pipe distance and tightness. Joints will be tightened to maximums and loosened then to the require distances. Everything will attach to a 1/2" thick Baltic birch wood plate. Baltic birch is exceptionally strong. There will be two L-shaped 3/4" black pipe arms (thus the 3/4" elbow necessity) coming from 3/4" pipe floor plates, bolt mounted to the Baltic Birch plate. The pipe, floor plates, and Baltic birch will all be painted semi gloss black. The assembly will then be attached to the back of the TV via the TV factory VESA holes. Waiting for the TV on the turntable will be two more 3/4" pipe floor plates that each have a 1-1/4" neck rising from them. The neck is hollow and non threaded. The I.D. is the same as the 3/4" black pipe O.D. Each neck contains a 1/4" allen head set screw. These two floor plates are also bolt secured to the 15" diameter 1/2" thick wood turntable. The TV and the VESA mount are then lifted and lowered into the hollow necks. The TV panel itself along the bottom front edge will come into contact with a 1/4" thick piece of wood attahced to the turntable and covered in a soft 1/8" thick bulkhead material. That piece serves as the final resting spot for the TV panel itself while the 3/4" black pipe VESA mount provides - to and fro - strength and resistance to deflection. Finally, the set screws are tightened. Viola! A super strong unit that is fully supported via 250 pound full extension 18" (w/one inch overtravel) side mount drawer glides (hidden inside red oak casings) and a 1000 pound load limit 12" diameter lazy susan turntable. All spoken . . . for a 60 pound $2600.00 Smart TV. Hopefully I won’t be so — dumb — as to forget some minor detail along the whole process that causes the entire — Smart — TV to fall and bust to smithereens.