I have been using Sketchup for several years and never had this problem. I export an stl file, and it gets rotated. No matter what I do, the same thing happens again and again.
When I am done editing my model, and I’m ready to export an stl, it looks like this:
It remains like that when I open it in Meshcam to create my g-code.
I’ve tried everything, including rebooting my computer. I cut and paste the model into a new Sketchup window, I import the stl, edit again to straighten it, nothing works.
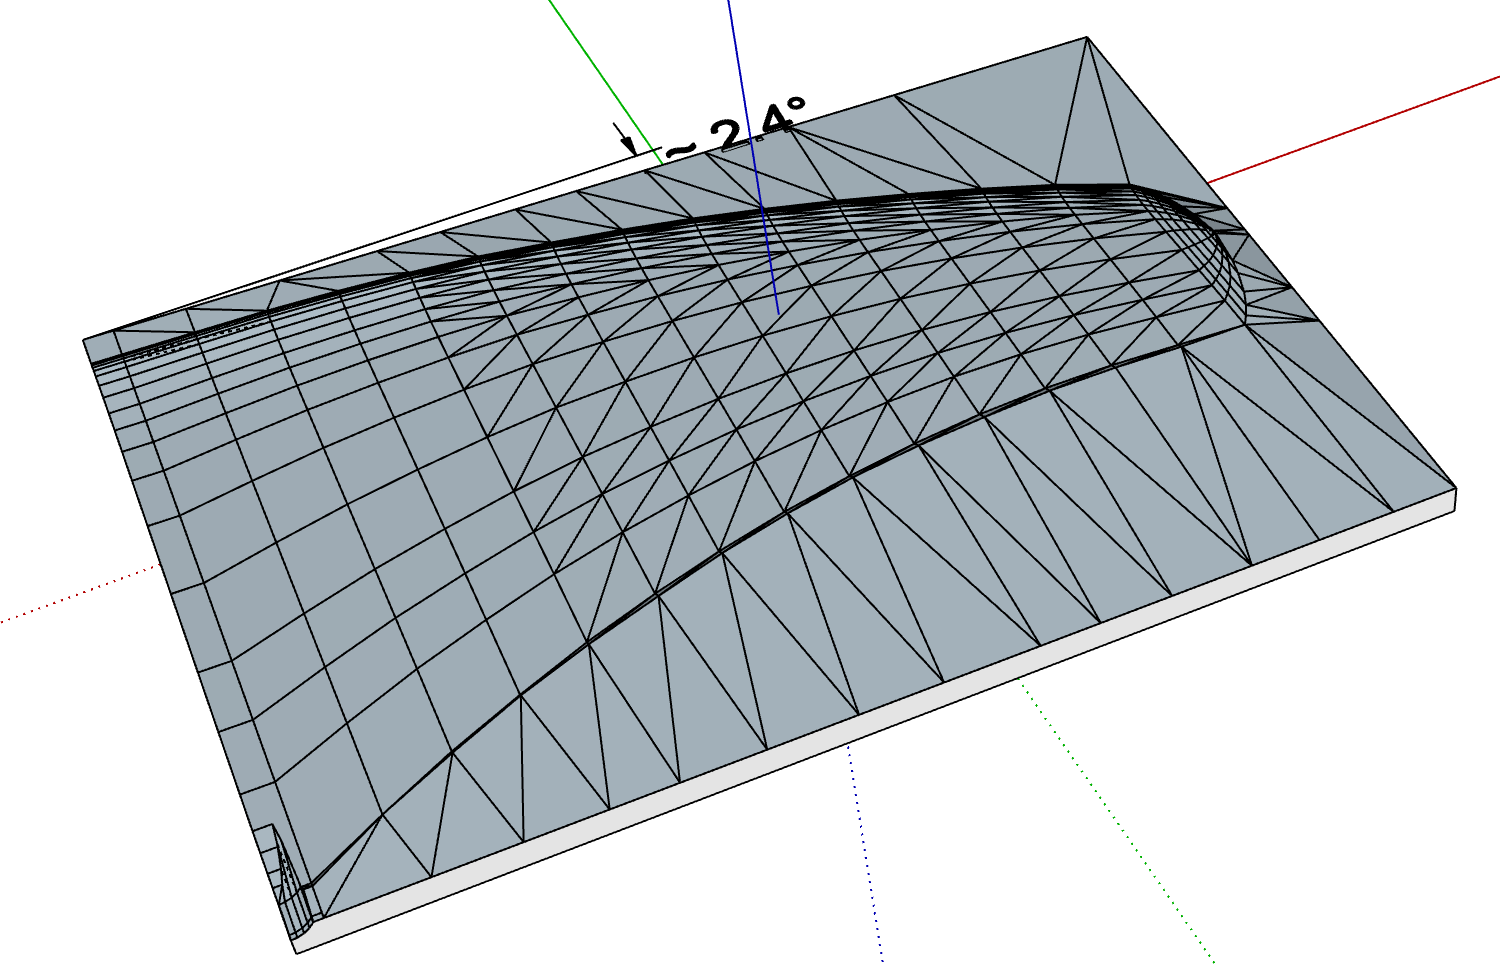
Its always about 2.4 degrees off on the Z axis, and .3 degrees off on Y.
Move the corner to the origin, then rotate the model to align a long edge with the red axis.
The lower front long edge is also not parallel to the red axis, either, after I rotate it round the Blue axis, and the component’s axes aren’t parallel to the edges either.
Check whether the template you use to start a new file has got “Reset axes” greyed out. If it hasn’t, R-click/Reset to fix them, re-save the template, and check any existing files based on that template.
As to how it happened, maybe you accidentally R-clicked intending to change a component’s axes, but Placed the model axes instead?
I am having a problem with the stl coming in on a skewed axis for 3d printing in Cura. I can get it within a degree by rotating in cura, but it still isn’t necessarily flat. I set the axis in SketchUp and it’s getting skewed in the export. Any suggestions on how I get it flat in SketchUp and export it so it will drop on the bed in cura? attached are the skp and stl files.
[end cap w raft exploded.skp|attachment](upload://ld38hkx1VPcG89q3SiC91LQ3tfN.skp) (5.4 MB) [end cap w raft exploded.stl|attachment](upload://kU5nXPNbHvxbu8oBIG6OgcrYdhO.stl) (54.8 KB)
You have modified the global axis in this model, the axis lines not being square with the horizon is a giveaway. Right click on one of the axis lines (red, green, or blue) and choose reset. Then orient (rotate) your model to be square with the true global axis and re-export.
that was quick, thanks. I think I understand now. the axis can be reoriented globally and it can be reoriented within a group or component. I thought I was resetting axis in the group, but it was globally. It worked. I struggled with this for a while. I had read the post and reset the axes globally then the group was skewed. I reset the global axis then oriented the group axis to align the two.
Yes, they are separate, as you have now discovered you can temporarily move the global axis, but not really, the true global axis for the file is unchangeable and always the same (as evidenced by the horizon), and that’s what export uses. Except for specific occasions its best to leave it alone. If you have rotated your object to be square with the global axis then the quickest way to reset the group axis can be to simply explode it and reform the group.
It’s also simple to align any face to the bed in Cura itself. It’s one of the commands on the left side of the screen.
Why did you make a raft in Sketchup? You have an option to do that in Cura with one click…