I have created a funnel but I need to know how to remove chunks so it will drain if filled with liquid. Ideally I’d like to cut 4mm wide rectangular slices in it… How would I do this?
Something like this?

… of course this is under the 3D printing section so here is a solid funnel or cone.
I am using the subtract feature of the Solid Tools feature set to subtract solids from the cone.

This could also be done by 1) exploding all the items 2) initiating and Intersect with Model 3) removal of unwanted geometry
CD
Voldraino.skp (1.2 MB)
I’m trying to remove the boxes from the cone so that their are slots in the cone. your example was perfect but I can’t make it work on mine. It won’t let me have a negative offset when I try and extrude the boxes through the cone. I don’t think my object is solid…
[quote=“roland, post:4, topic:16837”]
… It won’t let me have a negative offset when I try and extrude the boxes through the cone. …
[/quote] Hit [Ctrl] once when extruding the rectangle through the cone. And push right through the cone object, way to/passed the other side. Then select and intersect faces with …etc. Next delete (to clean up) unwanted geometry.
1 Like
your correct in that deduction…
the model is very untidy without any groups…
experiment with two simple solid groups, then when you understand the basics, redraw your object and cutter as two solid’s…
john
Voldraino.skp (1.2 MB)
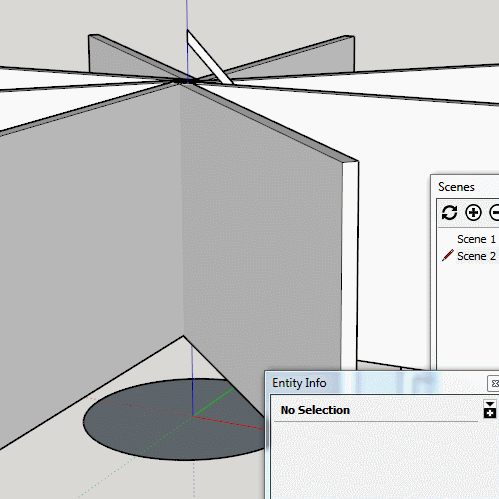
I think this is better and almost ready to be sent to the 3d printers. the only problem Im having is that the cones wall has no thickness. I was able to add a 2mm thickness everywhere else but here I can’t figure out how to do it. Any suggestions? Any other problems you guys see with it before it gets sent to the printers?

Switch to Monchrome view mode.
Have View > Hidden Geometry ON.
Use a temporray SectionCut to see the issues…
There are a few…
Working top to bottom on the highlight arrows…
- There are reversed faces in the cone’s skin - reverse these kind of face as you model…
- The partial reveals of the holes are also reversed - the holes would be best formed after the cone has some thickness…
- There is no inside ‘skin’ to the cone - I suggest that you make this early on - making two cone groups [with bases] and scaling one to sit inside the other [centrally], explode when suitable…
- There are some stray unfaced edges - these will prevent ‘solidity’.
- The cone’s ‘base’ ring must have a thickness - currently it’s a single donut face - forming it as part of the thickened cone-base avoids this: you can always add the short cylindrical bottom section later… using a SectionCut to access the inside and delete any ‘partition’ faces preventing solidity etc…
Oy vey. I’ve only been using sketchup since last night. It sounds like I’ve got a lot of work and learning to do. This is gonna take some time to figure out what you mean. Im sure someone experienced could bang this out in 10 minutes. Oh well. Ill appreciate the knowledge once I have it.
Hey … dont beat yourself up. You have come far for someone who just picked up SU last night.
You will find that there may be many different ways to create what you want. It all depends on your experience, preferences, etc. As you continue to use SU, dont be surprised that you will find tricks and shortcuts in modeling. It is part of the learning curve… and it can be a fun aspect of learning SketchUp.
I dont know how you created your cone but below is yet another way of creating the solid cone and the cylinder seet together. Good old FollowMe with a profile surface ![]()
Started with a 2’ thickness and then scaled it down to 2mm thickness using the Tape Measure

Can’t see that so well Chris.
Here’s a quick version without using specific sizes.

4 Likes
Thanks @Box for the clarifying animation. I dont know why but my .gif was automatically downsized. I can not seem to get it to post at the proper dimensions. Oh well… your example gets to the heart of it.
Cheers
CD
Wow. i cant believe how quickly you just banged that out.
the forum has a size cap on gifs, it’s bigger than it was, so not sure of exact new size…
LICEcap set at 670x579 worked on last one for me…
john
Box,
That was really helpful,
After I do the follow me tool on the cone, ketchup won’t recognize the cone as a solid. Maybe you were doing something with the keys thats I can’t see in the gif?
Roland
voldraino2.skp (1.1 MB)
Im unable to run follow me on that shape to create a solid cone. it says object is not a solid… Any thoughts on what i may be doing wrong?
Roland
Curious why you chose 101 segments for your circle. It’s always best to use even numbers and even better is those divisible by 4.
As you can see here 1 tiny segments is causing your problem.
voldraino2.skp (1.4 MB)
does this look good to go to the printers?
Looks good. In the future, you should download Solid Inspector2 to run on groups to check to see if they are solids (printable).
Good job!
Looks good to go.
Thomthom’s SolidInspect2 confirms it’s OK.
My SolidSolver also confirms it’s a solid, with no issues…
Should 3d-print just fine.
PS: I assume it’s to be ~3" [~76mm] across its base ?