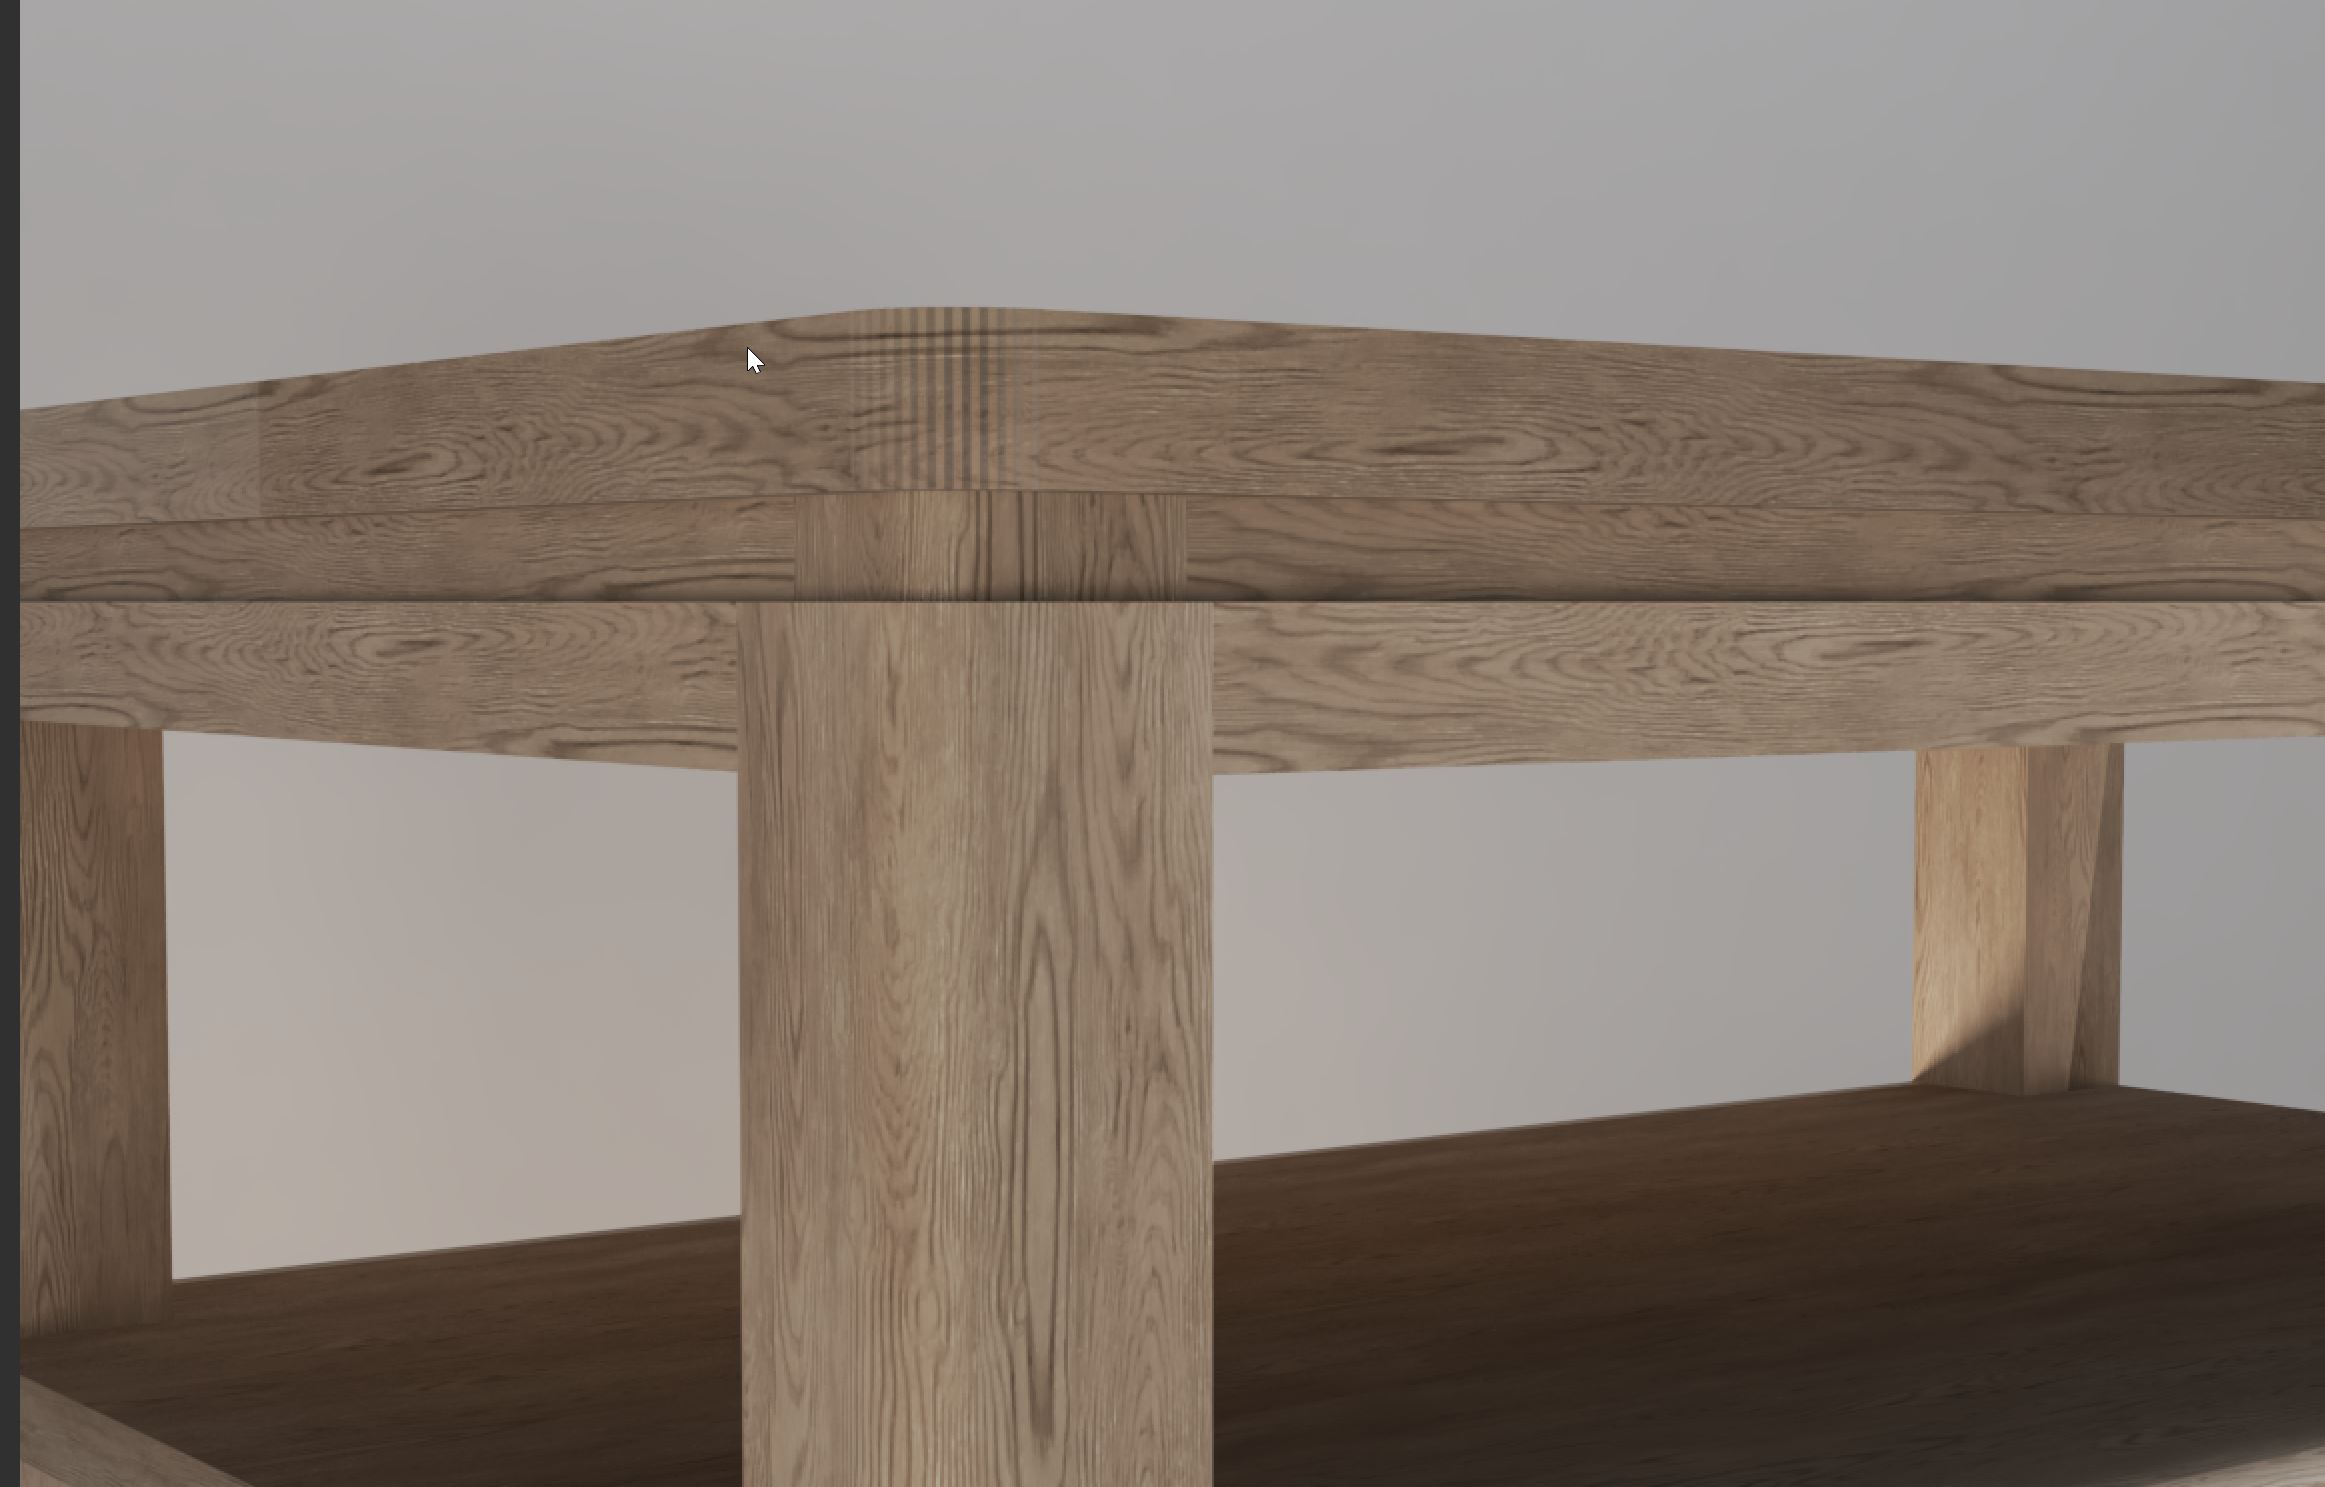
Good morning. I am working on a nightstand design. Built in SU Pro and then into Vray. I have attached a quick vray rendering and also screen shot in SU.
As you can see, I cannot get rid of these lines on the top of the nightstand? I don’t see these lines on the legs or anything else that is rounded?
It only shows up in Vray when rendered? Not sure what I did wrong on the top? Any help would be greatly appreciated!
There is a difference between hidden and smoothed/softened edges.
Sometimes users make an edge both and confuse things…
Since most of your curved surfaces seem OK I expect they are ‘smoothed’.
With View > Hidden Geometry > ON select some of those wayward edges, then look at Entity Info and check their settings - set hidden and smoothed/softened OFF, now select the corner and ‘Smooth’…
Repeat for the other corners…
TIG’s suggestion could indicate the difference for the table top corners. However these lines are showing in the render, which is not usual. When I look at the close up–it is not the SketchUp lines that are showing but poor shading of the faces by the renderer.
You are indicating that you think you’ve smoothed them, so maybe you need to share the file to see if others see the same thing you do. In your screenshot you only have a face selected. You should be smoothing by selecting all the edges in the table top or the corner.
You need to select just one of the edges to get its hidden/smooth settings in Entity Info…
Please take the top component and save it out of the model.
Then attach that SKP to a new post…
We can then ‘interrogate’ it, and move on at least one step…
From the size it’s a bit more than the ‘top’ !
It needs a bit of purging…
Did you save the component out or just delete everything else in a copy - not the same thing!
Anyway… the texture jpg you are using is enormous, I made it 1kb sq & it doesn’t look any different… the file is now 1/12 the size !
Anyway… I remade the four corners with just smoothed edges and removed their materials [which is just a bit of OCD!].
The texture mapping around the corner was not perfect, I’ve not adjusted it - over to you…
Try the attached file and see what’s what… COLE 1 DRAWER NIGHTSTAND1 HELP.skp (789.2 KB)
Thank you TIG!! The texture is a poliigon texture. I am never really to sure the right scale size to do? I normally just eye it Is there a better way to do this you think?
I did just made a copy of the file and deleted everything else, as it had a bunch of other stuff in it. I made the top a component and deleted everything else.
What did you mean by a bit of purging? As you can tell I am pretty new to this whole SU and vray stuff and soooooo much to learn!!
I use Fredo thru paint sometimes as I just loaded that tool, and trying to learn it as well.
I look forward to hearing from you again! You have been a tremendous help!!
If the top were a component you could export just that…
No need to copy the whole model and delete everything else !
You should regularly purge your model using Model Info > Statistics > Purge unused…
This reduces its size and avoids bogging things down.
As I pointed out using a texture file of >3k px sq is perhaps overkill - I edited it and reduced it [in Gimp] to 1k px sq and it looked no different… It greatly reduced the file size to about 1/10…
Your latest SKP…
Seems larger than last time ? But only a little considering its all of the geometry - the texture size makes up the bulk ? Resize them as needed…
I see you are not using Layers [now renamed Tags] properly - at least not in the ‘top’.
All raw geometry - edges and faces should be assigned Layer0/Untagged - which should
You then assign other layers/tags to ‘containers’ - groups/component-instances.
Layers/Tags are used to control visibility.
I also Fixed the model which had an invalid vertex ??
Mihai.s’s advice on Vray use is also very pertinent.
Thank you guys sooooo much!!! Miihai.s that totally worked!! When I watched the videos from poliigon they said to change that map to a normal map when useing their texture? Weird, by doing what you did totally worked and it looks soooo much better! Thank you for taking the time to show me!!
TIG, thank you also for the in depth help I thought I was useing the tags correctly? I have attached screen shot for you, to maybe have a look when you have a spare moment to see if this is right?