Hi there.
I’m trying to make some nested cones that will rest with a 3mm gap between them - actually I think I just solved one of my problems - my other problem is the best way to make the cones with a 3mm wall thickness, rather than just a face. I currently use the move tool to modify a cylinder to make the cone but don’t know how to modify this to a hollow cone with a defined wall thickness. Should I try the follow-me tool method instead, using two slightly different sized triangles?
with thanks
Michael

Thanks Dave!
cheers
Michael
And use the ‘Dave’ method - the same @DaveR -scale up a copy by x10, x100 or x1000, use FollowMe on the big copy, then delete the big copy when you are done, to avoid (failing to create) too-small faces and edges.
You left out a key part of the “Dave method”: the object must be a component so that changes made to the enlarged version are duplicated in the original.
1 Like
Thanks for the important correction, Steve. So I did. It’s necessary.
OK thanks for the added info. I think I understand it but I may be back with another question!
cheers
Michael
This worked very well thanks, but have run into my next problem. I wanted to upload the file but it seems it is too large so I’ll have to try and talk through it. I made a copy of the cone and translated one a little so it is nested inside the other with a gap between them. (I haven’t truncated them yet since it requires me to nest them first and then truncate with a plane not parallel to the base.) Anyway now I’m struggling to lop off the base of the lower one so both cone’s bases are the same plane. I tried selecting both cones (components) and edit>component>intersect faces>in selection. There’s a problem with the base face remaining. I also tried adding a plane through the upper cone base and intersecting that. Didn’t seem to work. Looking for a bit of general guidance if possible. Thanks
Michael
I really need to see what you’re doing. Copy the two cones into a new SKP file and upload that. Two cones can’t bee more than the 3Mb limit.
Then we should figure out what’s making your file so large. I expect there’s a lot of unused stuff that could be purged in Model Info>Statistics.
1 Like
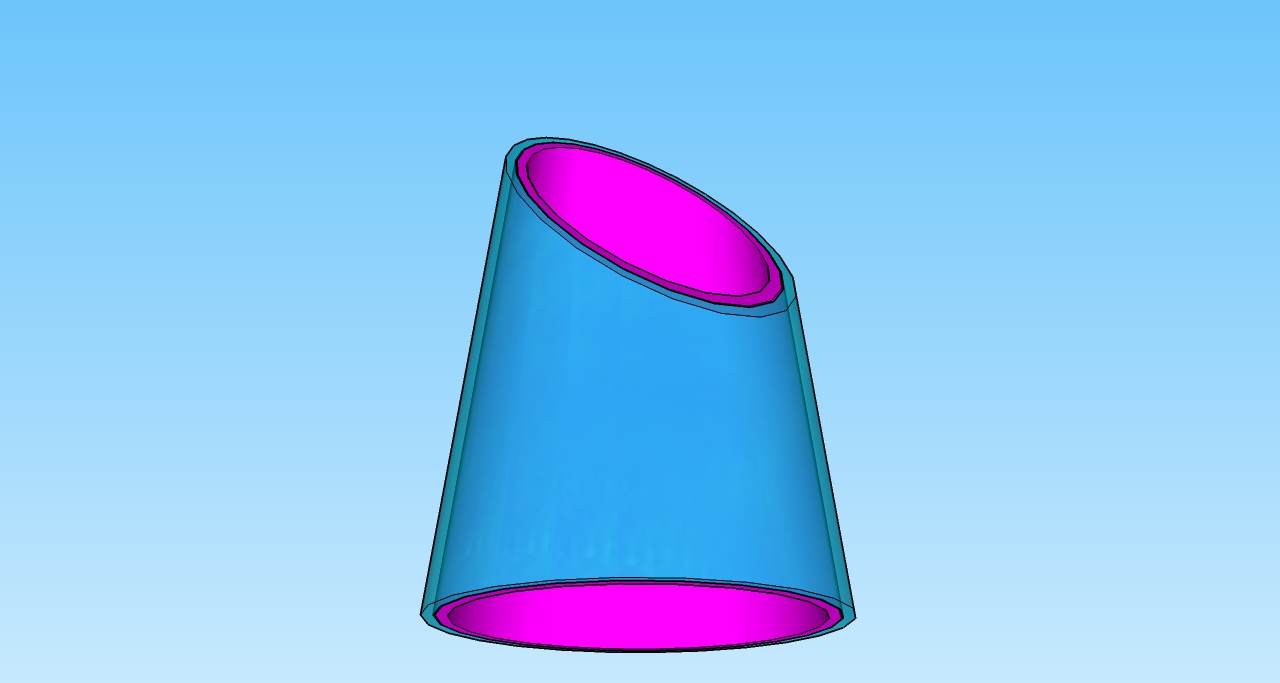
Oh that worked! here 'tis. The two untruncated ones are what I have been working on tonight. Basically disregard the truncated ones (earlier work) , apart from to see where I am roughly trying to end up. thanks!
cheers
M
nestedcones.skp (133.1 KB)
no that’s not right, i’ll try again
this is it. nestedcones2.skp (113.8 KB)
I used your first one but you should be able to manage with it.
nestedcones.skp (157.8 KB)

From left to right.
- I drew a rectangle to use as a cutter. I drew it on the ground plane because it’s an easy place to locate it. Note: it is outside the cone components.
- Move the cutter up to the desired height.
- Rotate the cutter to the desired angle.
- Select the cutter and use Edit>Cut to cut it to the clipboard. Open the top cone component for editing by double clicking on it with the Select tool. Hit Edit>Paste in place. This pastes the cutter into the component. Since both cones are instances of the same component, they both get a cutter. Notice there are no edges where the cutter passes through the cone.
- While the cutter is selected, select all of the cone geometry. Make sure you get the inner surface of the cone, too. It might be easiest to hide the lower cone temporarily. Then right click and choose Intersect Faces>With Selection.
- After the intersection is completed there will be edges created where the cutter passes through the cone.
- Erase the outer edges of the cutter, the select and delete the face skinning over the hole in the cone.
The face on the truncation of the cone is the remains of the cutter which is why the cutter needs to be in the same context as the cone geometry when you make the intersection.
1 Like
Dave, thanks so much. that should sort me out, but I am horribly slow at this.
Cheers
M
You’re welcome.
It comes with practice.
Actually I need to truncate the tops on a common plane and the bottoms on a common plane too. Tomorrow I’ll have another look.
Cheers
M
Then you’ll need to make each one unique and edit them separately. You can use the same cutter more than once, though. Until you copy or cut something else to the clipboard, the cutter will be there. So you can edit one cone and paste the cutter into it for the intersection process, Then you can edit the other cone and use Paste in place again and proceed to edit that one as well. And since you need to trim the bottoms of the cones, too, the ninja thing would be to make both cutters and cut them to the clipboard at the same time.

1 Like
Hi Dave, I finally got back to this and got it sorted thanks to yours and everyone’s help. I was worried it mightn’t work because my trial licence of 16 finished so I had to go redo in 14.
Cheers
Michael
This topic was automatically closed after 91 days. New replies are no longer allowed.