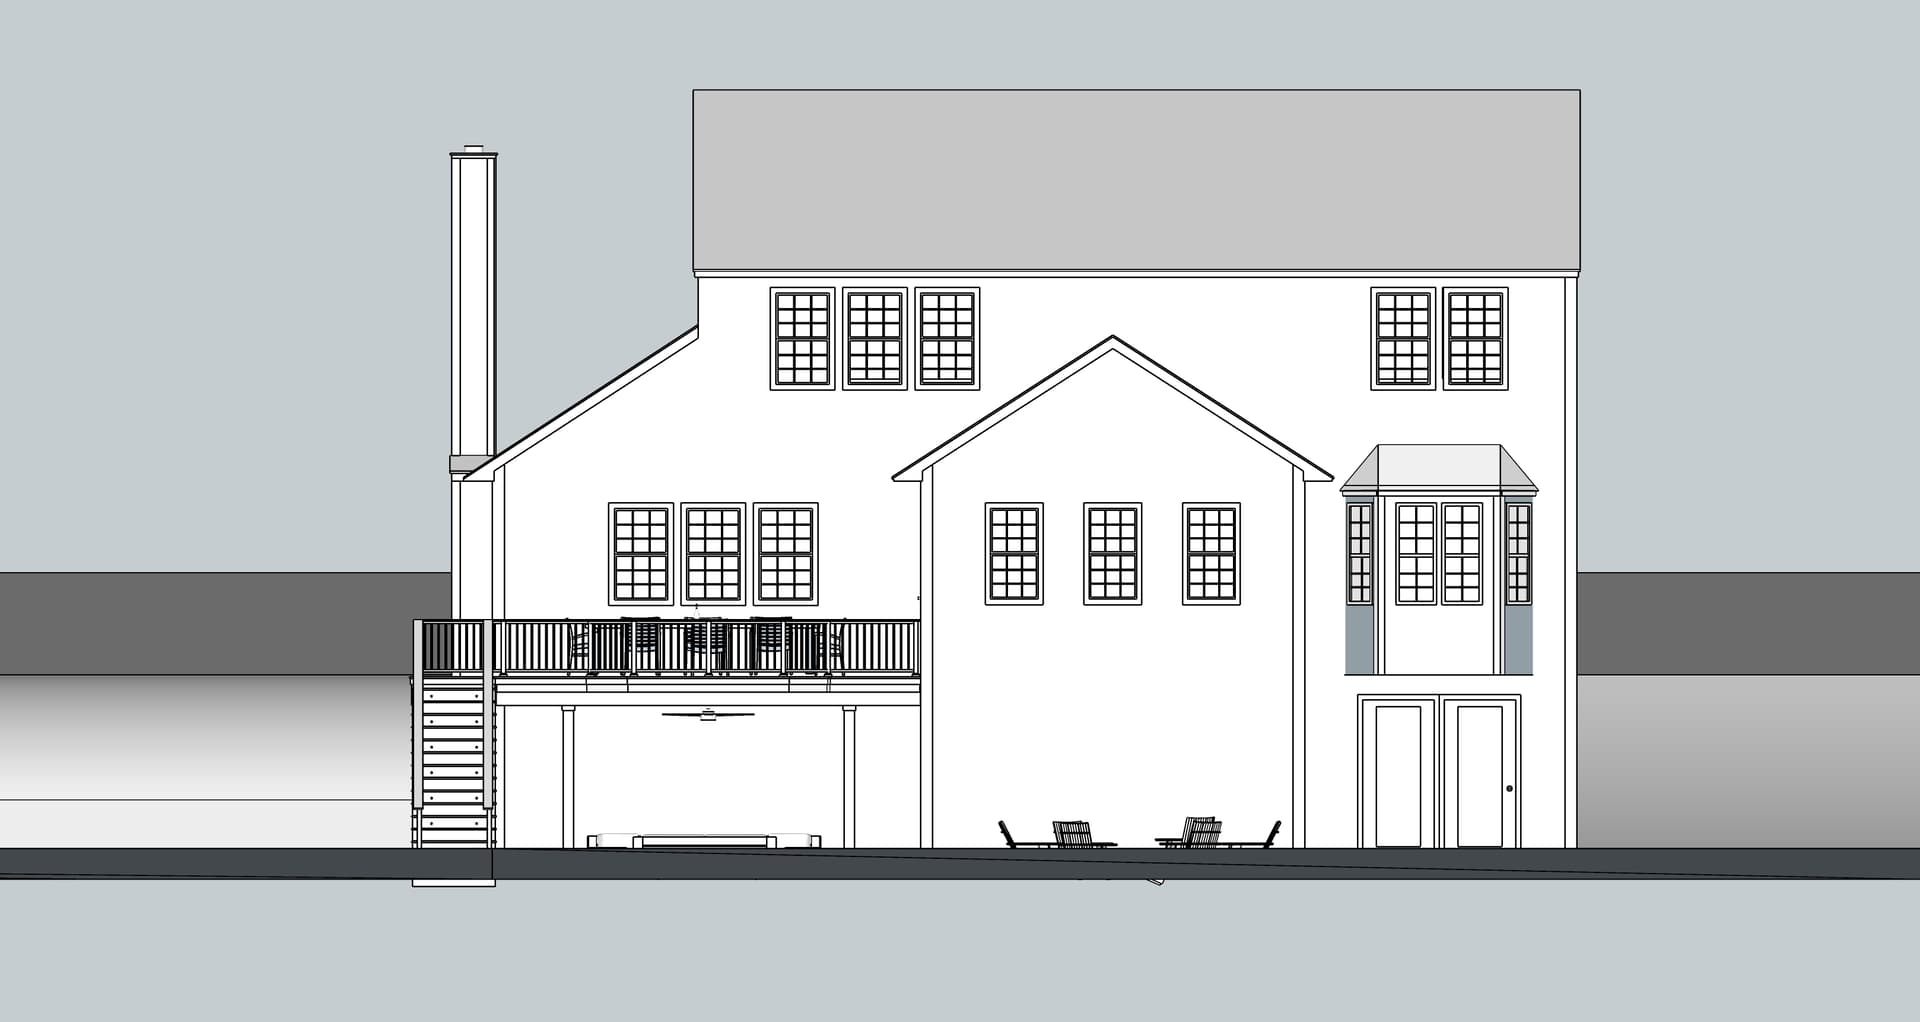
Hello there. When creating elevations I would like to keep my textures visible but just make them white, like in the attachment. The default Styles will shift everything to white, but makes all the textures ‘smooth’ - no lines. To create the attached screenshot I had to go and change each texture color to white…time consuming.
There has to be a way to do this, just having trouble finding the correct button.
My favourite would be the inclusion of a vector hatch option to every material. You would use a special display style to show them, possibly in LayOut only. Vector hatches would probably make the normal SketchUp interface slow down to almost full stop like it does in the applications that support them.
Just random musings.
If I’m not mistaken all textures (materials) can be edited in the Material editor. When I do construction drawings, I really don’t want color as it’s too pricey to print.
I’ve used desaturation ( taking everything to light grey texture in the RGB color editor along with setting opacity down so solid colors and texture are considerably lighter, more translucent.
I also agree with using Photoshop or Gimp 3 to modify the texture first. Desaturate textures in PS as well. I’m making an assumption that your textures are JPG or PNG. To make this work, you may need to import and place textures rather than painting on SU materials.
Here’s what I do. Sample each material on you elevation rename it by adding the RGB values to the name so you can switch it back later. Set all values to 256,256,256. Everything will be monochrome. When you want the color back just change the RGB values back. It’s a rudimentary workaround but works very well on both plans and elevations.
I was going to to suggest that plugin (it’s what I would choose as my first choice) but Jim had withdrawn all of his extensions and I didn’t remember he’d made it available. I have and use a bunch of his tools which are all excellent.
I found a post of Jim’s where he talked about the trim and keep extension, and that although he’s not able to keep the code updated, he has made it available with an MIT license. Looks like he has a repo to list his various extensions, but so far it only has that one in it:
Trim and Keep is another one of his very useful tools. It works well and I tend to use it more than Trim in Eneroth Solid Tools or Bool Tools 2. And of course I never use the native Solid Tools since, by the author’s own admission they are broken.