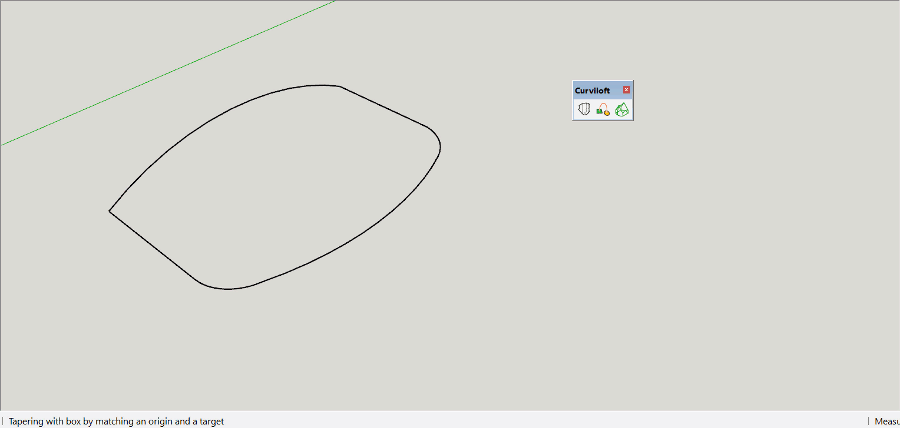
I have downloaded curviloft and drawn my tram platform roof but when I click on curviloft skin contours I get the attached screen but nothing happens. How do I add a screen print or the skp file?
You can drag and drop your .skp file or a screen shot into a forum reply.
Hello DaveR,
Thank you for your reply the skp file and the screen dump are attached.
Regards
Gordon
Farmerbill42
Tram roof.skp (1.67 MB)
(Attachment Curviloft query.doc is missing)

I often find that Curviloft works best when isolating your frame elements by grouping them.

Hello John,
I built half of my tram roof and copied and reversed it but there was a dip between the halves so how can I lift up the dip?
Regards
Gordon
Hmmm. I realise I don’t know.
I’ve tried it several different ways now, and always seem to get the dip.
But @ChrisDizon’s solution looked on a quick glance not to have the dip. Try that.
Or @mihai.s using Soap Skin & Bubble?
Hello Chris,
Yes this does work thank you as I now have my tram roof but it needs to be thickened which does not seem to work.
Regards
Gordon
Curviloft works only with what you give it. It doesn’t know that you wanted the surface leading to the center edge to be tangent to the green axis so that you can flip and get a smooth continuation. Possibly there is one, but I don’t know a way to tell it about this desired constraint.
One way to repair the dip would be to stitch edges across it parallel to the red-green plane and then erase the original dip. Corresponding vertices in the two halves should have the same z height, so it shouldn’t be difficult to keep the stitches “level”.
You can do this manually by copying the surface down and then stitching up the side from the lower to upper surface… or you can venture down the Fredo extension path again and use his JointPushPull extension which allows for the extrusion of multiples surfaces in varying ways.

As Steve wrote, Curviloft works with what you give it. I changed the number of segments on the arcs shown selected to an odd number so there would be a horizontal edge at the middle. Then I added an intermediate curve between the side and the center line to give Curviloft a little more guidance. That’s all I did to prevent the dip in the middle.


Vector Push/Pull adds the thickness as Chris alluded to.

Hello Dave,
All the advice I have been given is making me more and more confused so if you have no objections can you email me your completed 10mm thick roof file please so I can get my tram finished ready for printing.
Regards
Gordon
Sorry. I didn’t save it.
OK thanks
Thanks for all the help given for my curviloft query, The job is now finished and had been sent for printing.