Beginner modeling a basic skateboard deck, looking for tips

Hi all,

I’m still a relative newbie to SketchUp, though been through all the campus fundamentals and practice courses.

I was thinking of modeling a basic, symmetrical skateboard, but am a little stumped as to how I’d model the gentle concave into the top of the board created when the lamination is glued and pressed.

I have access to the solid tools but no extensions as I’m using the Web-based GO version.

Is this something I’d need the sandbox tools for to treat the board as “terrain”? Any tips or resources you could recommend would helpful. It may be a bit beyond my skill level now, or maybe it’s a project better suited to different software. I am planning on making the board symmetrical and know the advantages of this using copy/flip along.

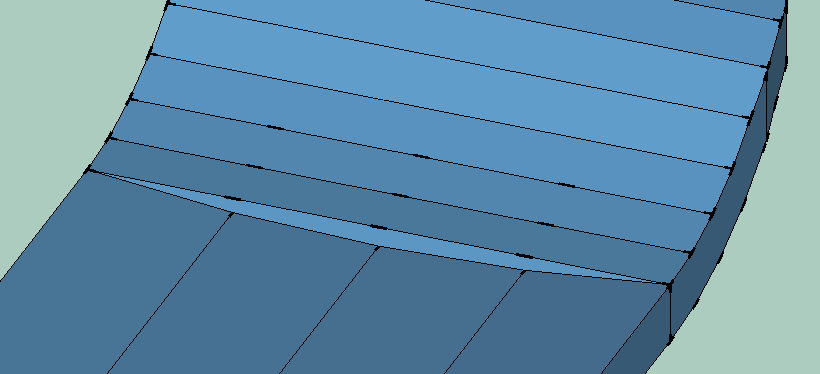
Below is one image I’m using:

Thanks!

well as usual in sketchup, it’s a matter of the level of detail you want to get :

sure, you could get Pro and some fancy extensions,
or pro and the sandbox, and get a different result,

or go/web and get a simpler one.

On a deck, there is a small curve in the width. you could probably manage to make it through some trial and error.
but assuming a deck is flat (in the width), you can make one quite easily :

Draw the side view and top view. make them both volumes, and separate groups.

time to overlap. and you guessed it, use the solid tools you mentioned. (or right click / intersect with, for the free users)

as you can see, I’m not a skater. but using a couple of simple shapes and solid tools, I can make a simple board.


now, with standard tools, if I had to make the slight curve on the topside I’d probably make it so :


I’d separate the ears and the core.

Capture d’écran 2024-05-16 à 23.17.22
on the core, I’d use arcs to gently carve the top and curve the bottom. and make it 3d using pushpull.

Then, again with vanilla tools, I would probably divide the contact line so it matches the curve (4 segments in my case), and start moving / deforming stuff. Probably on the first 2-3 lines.

I’ve added extremities so you can see what I mean by dividing.

something like that. touch and go, had to re-triangulate some things. I didn’t do the bottom side, busy :wink:

I kinda messed up a couple of points so it’s not clean, but you get it.


without any extensions, just using su web/go I would probably attack it that way. make it bigger, like 10x to avoid the small faces problem.

Wow, brilliant! You are a very skilled modeler to do it that fast, and you have given me some great advice, and I’m already using it! It’s taken me 30 min to get a solid outline to extrude (with appropriate curvature) but I’m on my way.

That tip to divide lines and “deform” from there is very helpful. So many of the tutorials I have looked at have mentioned about the perils of playing with the “stickiness” of the geometry. When you moved those points on the tail (8th image) did you enter specific lengths to move them? It appears that you made a center line of some sort.

I actually have the ability to 3D print, so I may end of printing a basic model if I’m able to clean it up enough. I’m still learning how to use the follow me tool to fillet the edges. I’m guessing I can do that by just selecting the top (and bottom) faces? The workflow for adding fillets still can confuse me a bit.

Thanks!
Reid