For part two of the series, I wanted to try going a bit bigger. With my background in Landscape architecture and a personal interest in game and film concept art, I figured some sort of mountainous scene would be fun to tackle. Luckily this time I had help from @TysonK …which makes this a double win for self-teaching some new skills along with remote model collaboration.
The first part of the process required some hills and water for the setting. I used Artisan to subdivide a large square plane and extruded the hills using the Sculpt brush. Water was added as a flat plane moved up into position.

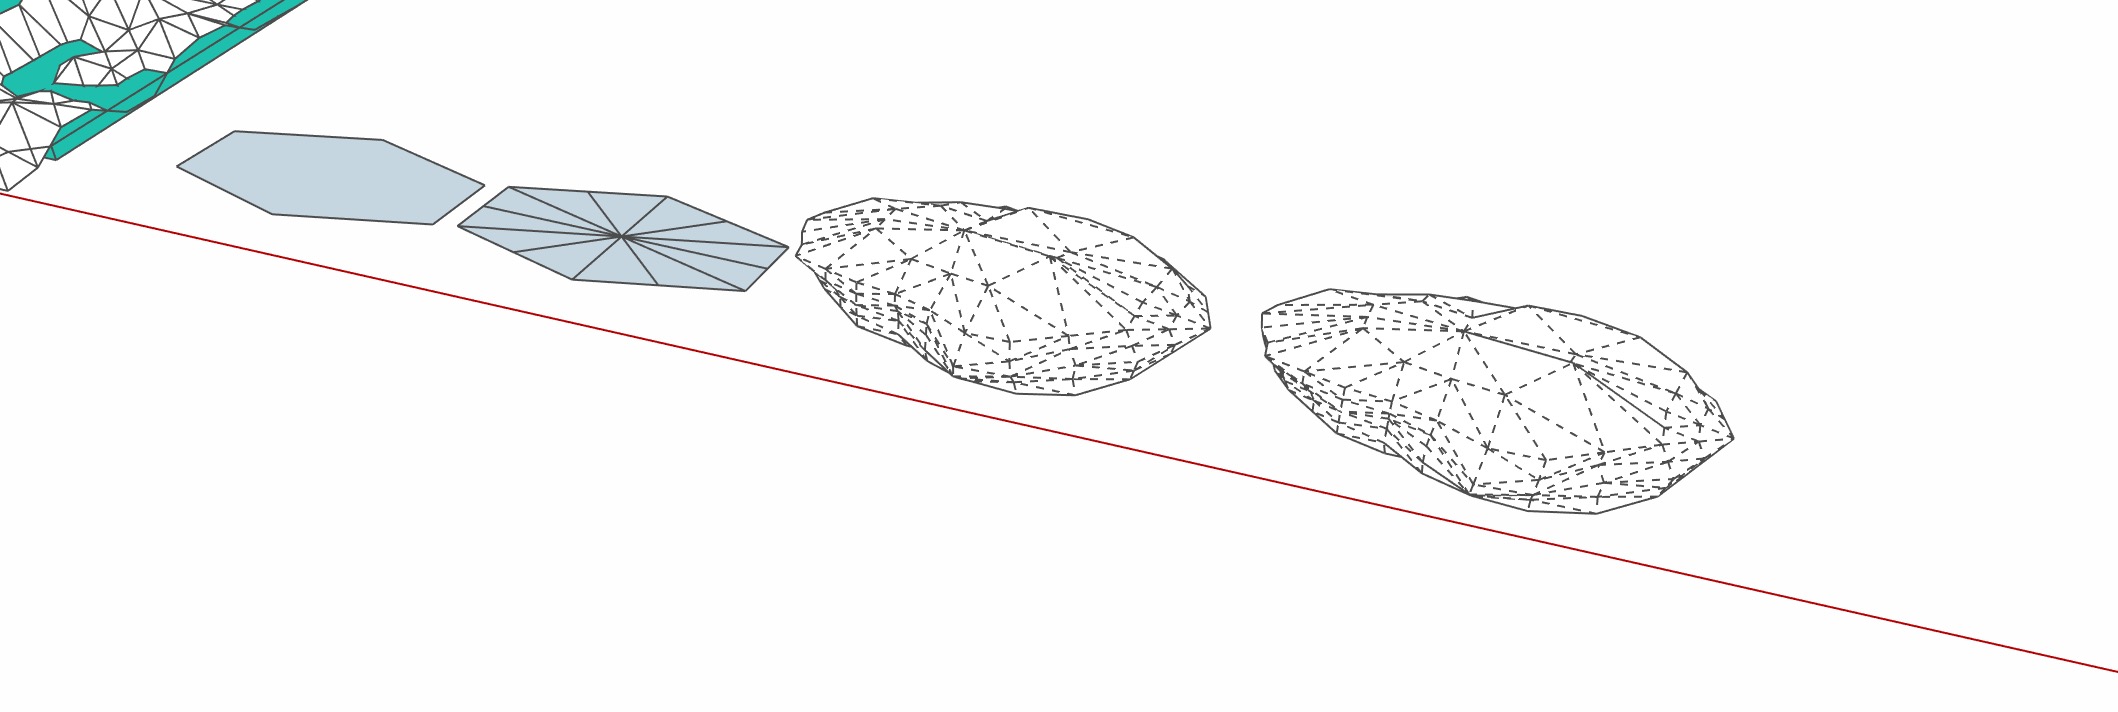
The clouds were interesting to think of how to get that ‘fluffy’ yet polygonal shape. I started with a hexagon and extruded…subdivided…and sculpted again using Artisan’s same Sculpt brush. *at the end I ended up using Artisan to reduce the polygons. Starting with more polys gives more shape control that can be ‘simplified’ later.
Here are the clouds in context with a flat circular sun and a quick V-Ray test to check colors/materials.

Another render thinking ahead about a low camera angle near the lake surface. *Tip, I changed the ground albedo color in V-Ray to get it to be all blue vs the default blue-to-grey fade.

Next up was to add Tyson’s cool trees in.

I used Skatter to place them randomly all over the hills. I ideally wanted to reduce the qty as they gained in altitude up the slope but this was a quick effort so let that slide this time and just ran with it.

Next up was an awesome little house from Tyson. I loved splitting the effort up as I was able to focus on just the terrain/environment knowing that I’d just ‘pop’ his pieces in when they were ready.

Here is a shot from a distance to show the addition of a large mountain range beyond. I already knew I wanted to add a slight fog with V-Ray so I made sure to scale these up and push them back a ways from the lake+hills in the fore/middle ground.

Here is the final composition/scene as it looks in SketchUp. Keeping the colors solid colors not only made coloring the model super quick, but also meant that V-ray took no time at all to render.

Here’s the final view with ‘Materials Override’ on using ‘Wireframe_White’ as the override color so that the edges show. I like to do a materials override (or clay model) test as it helps me see the lighting/shadows better than with full color.

Final shot. About 2 hours start to finish.
