Here is the assembled stair. Notice that the treads have a partial riser to meet building code. You can’t have more than a 4" gap between the treads.

1 Like
I’ve built lots of these stairs that we call frame ups. Getting the math right is critical. The handrail is glued up on site using metal brackets after the house is heated.

The tread and riser assemblies are completed in the shop. The curved plates and Drywall blocking are also made in the shop. The shop work takes about a day. The site work to get this far takes 2 guys each a full day.

2 Likes
I’m impressed. Lovely to see the work of someone who knows his job.
1 Like
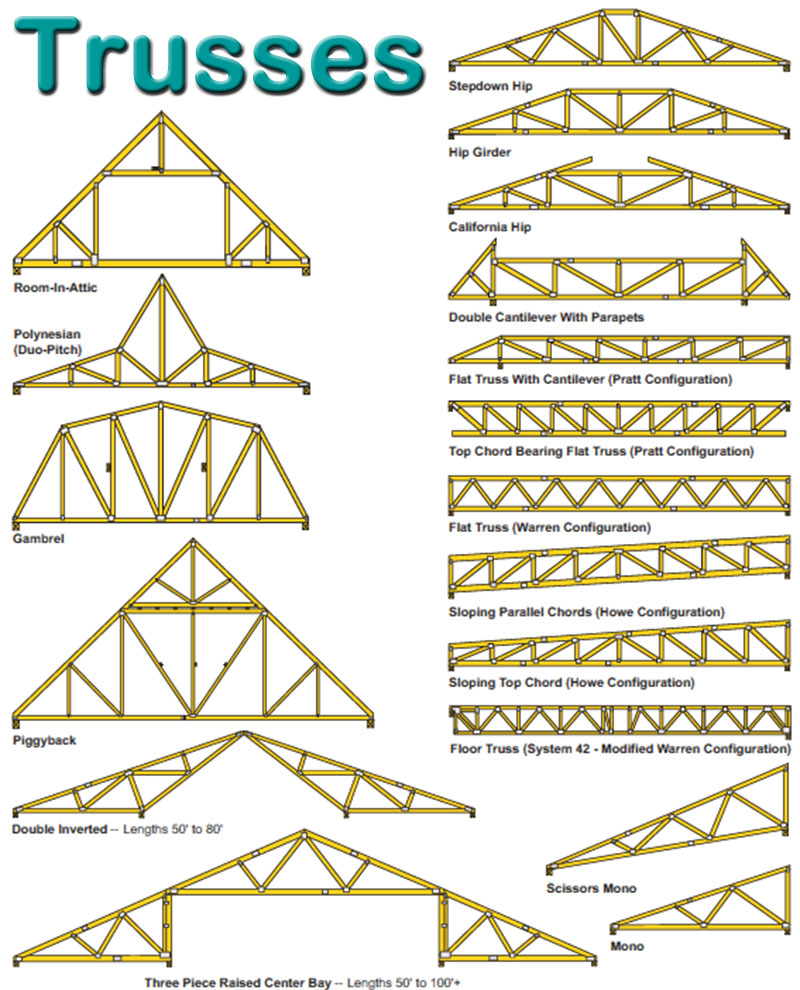
All the end details are working. This is an example of a Mansard Parapet truss with 5 panels and different overhangs:

Now I just need to work on the plates and advanced options.
I’m still working on the pitched and monoslope option. I will probably release this update without having the advanced options and plates enabled since those items are nice but not a necessity and can be added at a later date.
The next two big items that I would like to tackle is the hip trusses and the timber trusses both of these would be a welcome addition to the plugin.
Version 1.9.0 - 05.27.2017
- Added flat truss type, configurations: flat, monopitch, pitched.
- Metric input enabled for flat truss types.
- Added gable end trusses for flat truss types.
- Enabled the following end details for all flat truss types: None, Overhang, Cantilever, Mansard, Parapet, Mansard w/ Parapet.

Plates and advanced options are still in progress. With the amount of configurations available with this truss type it will probably be a while before these next elements are in place.
The flat truss type is very configurable and with a little adjustment of parameters you can also easily create a (non-attic) gambrel truss using the flat pitched option.
Here is an example of a small commercial building with a flat truss roof (parapet):

Download model here:
The flat truss is the first new truss type added to the plugin in 11 months. This brings the total number of truss types to approximately twenty two depending on how you classify the variants of the flat truss:

View model here:
The flat double pitched truss allows for a user driven asymmetric ridge location as well as differing left and right heel heights. This opens up virtually any possible truss geometry even a negative pitch if one is so inclined:


I thought I was done with flat trusses but it was pointed out to me that I also need to consider top chord bearing configurations for this truss type.
I’ve created a simple matrix below with top and bottom chord bearing flat trusses. I’m not sure if these make sense, please review and feel free to comment.

The model can be downloaded here:
Top chord bearing usually involves the following steps:
1.) Trimming the heel web up a specific vertical amount (vertical offset).
2.) Insertion of a secondary heel web next to the trimmed (bearing) heel web.
3.) Trimming the bottom chord back to the secondary heel web.
4.) The diagonal web next to the heel is slightly altered by the addition of a secondary heel web.
5.) Certain configs require an additional heel web on the outside of the trimmed heel web: Mansard, Cantilever, Mansard w/ Parapet.
I can easily make this all happen and open up the option for top chord bearing flat roof trusses however I want to make sure it is right first.
The top chord bearing option is almost complete for the flat trusses. Here is a preview with a Mansard /w Parapet on the left side and a cantilever on the right side. The bearing widths can be set independently as can the parapets heights now.

I’m not entirely satisfied with the UI for this truss type, a proper html UI would be much more intuitive but time consuming to create. Yet another important item on the todo list.
The plugin is starting to stray into some fairly exotic truss territory.
Wood Gusset plates are on my mind this morning (for those of us crazy enough to build or own trusses):

Of course this option would be pretty much useless without the engineering to size the plates and check the fasteners. I will be giving this some more thought in the near future.
I’ve actually done this. I had a carport that I wanted to turn into a a garage. I needed to make it larger. When I took down the carport I had one of the original trusses.
What I did is used that truss as a template for a bob tail truss.
So I built a long wall first - laid it down and created a truss jig on the plywood. And yes - I use plywood for the gusset plates.
1 Like
I think a lot more people fab their own trusses than we realize. I don’t disapprove but I do think that quality control is imperative. One bad joint in a truss can cause the entire truss to fail which in turn may cause a catastrophic failure of the roof system.
Some jurisdiction will require an engineer’s stamp on any site built trusses, as they should, but there are many situations (ie. agri structures, small buildings) where there is no oversite by a building official or engineer. For those situations it would be useful to have an easy to use truss calculator that even the lay person could utilize and understand.
From my side there is some risk and liability associated with this, especially since I have no way to confirm the workmanship of the construction. If someone were to utilize my calculator and design a truss with plywood gussets, and assuming that they built it per the calculations and input the correct snow loads etc… but the construction was shoddy and it failed would I still be liable? Probably so. That is why I have hesitated on releasing the wood gusset portion of my Truss Designer (web based).
I hear you. However I am a cabinet maker and a curved stair case maker.
I purchased quality materials with better grading than what was required. I used exterior grade plywood for the gussets and used properly sized pilot holes and screwed the gussets on with rust proof screws. I also used exterior grade glue on the gussets.
Of course you need to adhere to the nailing patterns.
Regardless - this garage is still standing 40 years later - and still looks great.
1 Like
I’ve seen a lot of great site built trusses.
I actually think a well constructed plywood gusset plated truss with glue and nails will out perform a metal plated truss. It’s not the craftsmen that worry me its the DIYer who has limited experience building things and does not take the time and effort to do a quality job.
Trusses are unique structural elements that require special attention to the connection between members (joints).
One method to address the lack of quality control is to overbuild the truss slightly. This method is actually used to some degree in the manufacturer of MPC wood trusses.
I think I’ve beaten the flat truss to death but I noticed after perusing through a number of flat truss shop drawings that the modified warren is also a popular web configuration. Its not too big of a deal to enable this configuration. The flat truss will then have the option between a pratt or mod warren web configuration.
Enabled mod warren webs for the double pitched flat truss configuration:

The truss shown above is an asymmetric double pitched top chord bearing flat truss with a mod warren web configuration and cantilever ends. That is quite a mouthful.
I have not added the top chord bearing option and the mod warren webs to the other flat truss configurations yet (flat, monopitch, pitched), however I will if specifically requested. There a much hotter items on the plate.
In the global settings I’ve added a setting to switch between metal and wood connector plates. Initially I will only enable wood plates for some of the more typical common trusses (ie. fink, howe, queen and king), if this feature proves to be popular I may enable it for more truss types.

Version 1.9.1 - 06.09.2017
- Added plywood gusset plates for common fink trusses.
- Enabled a “WOOD” plate type option in the global settings.

*Note that the wood gussets are currently only available for the Fink truss, if anyone needs them enabled for a different truss please let me know.
View model here: