Digging through your model it immediately jumped out at me that Wall 28 and Wall 31 are incorrectly configured at their corners.
1.) Change the end condition of Wall 28 to an “outside corner”.
2.) Change the start condition of Wall 31 to an “inset outside corner”. You will also need to stretch this wall by 5.5" to properly terminate the corner.
3.) Then change the start of condition of Wall 30 to “terminal”.
You wall corner configurations on the front of the garage are probably also incorrect but I didn’t examine that any further.
Also Wall 28 has a subtractive geometry that is not doing anything, so it should probably be removed.
When you have walls meeting in complex arrangements (3 or more walls at a junction), be careful with how you configure your corners. I have done my best to make sure that regardless of how things are configured the plugin remains robust but there is always the potential to get walls into a possible state where even the best algorithms can possibly break down.
I keep experiencing the missing HTML edit menu for walls. As can be seen in the attached GIF, when the “Edit Wall Assembly” menu item is selected, the HTML edit menu is no where to be found. I am NOT using a second screen and NO Ruby errors. This is an iMac and 2.4.3b Wall Extension. Thanks for your help.
Studied the new “corner” video for the Wall extension. I followed the rules:
Inset Outside Corner and Outside Corner go together
Inside Corner and Inset Inside Corner go together
This works for exclusively rectangular walls as shown in the video. When I use the same rules for two rectangular and a shed wall, problems occur. Studs do not terminate in header properly and corners are not correct on the shed wall. Any help would be appreciated, Thanks.
When you have a rectangular wall meeting a shed wall on an outside corner you will probably want to adjust the “Trim Top Plate” parameter for the rectangular wall at that corner.
Believe I found the cause for the missing HTML Edit menu. On first selecting “Edit Wall Assembly”, the HTML dialog box appears normally. When selecting the “Close” button on the HTML dialog box, the “Wall Edit” mode stays active. Subsequent selection of the “Edit Wall Assembly” does not produce the HTML dialog box due to the “Wall Edit” mode being active. While in “Wall Edit” mode, a single click on the wall assembly WILL produce the HTML dialog box. The only way out of this behavior is to tap the space bar, which WILL terminate the “Wall Edit” mode. My expectation would be when the “Close” button is pressed, that would also terminate the “Wall Edit” mode as well. Hard to explain in words, but the GIF may make the behavior more clear. This is on a Mac, have not verified with Windows.
PS: If “Wall Edit” mode is left enabled and subsequent wall sections are selected with single click, and corner conditions modified, SU terminates unexpectedly. Had 2 crashes within minutes. Reports were submitted, maybe @colin has some insight.
While eagerly awaiting the “fix”, this is a workaround that allowed me to finish the project. Downside was sheathing/cladding/gypsum needed slight adjustments due to wedges and no Calif. corners. Upside was not requiring birdsmouth rafter cuts. Wedges were easily fabricated on-site, hours saved not cutting rafters.
Hi @Matt, just viewed your custom door YouTube video. Wow, an excellent tutorial (big fan of all your SU material). Was able to follow and duplicate the procedure successfully. For me, the only caveat would be adding too much detail to my SU files (got into trouble initially as a beginner). The example door is 5Mb in size. If you were to add custom doors, windows, etc. the SU file size could quickly become an issue. In residential building documents who (eg. architect, builder, framing crew, customer) would benefit from this level of detail. What are your thoughts about model complexity?
For those who have not discovered Matt’s excellent SketchUp YouTube videos check it out. Also check out his website, https://mastersketchup.com/. His latest videos on Medeek extensions can be found here:
Custom Doors
Wall Extension
PS: For Mac users the library folder that is mentioned in the video for Windows, is located here:
I appreciate you sharing my videos here, and I’m glad you like them. Regarding level of detail, yeah, that’s a constant battle trying to decide on that. It all depends on what you need to show in the plans and what you want to quantify, (and the size of the project). With the Medeek extensions, the automation obviously helps with the speed part, but you start getting into performance limitations if the project is too big. So I don’t really have a clear answer, because it depends on your objectives and what you’re trying to pull from the model.
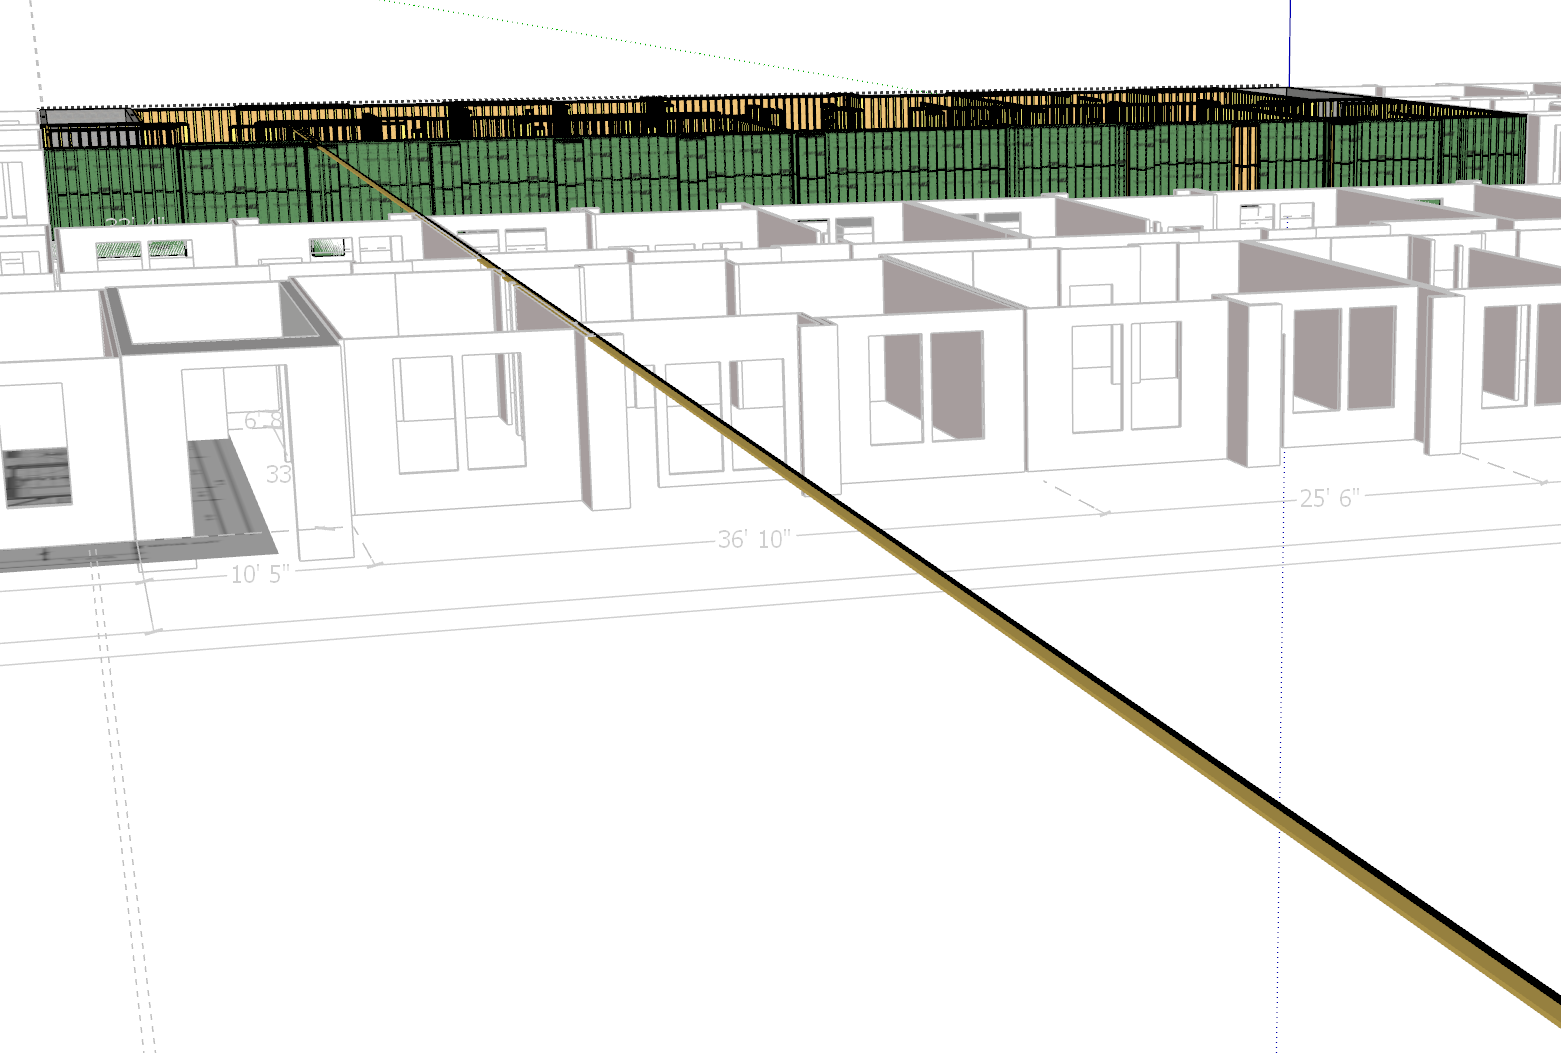
For some reason, I’ve got this one wall, where if I update it to add blocking, the wall seems to get regenerated correctly at first, but then when I orbit a certain way, it suddenly gets what looks like an infinitely long top plate, and SketchUp zooms out and completely freaks out to the point where the axes start bending around like I’m in an alternate universe. It’s pretty crazy stuff, lol.
It’s a very strange glitch. I’ve got like an infinite top plate, but it doesn’t seem to be geometry I can interact with. It’s just a visual glitch. As I orbit around, the bounding box flickers, and if I orbit past the red/blue plane, the model disappears.