Profiles is in the Edge settings for the style. You can only edit In Model styles.

Indeed.
embarassing - should have found that on my own
No worries. Losts of little details.
Not sure if I’m misunderstanding Dave, but I have a DC door that has a swing 2D component tagged as 2D and the actual door component tagged as 3D.
When I bring in this component into a model the 2D and 3D tags also come in…
The top level component comes in as Untagged, though, correct? Or it gets the currently active tag.
Maybe Tom has set up his component as you describe but I understood it was only a single 2D component.
1 Like
Yes it does - untagged always the default tag
1 Like
So, Paul - with one click you can bring into your model a door with a tagged swing?
Yes Tom - swing is tagged as 2D_object and the door as 3D_object.
When I open component options it asks for door width and frame depth and it resizes the door, frame and swing. To resize the height I use Curic Stretch
I’d be happy to share but it currently needs some tweaking and I don’t fully understand component axes and gluing so there might be some refinement there also.
Just tried a test and it works- whadaya know.
I did not realize that you could make separate components and then “componentize” them together.
Very cool. They can even be turned on and off separately with Tag assignments.
I’ll definitely check out component options.
Thanks.
… last second wondering how door swing direction is handled. Will test and comeback here at some point.
Door Metaphysics:
Uploaded two screenshots here for clarity’s sake. First is Component Window. Second is a drawing to test component door placement.
First:

Second:
From left to right: LH, RHR, LHR, RH
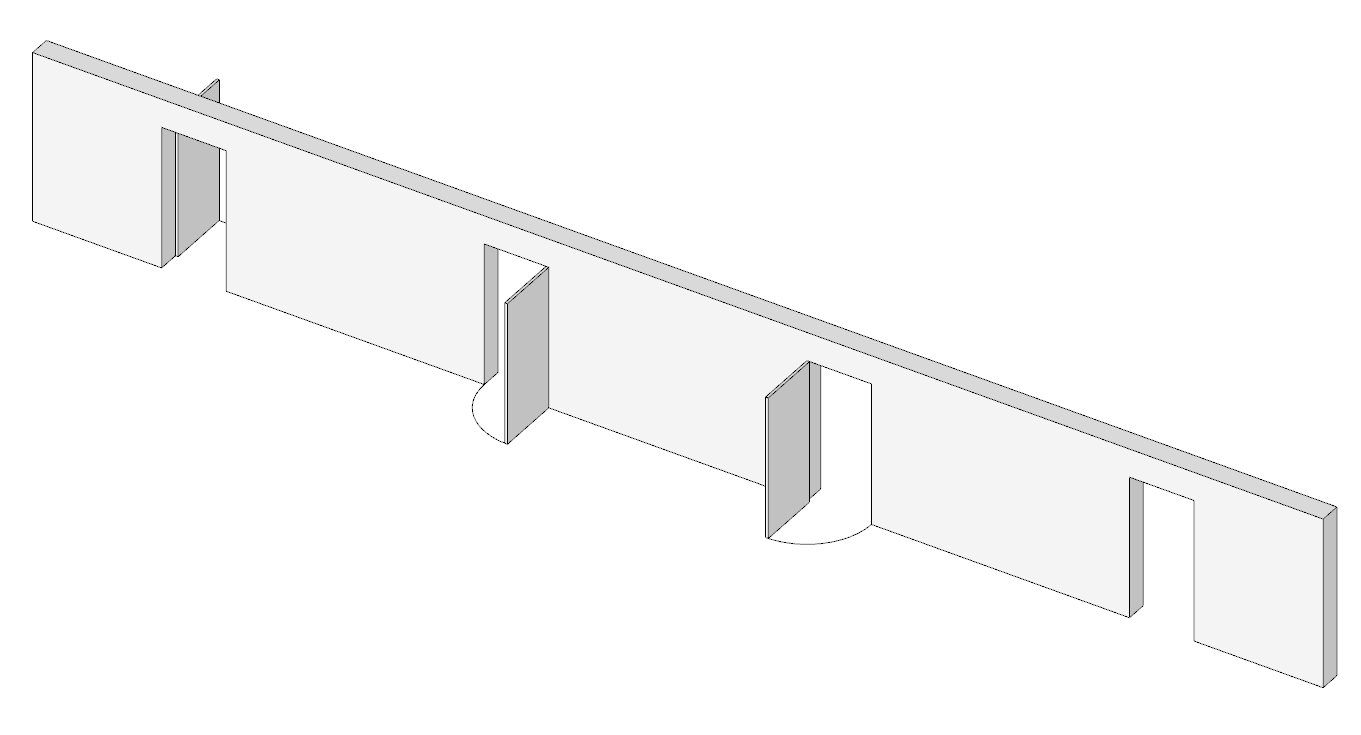
I’m assuming that ideally one door component would be best to then bring into the drawing and manipulate it into position - not to make four distinct components. To do this I have discovered the need to master Flip Along and/or my Mirror extension. This of course requires an ABSOLUTE understanding of the command’s behavior around all three axis - which seems pretty hard to anticipate and retain on an intuitive basis. Inserting the LH door was not a problem, it’s the natural location of the Component as made. The RHR and LHR required trial and error manipulation and adjustments. I don’t remember how I did it- I just did. Wondering how to get that last RH door in. Seems like it should be an easy type of Mirror or Flip.
Is all this best taken care of through an extension? I see that some exist but would like advice along these lines.
1 Like
if you set the axes in the center of the frame, you only need to know how to rotate and scale -1(=mirror):

Binnendeur_3.skp (145,8 KB)
1 Like
This looks great Mike. I’ve downloaded the Component door. Lots of skills going on here that I have yet to learn but will now for sure. Like using the scale tool to seemingly turn that door inside out was a minor revelation to me. Eventually I would want to be able to build this kind of Component myself. Who or what is Binnendeur?
Anyway - very much appreciated.
Scandinavian door manufacturer?
… ‘deur’ must mean door in one of those Northern European languages, no?
Binnen = inside
Deur = door
More like Southern when viewed from here ![]()
1 Like

In the above screenshot there are 4 red crosses and the center of the Rotate tool protractor is snaped toa center axis.
My home built Component door does not have these:
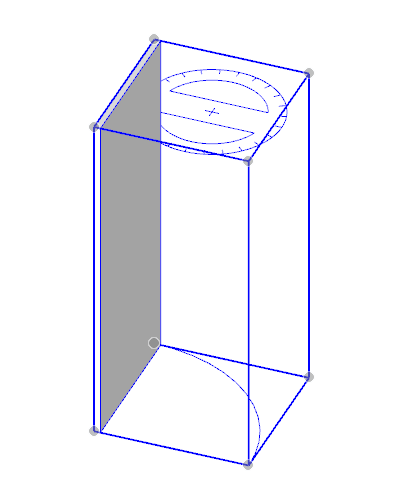
So I assume that the Biddendeur Component comes with these “grips” built in.
Is there a way for me to build them in to my home made door?
The red +'s show up if you use the Move tool, not if you use the Rotate tool. it’s not unique to the Biddendeur component.
Tanks
1 Like

It’s really quite useful but it only rotates about the center of the group/component. Good to remember though because you can place a lot of objects with nothing more than the Move tool.