Adding another missing adapter, of course again a different diameter than the others ![]()
Before:
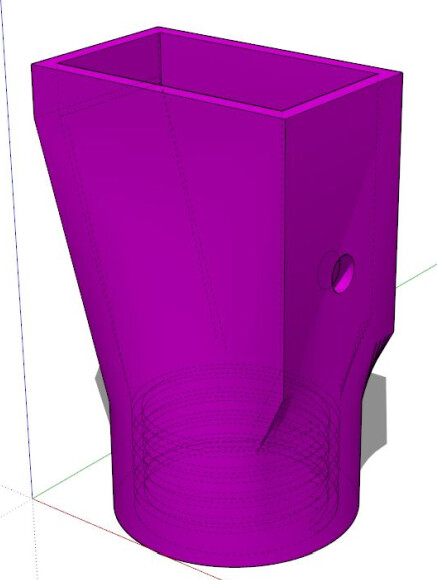
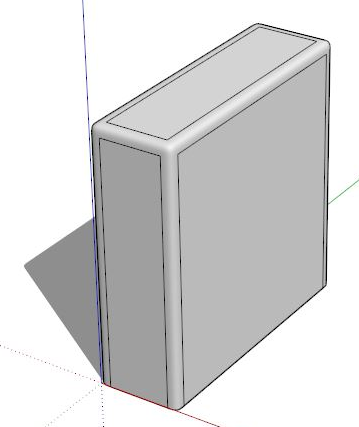
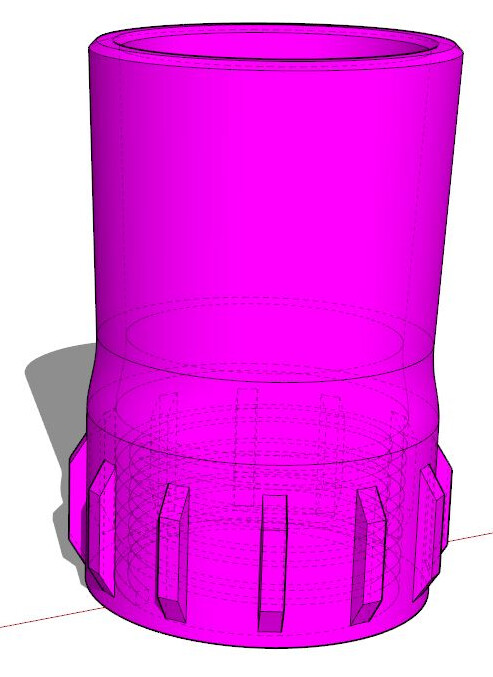
SketchUp:
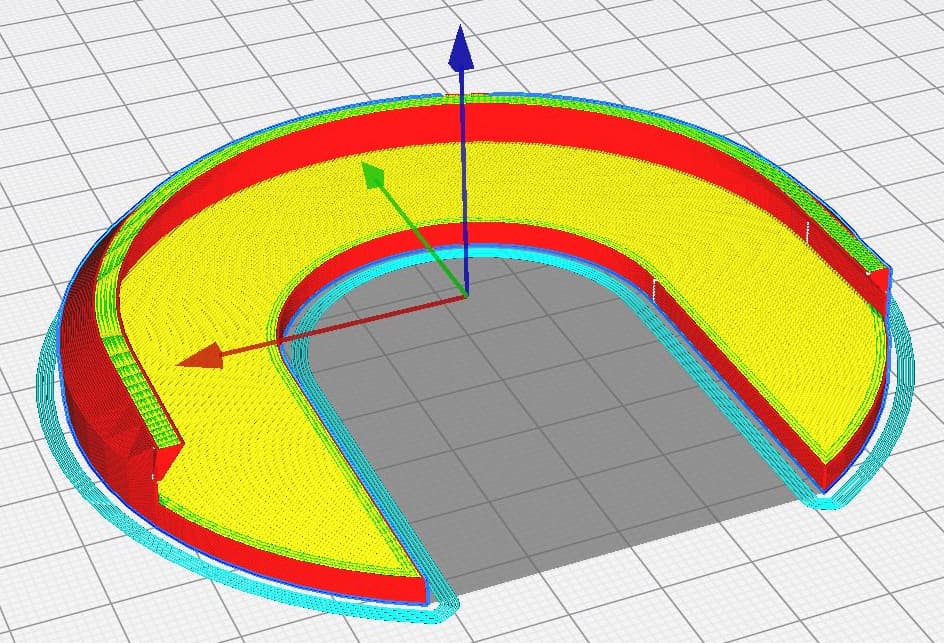
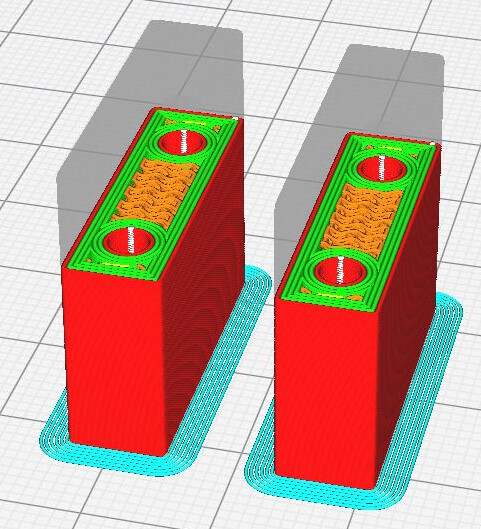
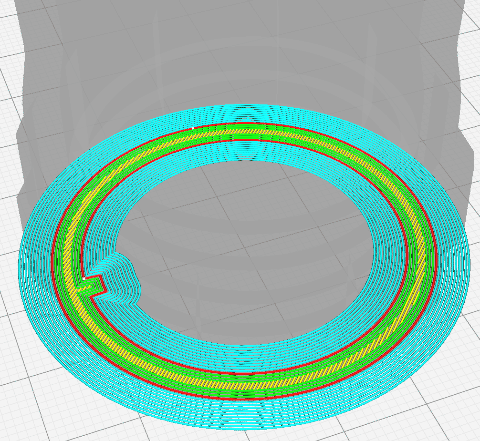
Slicer:

Finished:
Adding another missing adapter, of course again a different diameter than the others ![]()
Before:
SketchUp:
Slicer:
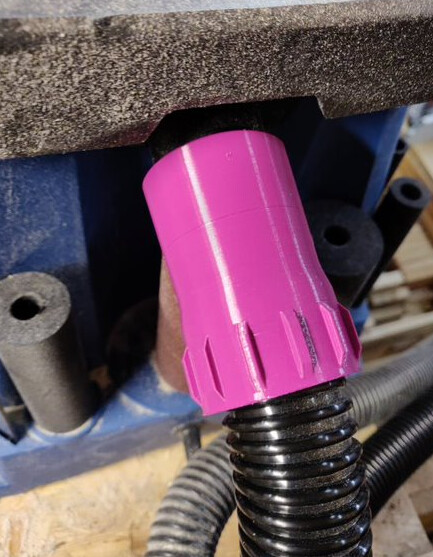
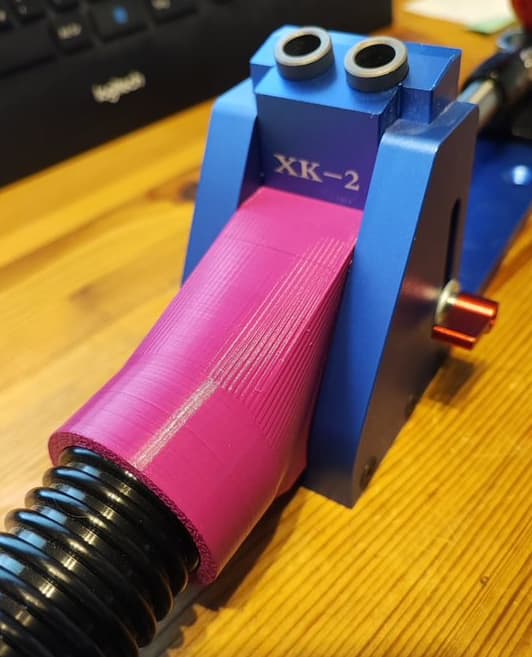
Finished:
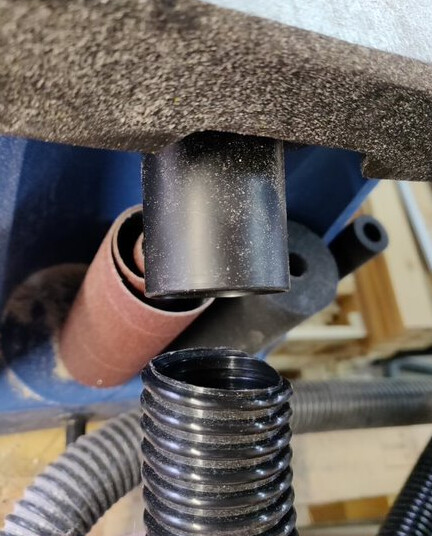
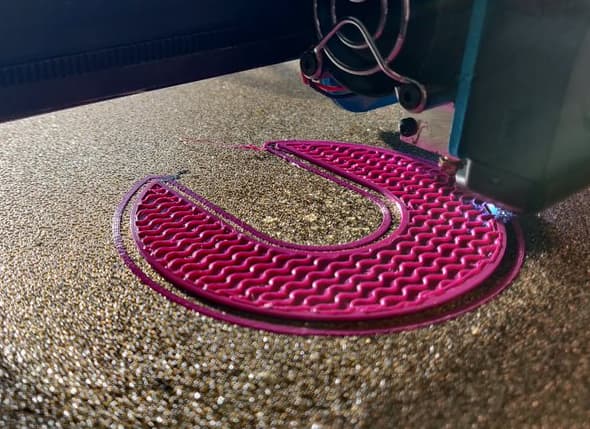
Does it thread on the hose?
Yes, and not only that, due to the small steps of the layers and the print of the thread as an overhang (comparable with small re-hooks), once the hose is screwed in, it is virtually impossible to get it out again, a very secure connection!
Very nice feature! Did you print the threads without support?
Yes!
Do you use special settings in Cura to make those work? Because it is not the same as normal bridgeing…
No, just disabling support (would be impossible to remove anyhow)…
So, in summary, the threads have just enough “corbeling” to support themselves without disposable or “throw away” supports? How do you know when you’ve reached the limit of the 3D printer to “corbel”? Just trial and error or are there some rules of thumb?
(Corbel is a bricklaying term I’m borrowing here for the lack of a better word.)
Most of my attempts with optimistic overhangs have been successful, so I usually try it first and possibly change the model later if it doesn’t work. You can certainly get further with optimizations of the print parameters, but I lack a bit of time and desire for that.
One advantage is certainly that I often only print functional things and the perfect surface of the object is rather secondary.
We’ve updated our caravan with a coffee machine with pads, next step is the storage for the pad holders…
(printing in the morning sun ![]() )
)
About the hose connector.
Nice.
What did you use for the item wall thickness ( drawing/design thickness ) and wall thickness ( 3D-printing wall setting )? Looks like 4 for ‘wall line count’ - and 3 line for the ‘infill’. What print quality setting did you use? 0,16 or 0,2mm.
If I use those settings in the past for something similar, using PETG I found it a little weak.
Maybe my expectations where too high. Anyway now I use for a the wall thickness a line count of 5-5-5 with a quality setting of 0,12 - 0,16mm.
Since I usually use a 0.4mm nozzle, I try to use multiples of that as wall thickness as much as possible, in this case it was 3.2mm. Mostly I use 3 or 4 wall lines and about 20% infill, only rarely more. I often print such models in PETG, and I haven’t had any problems with stability with these parameters, but these parts don’t have to withstand large mechanical loads with normal use.
I heard that finer quality doesn’t do much good for print strength. But offcourse low quality and screwthreads don’t go together well either…
The threads are very coarse, to save printing time I often use 0.2 - 0.24 mm layer thickness for this purpose, only if it should look nicer down to 0.1mm.
Next adapter…
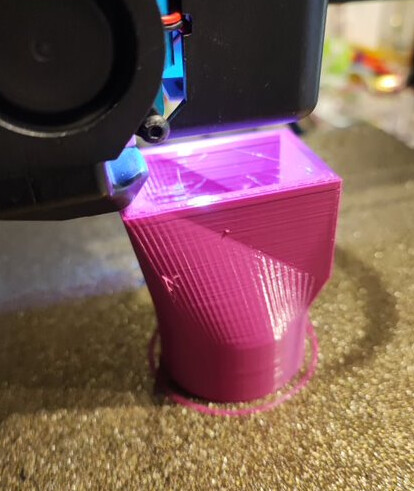
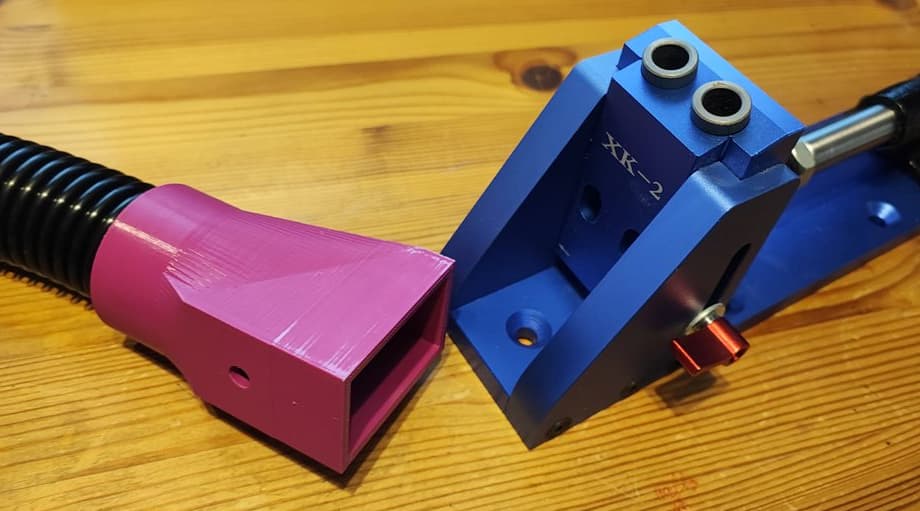
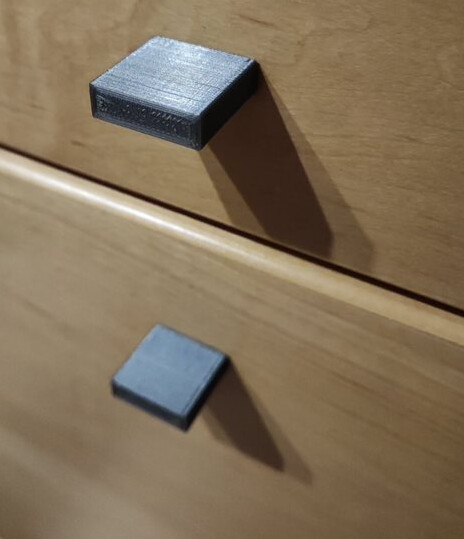
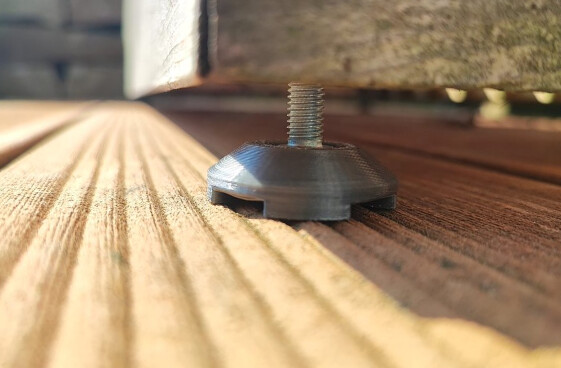
If you look closely, you can see that the hole on the bottom is in the wrong place. I had to extrude the end so that the thicker part sticks out far enough, in the process I forgot to adjust the hole. Fortunately, the fit is so good and tight that is securely holds even without fastening. Otherwise I can always screw a short wood screw into the PETG from below.
Or instead of a screw, how about a peg?