I used geolocation for my model and solar north is not aligned with original axes of the model.
I don’t want to rotate the solar north because it will result in inaccurate shadows, so i tried to rotate the original axes to be aligned with the solar north, but i can’t snap the axes to the solar north, and i don’t know exactly the angle between them.
is there is anything to deal with this???
One thing: The “original axes” cannot be rotated. using the axis tool results in a temporary axis shift while the axis reset command will revert to the original model coordinates, and the standard views will always remain tied to the original model coordinates.
The effect on shadows of rotating your whole model or rotating the solar north is exactly the same, especially if you don’t know the angle.
Anssi
2 Likes
What method did you use to geo-locate the model?
Did you geo-locate the model manually or did you use the Add Location feature which geo-locates the model but also brings in Google Earth terrain and snapshot?
If the latter, is it necessary to have the GE terrain in the model?
Either way, there’s no need adjust the drawing axes away from their default alignment with the world axes.
Use the Solar North tools to your advantage.
Solar North Tools — SketchUp Extension Warehouse
By default the Solar North - Enter North Angle tool displays the north angle counterclockwise relative to world axis +y
You could simply rotate the model by that amount and use the Set North Tool to align true north with the +y world axis.
2 Likes
I used the add location method which brings a a snapshot and terrain but results in presence of an angle between solar north and the axes.
It’s a little detail that is just irritating me. I just want the axes to coincide with solar north .
and for the standard views , there is this plugin “Extended Views” which solves this proplem.
I think this “Enter North Angle” way to know the angle exactly will work well for me. but i think it will be much better if there was some kind of snapping between solar north and axes when changing the axes orientation.
Again …Is it necessary to have the GE terrain in the model?
If you don’t need the GE terrain in the model then do not use Add Location to geo-locate the model.
There’s no good reason to clutter the model with the GE import if all you want are correct shadows.
Geo-locate the model manually. Window > Model Info > Geo-location > Set Manual Location
Software developers’ axiom … The Devil is in the defaults.
Software users’ axiom … Using the defaults keeps the Devil away.
By default, the Drawing Axes are coincident with the fixed (inalterable) World Axes.
By default, the Camera > Standard Views are inexorably aligned with the World Axes.
I suggested rotating the GE terrain and retaining its accurate relationship to north via the Set North Tool.
I did not recommend, “changing the (default) axes orientation”.
The Set North Tool snaps to the drawing axes and geometry.
The GE Terrain and Snapshot are comprised of geometry.
Try viewing the GE imports in monochrome face style with hidden geometry on.
The geographic coordinates of a geo-located model coincide with the World Axes Origin.
If you choose to rotate the GE terrain, then rotate about the World Axis Z
Place the Rotate tool on the ground plane first and inference lock the axis of rotation to the blue world axis.
1 Like
I’m in the first stages of an urban planning project where I need to work with the snapshot and terrain from google.
My Proplem is solved now thanks to your help. I did eventually as you said and rotated the snapshot and terrain by the value of deflection of solar north,and rotated solar north also to coincide with the axes and the standard views are now correct and have no tilt when you see from top.
Thank you so much
1 Like
Hi I’m a complete novice at this solar north and geo location malarchy.
I just want to be able to show the level of detail in the final layout files before print
which shows the model in the correct aspect and direction in relation to North.
I am a garden landscape designer and I used the add location feature in order do import
the topography/terrain for levels as it is a terraced garden where the levels will be changed and re-terraced
and I needed it to be accurate. thought this would be a time saving feature. lol, only if you know how.
I don’t actually understand what you guys are talking about concerning setting the axes:
can you recommend a tut please so i can get up to speed on this feature? Thank you
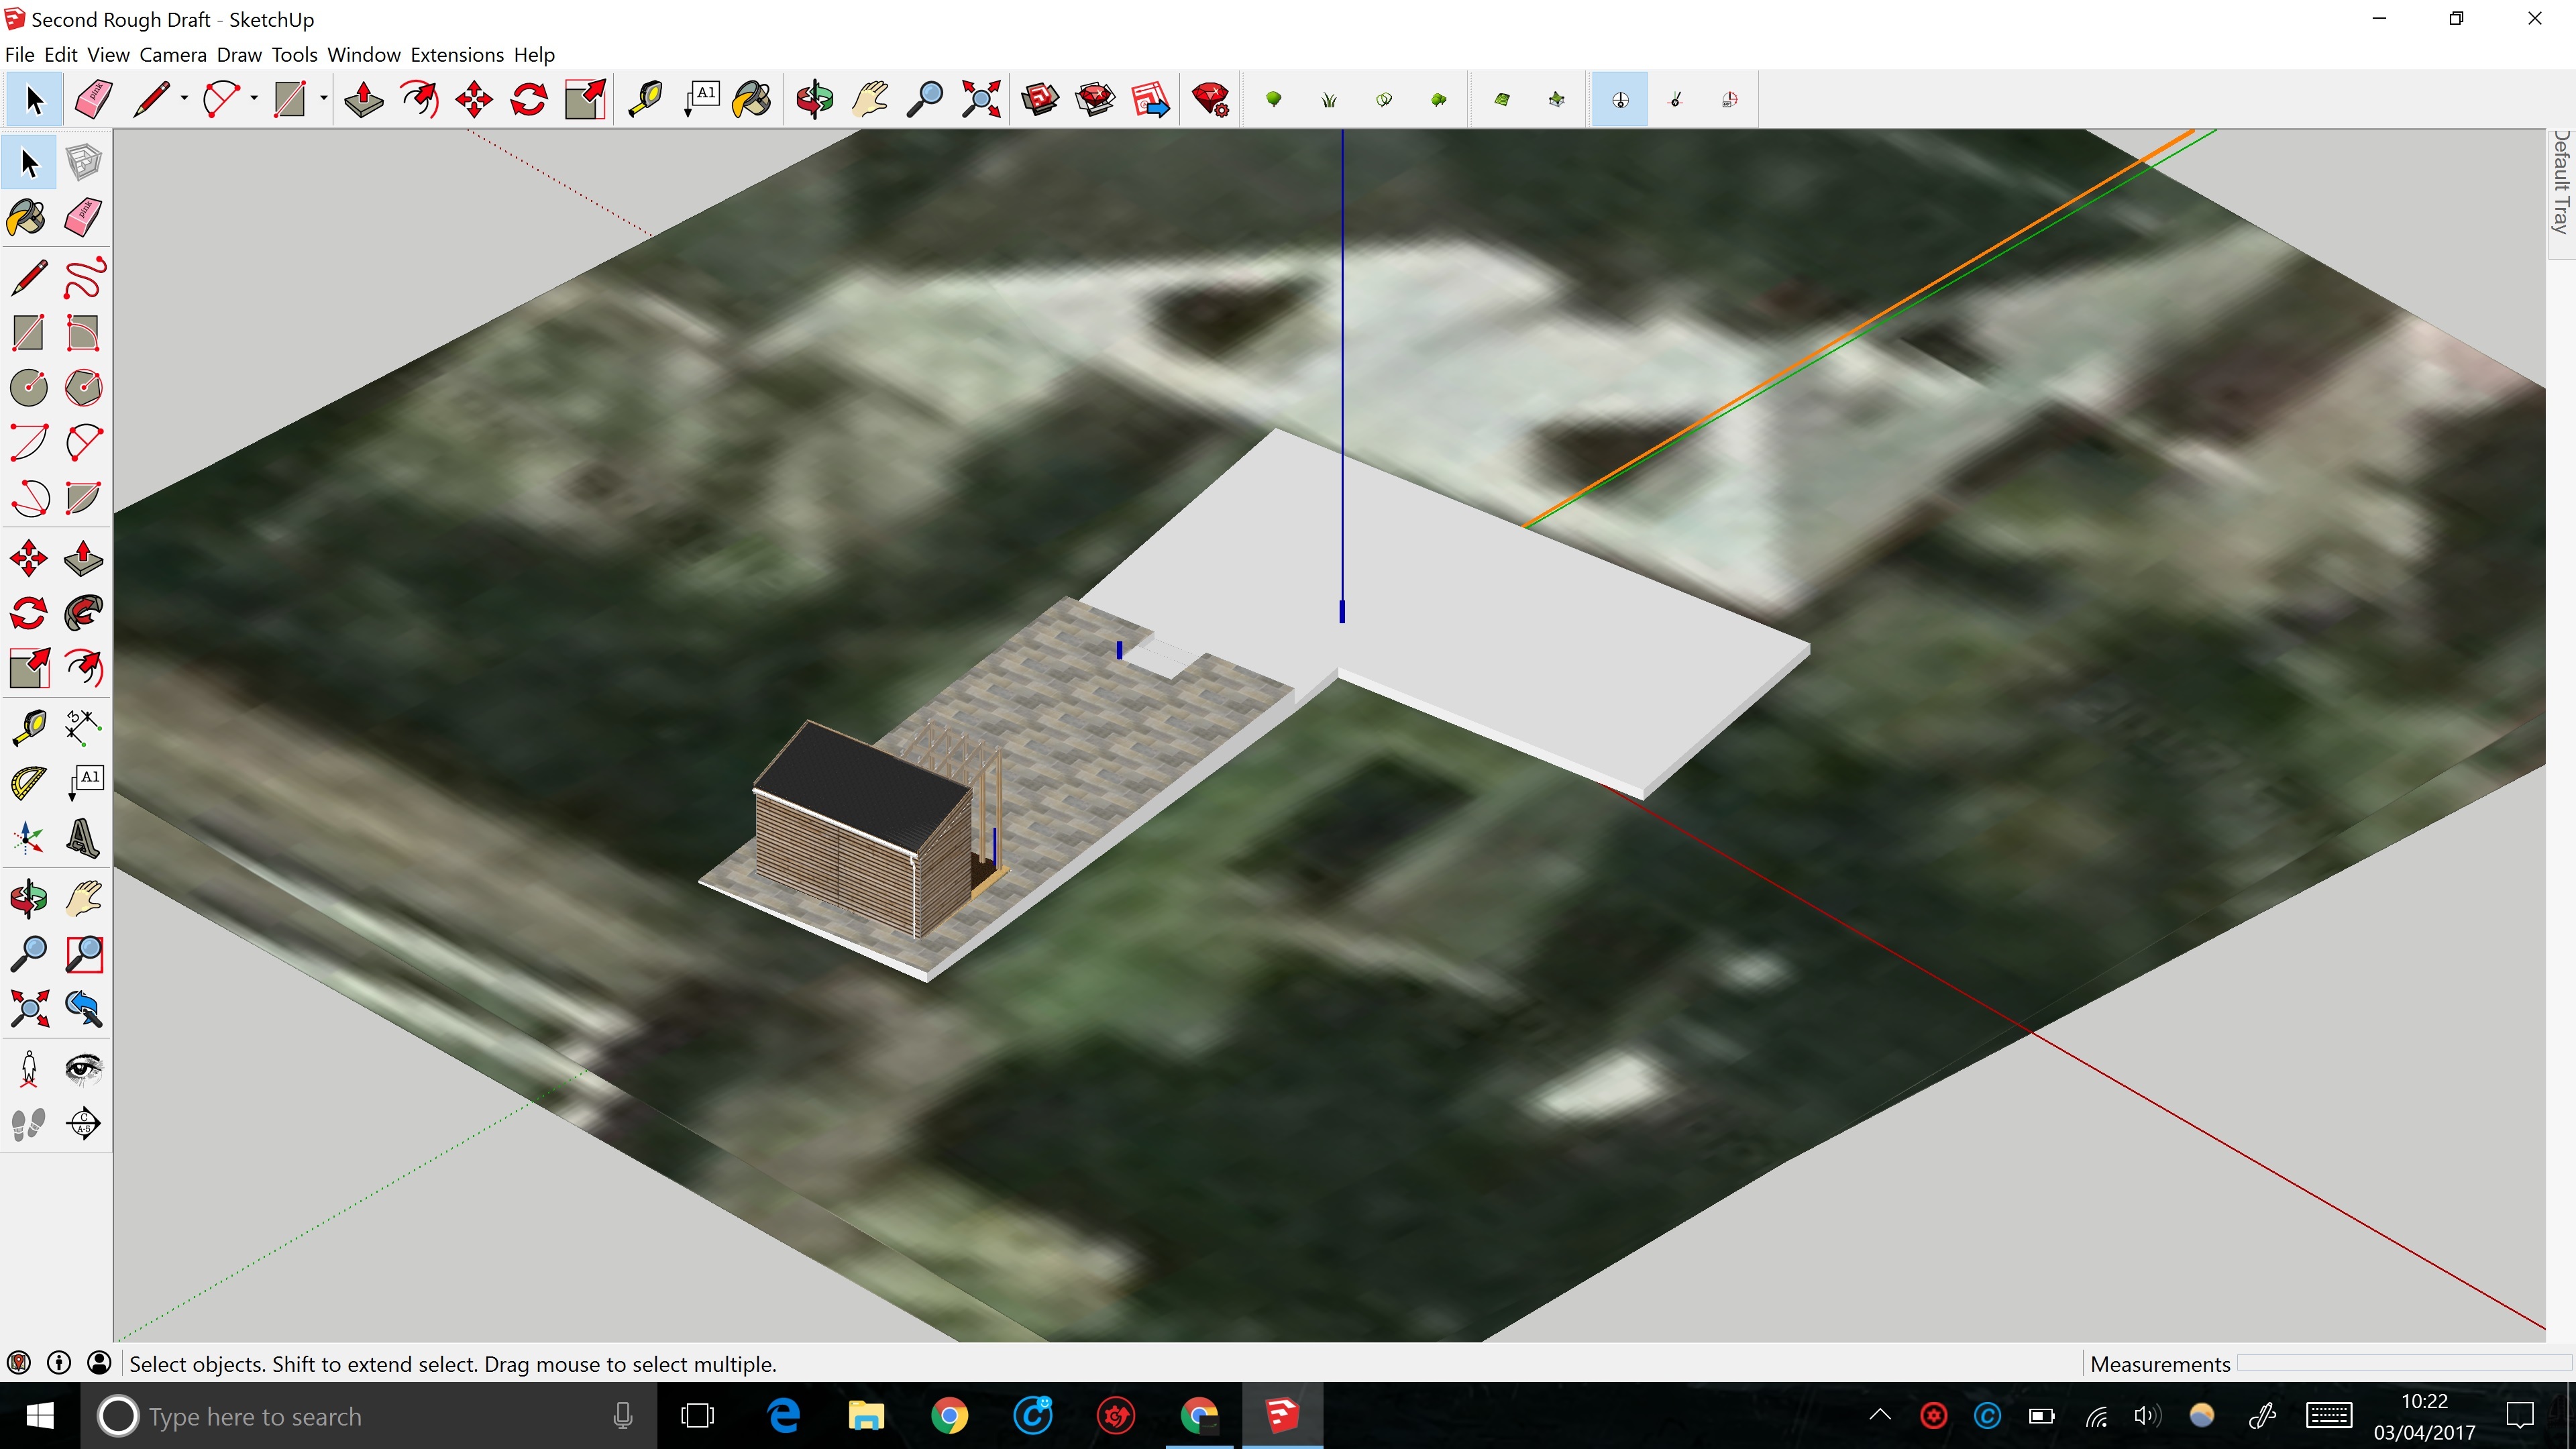
I was also wondering that when I click on top view it seems to rotate my entire model 180 degrees from the original view I open it in. does this prove what you are saying is correct? that by default the SU model will always rotate to solar north/world origin axes when I select top view or ISO? Ive rotated the model to match the inserted GE mapping imagery etc. as you can see from the attached jpeg. is the north “orange line” then basically correct and can I use this data then when I send to layout?
Look forward to hearing from you many thanks
this is the actual location of the intended property: Google Maps
and this is the magnetic declination of Hexham:
HEXHAM
Latitude: 54° 58’ 0" N
Longitude: 2° 6’ 0" W
Magnetic declination: -1° 44’
Declination is NEGATIVE (WEST)
Inclination: 69° 5’
Magnetic field strength: 49650.3 nT
but its all giberish to me?
after looking here:

it would seem that I was merely postulating on things that are in fact correctly set and its all old hat. sorry if I have wasted anyones time also maybe this will prove to be useful for anyone who came across the same issues as me?
The terrain created by SketchUp’s Add Location feature is far too coarse for such detailed site work.
Modeling the terrain yourself will yield much better results.
Camera > Standard Views >Top, Bottom, Front, Back, Left and Right are inexorably tied to SU’s inalterable World Axes.
Top View positions the camera looking straight down at the ground plane with Y Axis vertical onscreen and X Axis horizontal onscreen.
Learn to use Scenes to preserve other views of the model.