Today was a major milestone day! My friend and master-modeler, Chris Bowling, came over to lend a hand. And boy did I need it. It took too experience builders to pull it off. To give you a taste of what Chris can do, this was his entry in out model club’s annual exposition this past Saturday. It started as a paper model kit of the launch platform and crawler, and then after about 4 months of intense efforts. The shuttle Atlantis is a Revell kit that is greatly enhanced. Scale is 1:72.

We located all the untis with columns and drilled all their mounting holes. We intalled, permanently, the main condenser and main reduction gear foundation. And then started installing more things that go around it. Everything was installed with 5-minute epoxy and they are very secure. We probably spent an hour getting the turbogenerator unit positioned and settled down to the correct depth once all the pin holes were cleared of any interference from the plastic lattice that laid below.
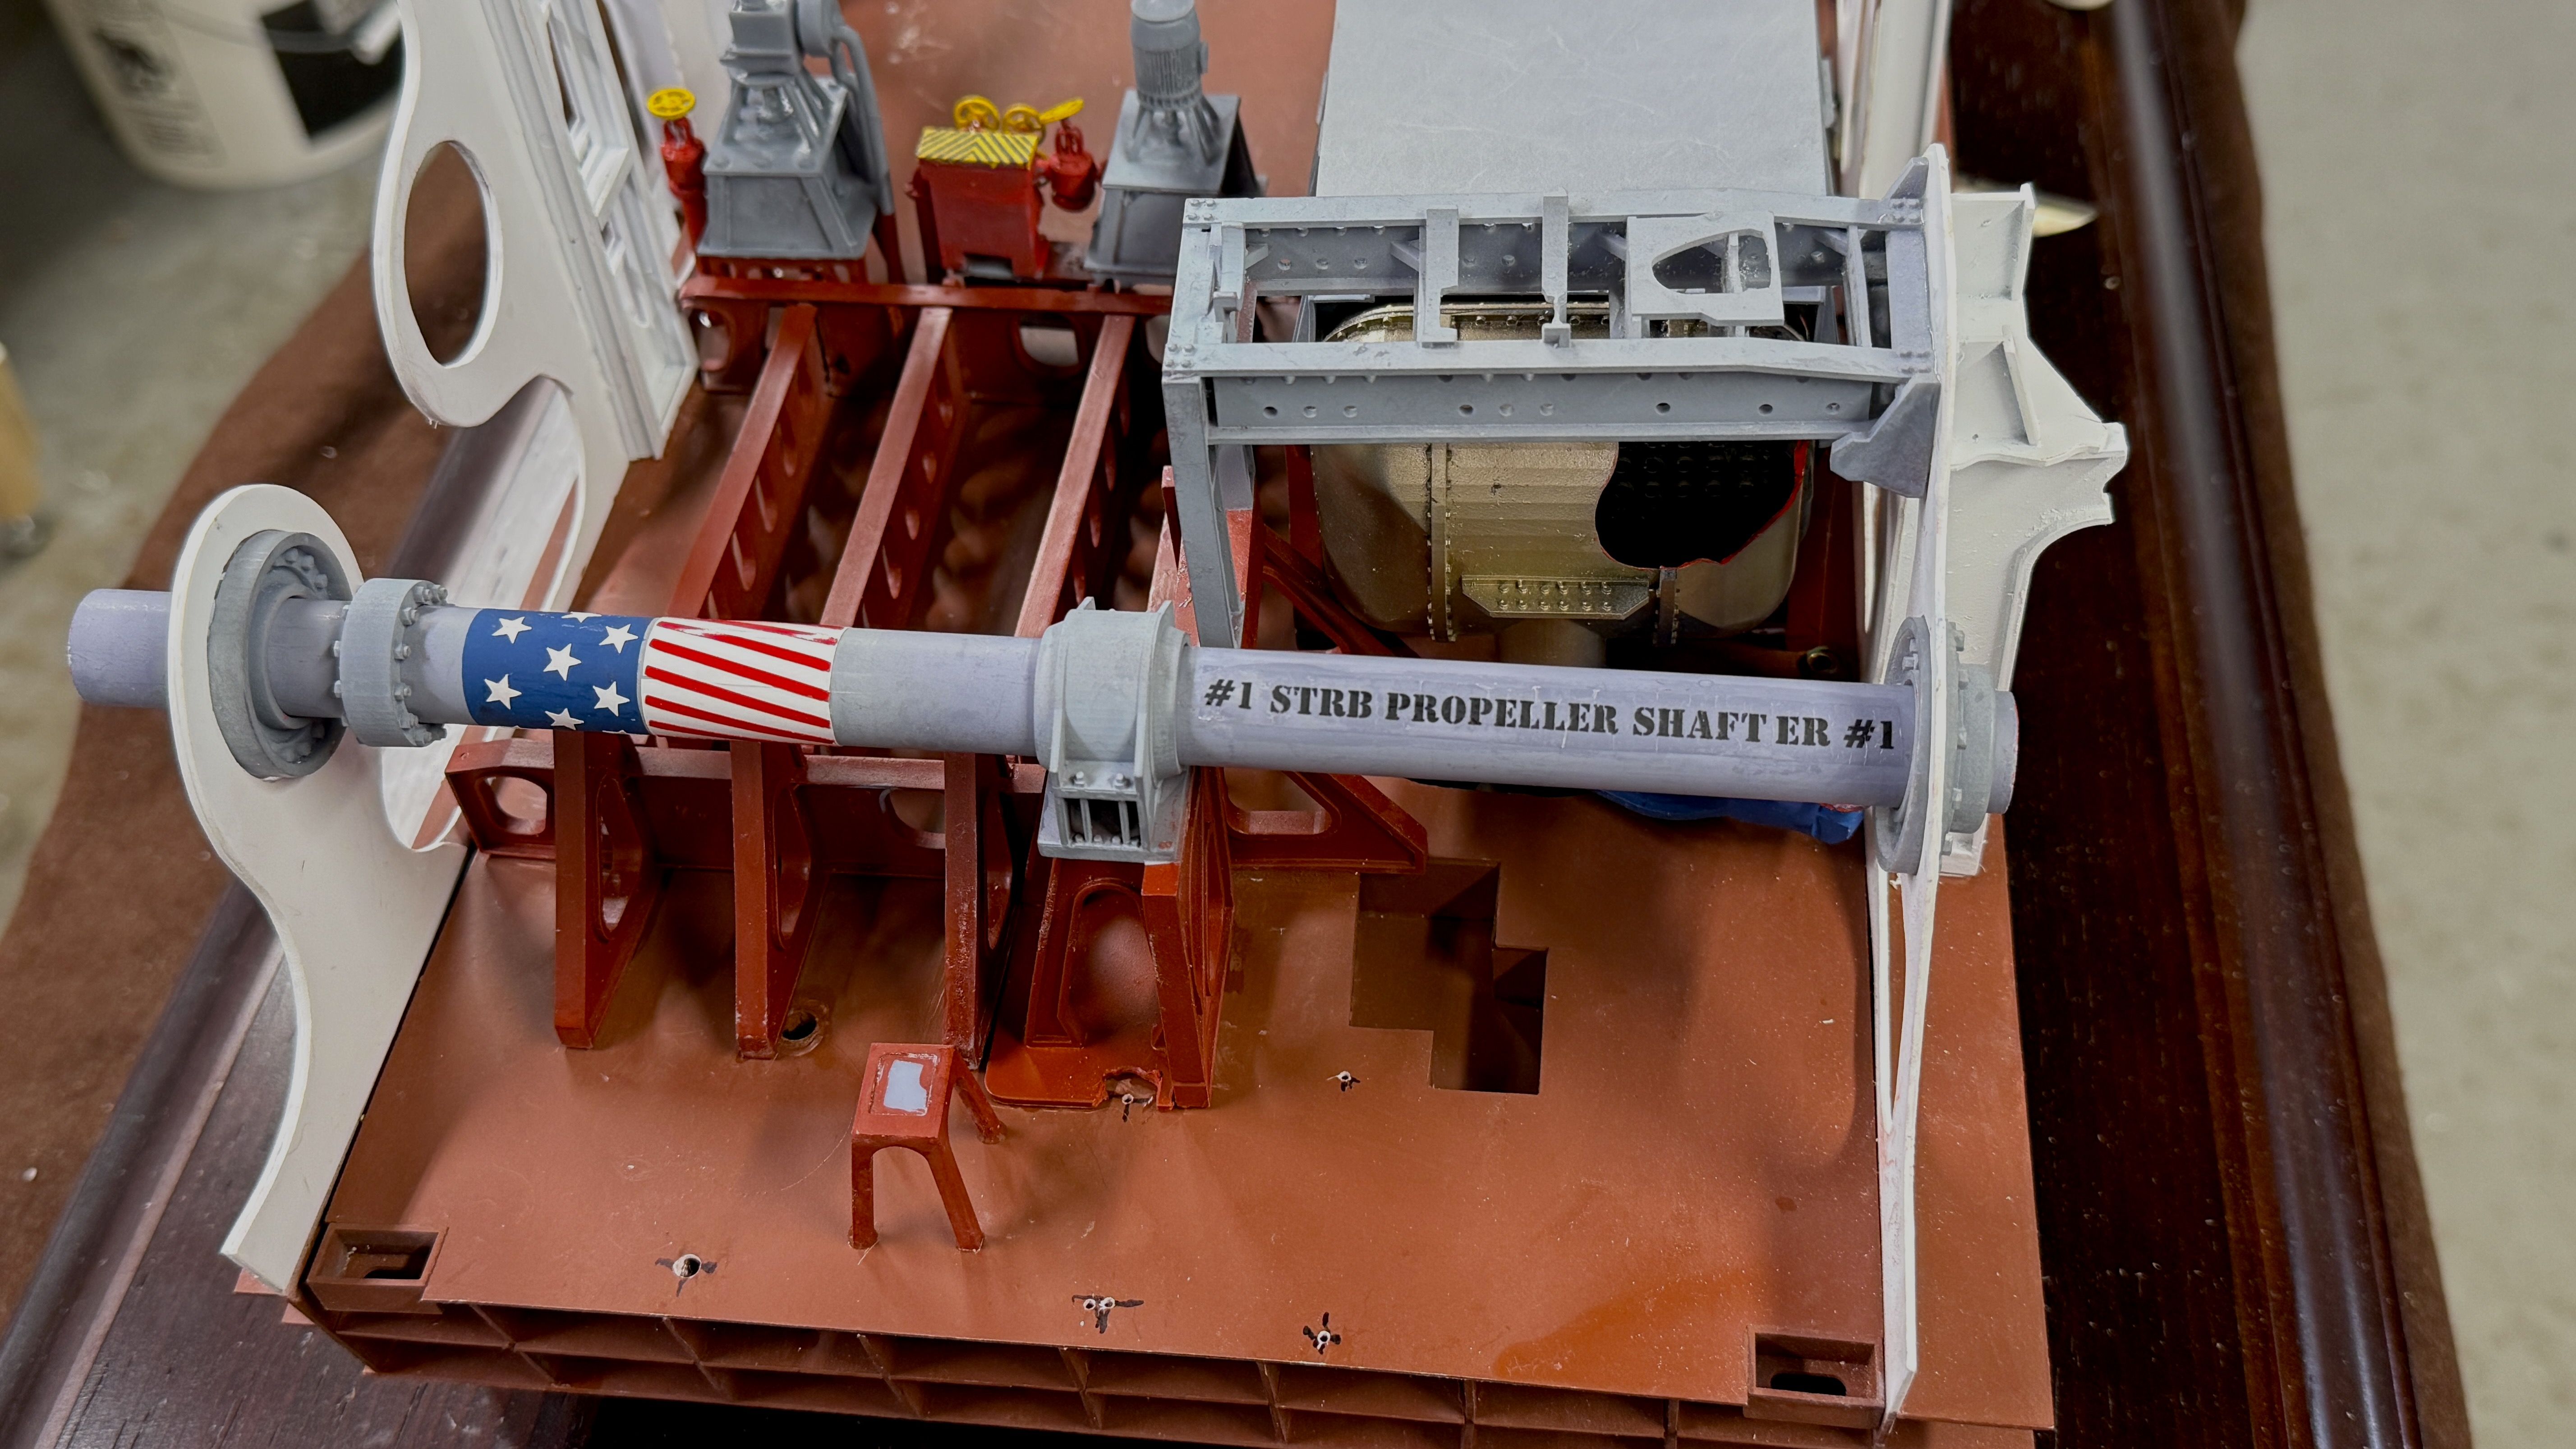
Intially, we used the paper template to mark hole locations, but found that the paper was fouling the pin holes making it hard to settle down to full depth. When all of the columned platforms had their mounting holes confirmed, I permanently installed the main condenser. This was a 3-step process. First, the condener pump was CA’d on the tapered pipe end, and then the main body was epoxied to the hold floor. Before gluing, Chris sanded the oxide red to provide a good gluing surface. Epoxy set in 5 minutes and then I glued on the startboard end. The handwheel on the big gate valve just bumped the bulkhead, but we could still get the condenser correctly located. The LP turbine foundation was CA’d to the supports flanking the condenser.


When cured, we located and marked the positioning for the MRG foundation and did the same sanding job. The foundation was spoxied and held in place with gravity clamps. The HP foundation was help lavel and clamped to the bulkhead while curing.

At this point Chris had to leave and I continued adding the starboard #1 prop shaft bearing and the lube purifier foundaion with epoxy. The seal bearings are not glued in yet.
I also glued in the separate steam powered lube pump which has been floating around on the parts table for a long time.
I had to relieve some of the bearing bores in the MRG to get the gear coveres to lie flat. I then epoxied the gear covers with the reduction set installed and clamped with lots of clamps. Gear box will be installed next.

Chris helped me and finished sanded all the glue edges on the plexiglass in preparation for glue up tomorrow. I can do that without help. Chris is returning next monday to help some more.
It’s really exciting that this is actually reaching this point. It’s going rather fast.