Sketchy 3D prints by ©@mp@n@®io

Time to post something new.

So after long consideration, last weekend i finally bought and received my first 3d printer …


(Flasforge Adventurer 5M)

… and without tweaking started printing the basic test files that came with the machine with the little bit of filament that came along …


(basic filament block and the famous thugboat test)

Onwards to the next testing phase :wink:

Let’s see ‘em.

Continued testing:

… and also went to thingiverse for some other test files and to pick up some ideas…


(for my collegues, an ajax logo and an “arch-mit-ohren”[german prank])

After that i modelled the logo of our office, but it failed because it ran out of filament (and i forgot to activate the filament sensor to pauze when running out of filament :face_with_peeking_eye: )

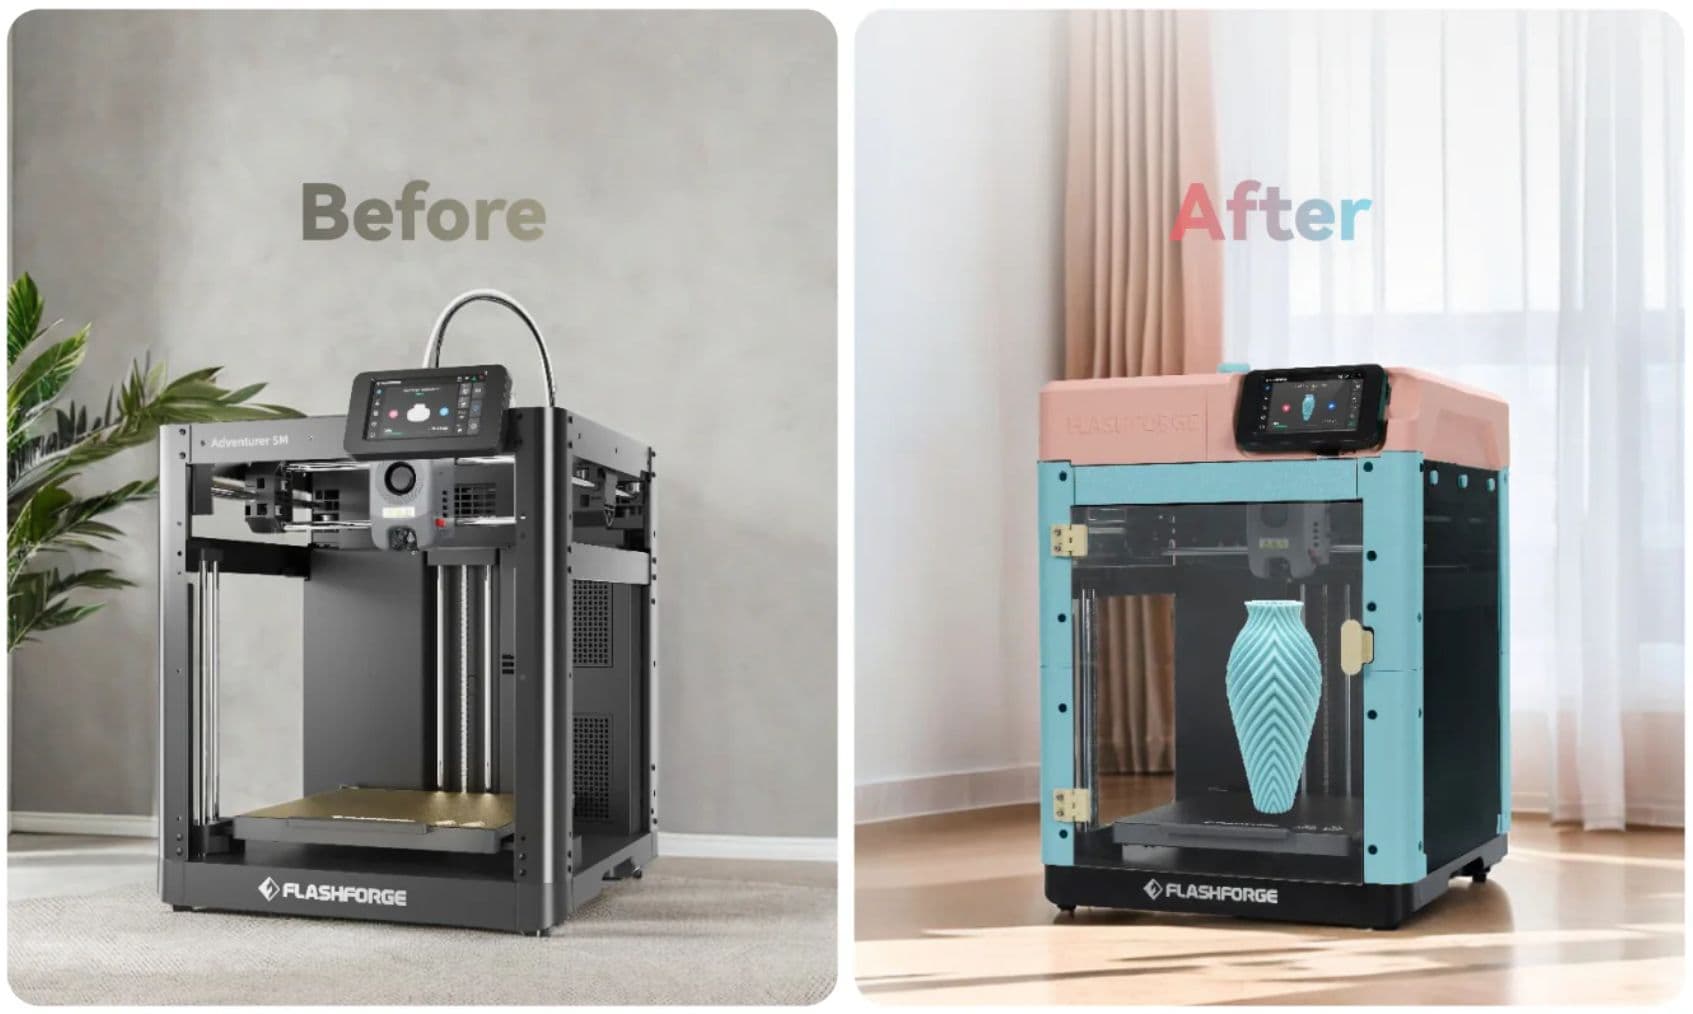
Regardless of the failed print, i am happily surprised about the quality of them “straight out of the box” prints!

1 Like

So what’s next, and what can be usefull?

At the office i have this “world clock” hanging, but i do not fancy that cardboard look!


(yes, the battery of the European watch needs to be replaced)

So i modelled a simple clock holder which can also hold a couple of pens.


(needs some small adjustments to better fit magnets to be able to combine the clocks)

Woot i finished my first 3d print design :partying_face:

3 Likes

But why did i buy this machine?

One of many reasons, to print scaled models of buildings … like my apartment scale 1:100!

The proces:

The raw print:

The cleaned up print:

This was just a test print to see if the two parts would fit together, wich they almost did.
So i will need to make some improvements so i can print all four floors and the roof as well.

To be continued…

4 Likes

Still had some time before i had to go to sleep, so i went back to thingiverse for some ideas to print.

Like a flexible cat:

And then the weekend was over.

So much to improve and learn, but did enjoy the process of modelling, slicing and printing :nerd_face:

5 Likes

because. you. can

and you’re an adult with adult money ! :smiley:

3 Likes

And probably unmarried. I jokingly mentioned my lack of a 3D printer today. The look I got burned a hole in my shirt.

7 Likes

show her Cotty’s thread, all the great stuff he did for the house, the caravan, and now the winter dome

2 Likes

That inspired me to finally start something i was planning for … way to long.

So shout out to Cotty’s 3D printing adventures :wink:

2 Likes

Expandable house number plate - CONCEPT:

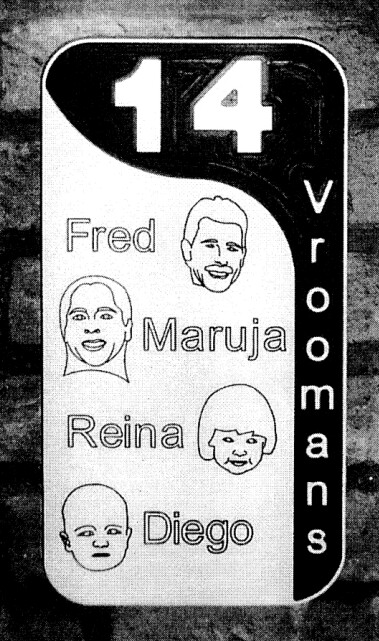
When i was working at a woodsawing factory between 2002 and 2007, where they also had a cnc machine, i made a personalized housenumber nameplate from Trespa for my sister and her family (see picture below).

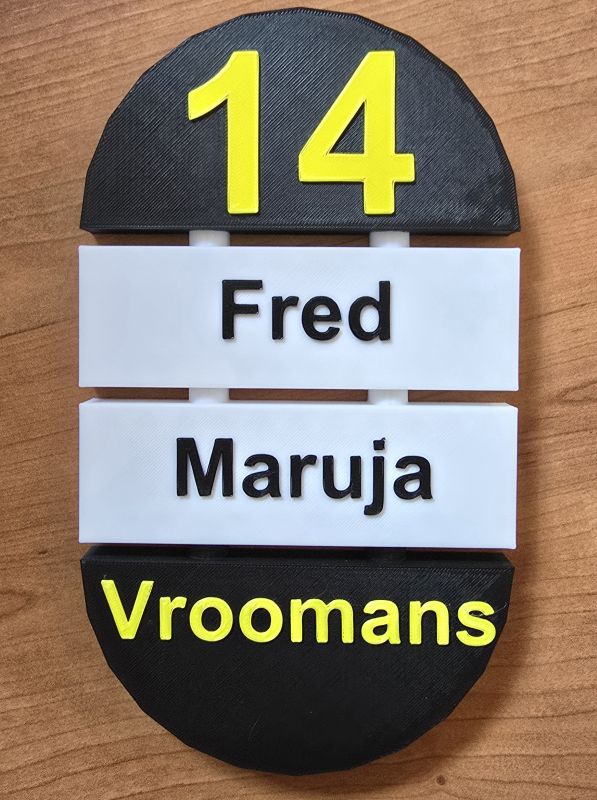
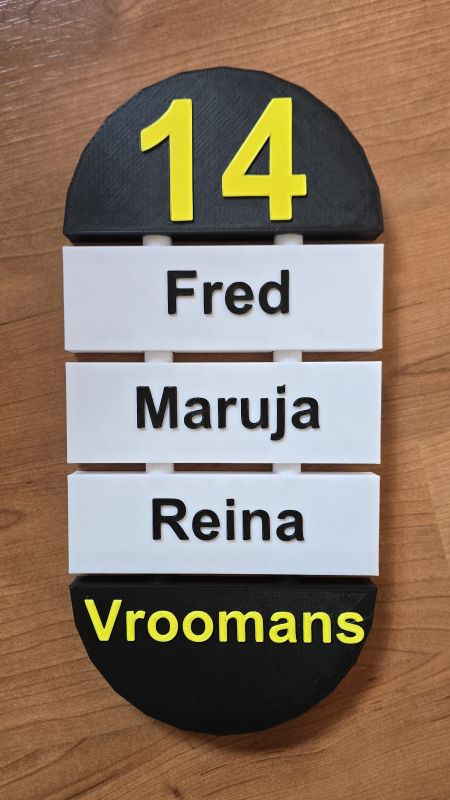
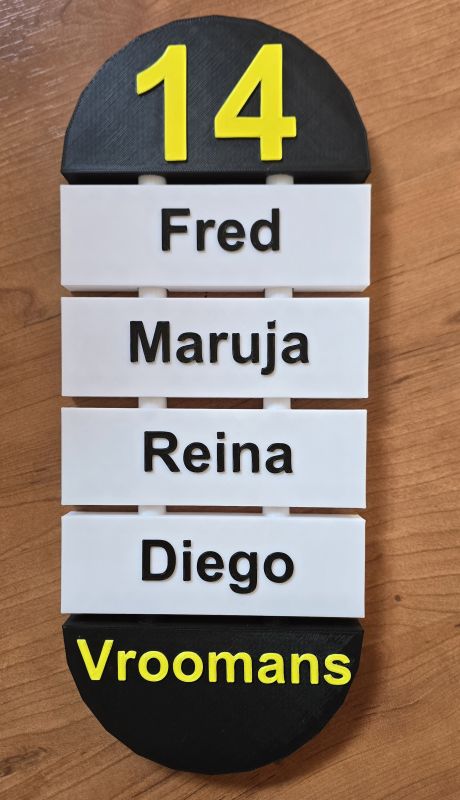
But after 20+ years it was time for an upgrade, so i made the following concept for an adjustable housenumber nameplate with a status bar (since them kids are not always at home :wink: ).

material: PLA 1.75mm
layer thicknes: 0.4 mm
colors: as desired (in this concept i have used white, black, yellow which were manual changed)
magnets: round 5x2 mm (manual added)
support: yes ( more info soon)

Seperate parts for serveral combination options are kept in place with magnets 5x2 that are embedded into the print:

Added a pause in the gcode to be able to push the magnets in their hole or change the filament color:

Several combination options.

Housenumber and familyname only:

Housenumber with nameplate(s) and familyname:

Adding statusbars to show who is IN or OUT:

Backside with the screw holes:

Sketchup file: will be shared soon!
(you can easily edit the names using “ThomThom’s 3D Text Editor”.)

8 Likes

The diy enclose kit and camera have arrived!

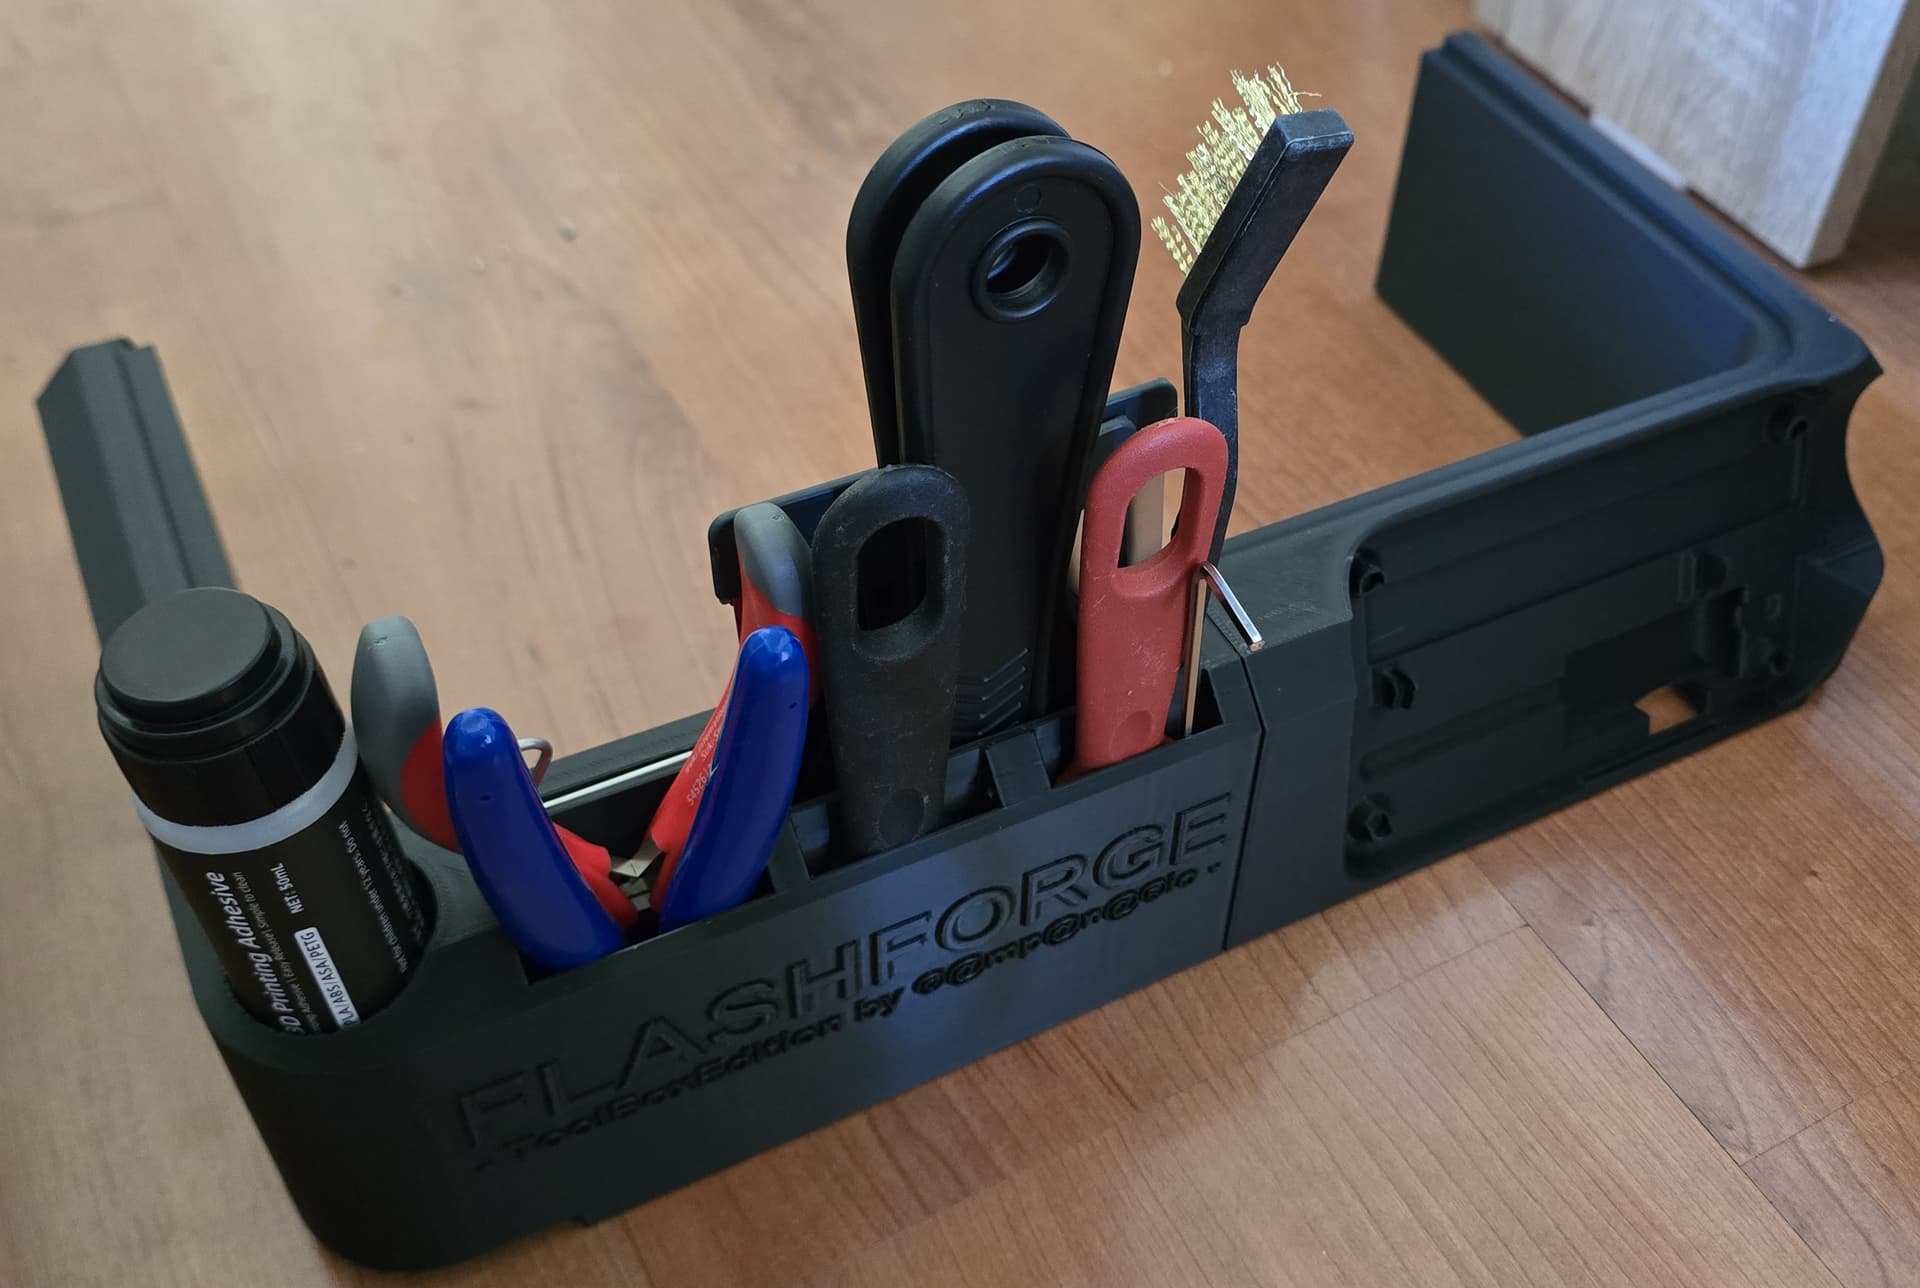
Unfortunately the frontdoor opened the wrong way (for my setup) and it lacked storage space for tools. So i have editted some files so the frontdoor would open the other way around and added some toolslots for the (i guess/hope) most used tools.

Photo: Flipped frontdoor hinges (comming soon)
Thingyverse downloadlink: (comming soon)

From now on able to take timelapse videos with the onboard camera!

Basic riser-A part:

ToolBox Edition riser-B part:

The results off …


Photo: Toolbox inserts most used tools
Thingyverse download link: (comming soon)

3 Likes

I need my own 3D printer!

I got that look when I said I needed a new camera before the price increase. Two days later the price went up $500. All the more reason to get a 3D printer instead.

2 Likes

Small print test:
when does the text become unreadable?

Original:

I thought the print worked out pretty well?

Do hope it will pass the durability test to see if the print will stay this good, or if (small)parts might come loose.

3 Likes

Oops, i broke an old kitchen drawer handle. :face_with_peeking_eye:

So i’ve sketched up a new one :nerd_face:

Even better (and cleaner) then before :partying_face:

4 Likes

So this weekend i found this website where one can transform four photos into a 3d (glb) file. [EDIT: they changed to free account options to 5 free downloads per week to 0 free downloads per week :face_with_symbols_on_mouth: ]


[gen.hexa3d.io]

Which then can be converted into a usable stl file to be edited and sliced for printing.
[EDIT: with the payed version of hexgen you can downloadobj, stl files directly, so no need to convert the file(s)]


[convert3d.org]

I use the Orca slicer that came with the 3d printer.


[Both sculptures were set at a heigth of 10 cm]

Since these are “sculptures” i used “sandstone” filament color for these prints.
The head was printed ‘straight’, and the body ‘slightly rotated’, for a hopefully better sandstone effect.

I think these ‘free 3d models’ came out pretty good?

So next step would be to 3dprint the rest of the family as a birthday gift for the old man :nerd_face:

9 Likes

How would this help @eneroth3 printing seagulls?

No clue, my family is not part of the seagull family :thinking:

Not sure if there are usefull seagull-models in the 3dwarehouse, else she could use that ‘hexagen’ website to convert photos, seagulls and/or airplanes, into a 3d model?