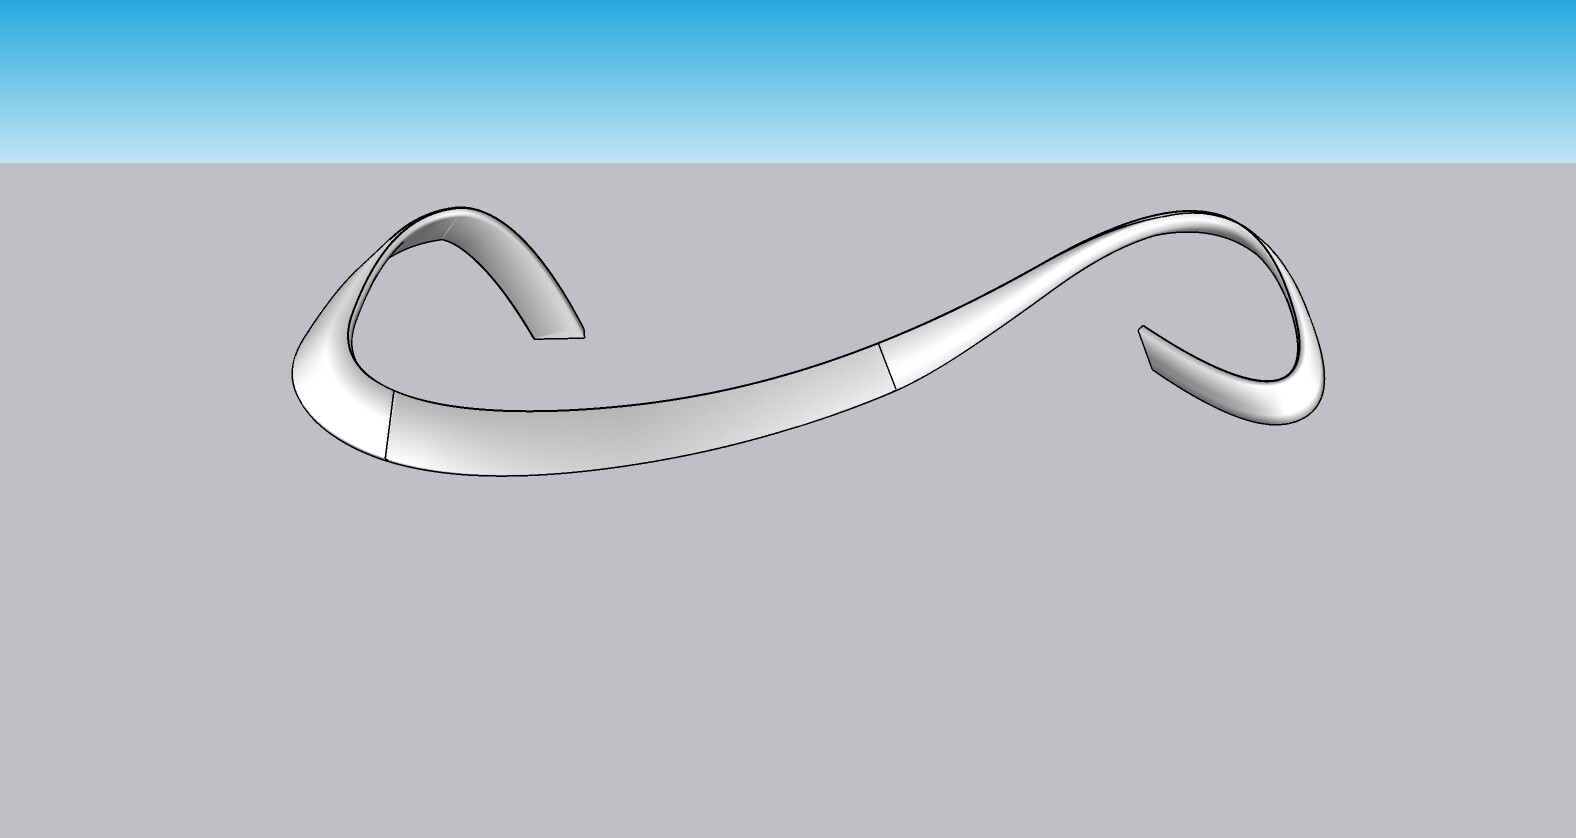
I am working on a model and I am wondering what the best way is to create a specific shape I want to make. Included is a .skp file which showcases what I want.
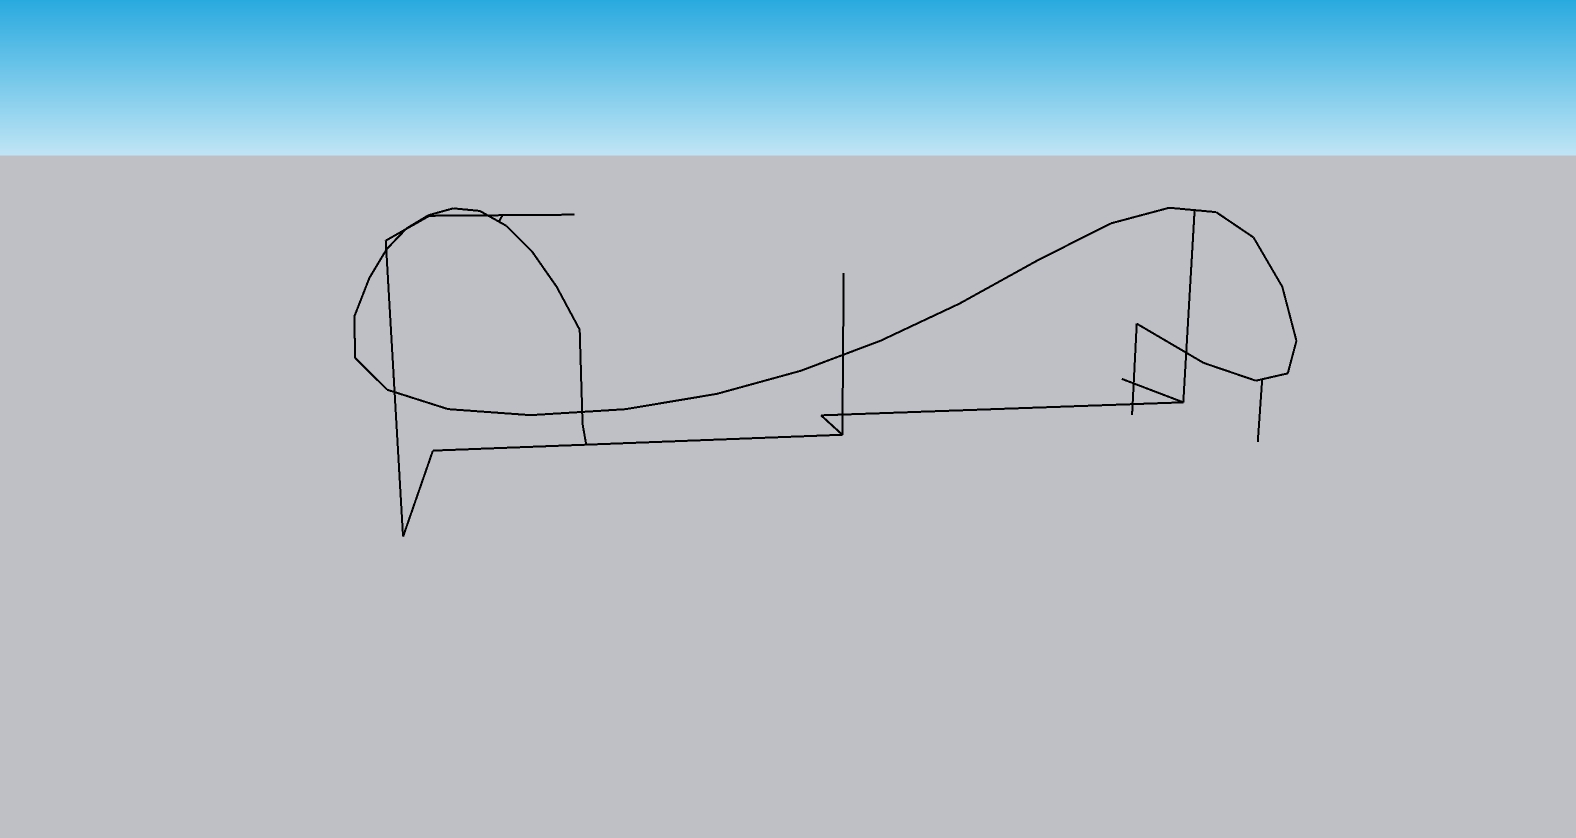
The top circle is a half circle (180 degrees). The bottom has a bigger radius and you only see part of the arc (not 180 degrees). The line I drew between the two half circles (arc) is the way the part should be shaped.
I hope this is a clear explanation. Thanks in advance for the help!
here’s how to do it with Fredo6 curviloft (there should be a trial period)
you can then either :
repeat operation for other half
Copy the first half, and flip it along green axe
opt for another way of modeling in the very first place for symetrical objects, by cutting your object in two mirrored components, it may allow you to save a great amount of time depending on the object.
That is a rather complex shape. I would probably use a mixture of things, a bit of a spiral and upright extruder, maybe some radial bend from Fredoscale. I’d have to work though it to figure it out as there isn’t one simple obvious way to do it.
Try making various parts individually.
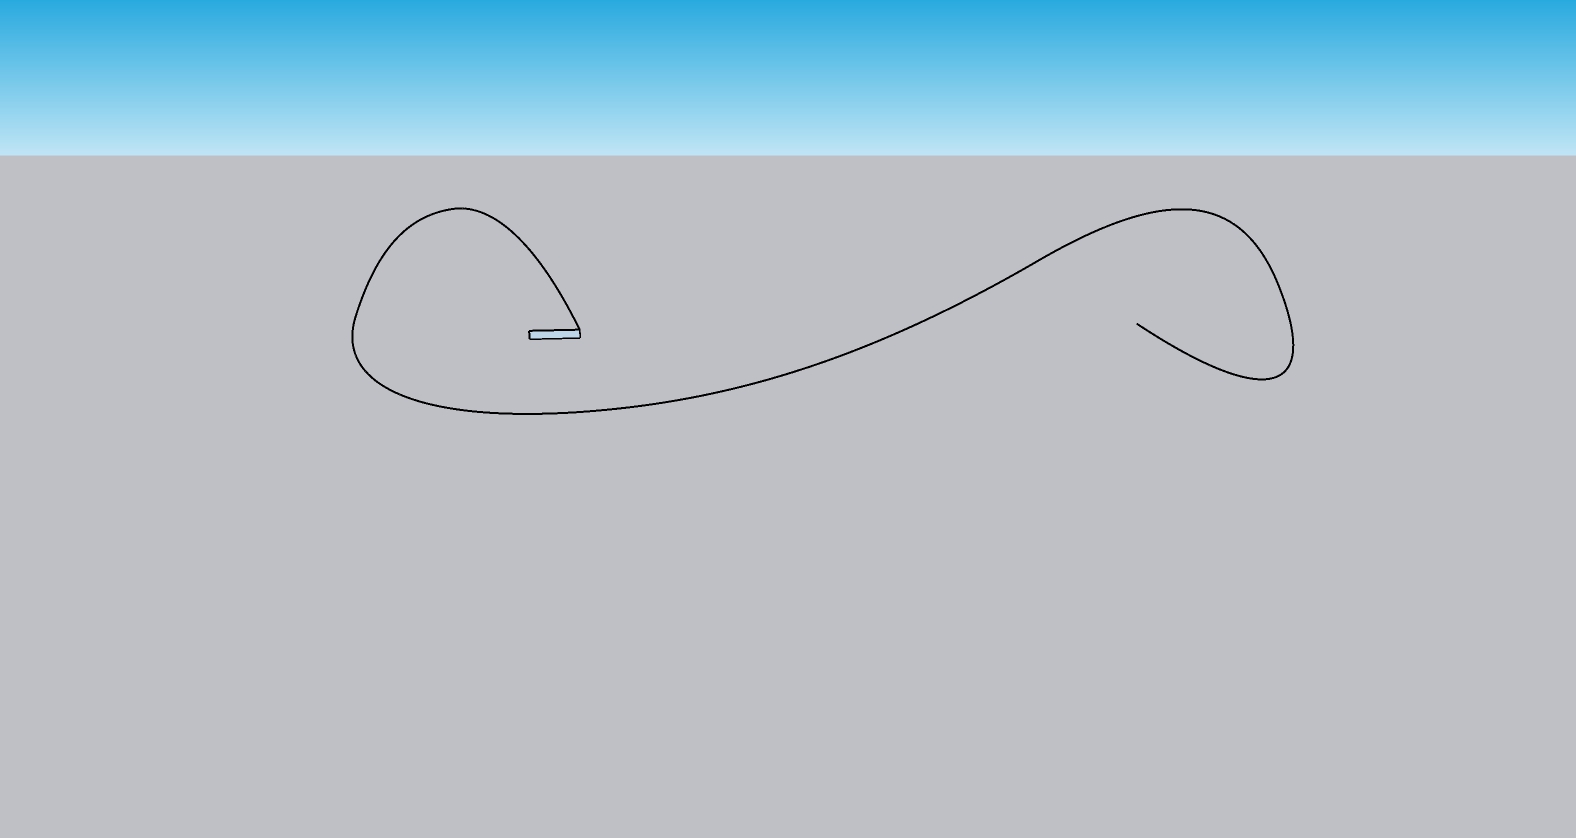
Here’s how I’d do it. But you would really need a 2D plan view and at least a 2D side view to build construction lines/points needed to draw a nice curve (for which I used Fredo6’s bezier spline extension).
Since I don’t have foresaid views, I did something quickly with a few “waypoints” :
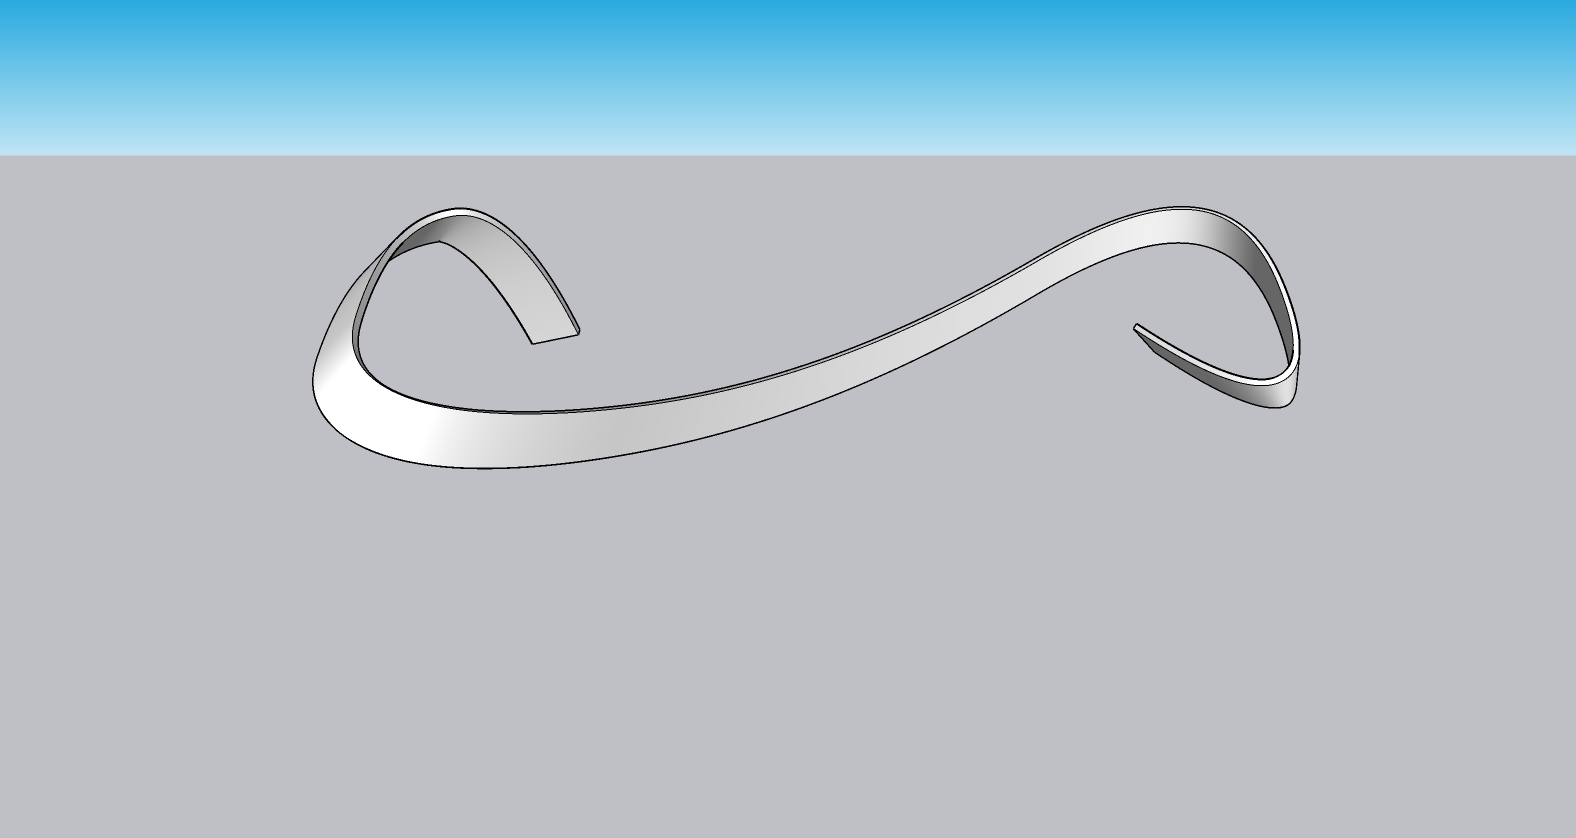
To fix that, still using curviloft extension, only this time the second tool (loft along path),I rotated the previously created profile to desired position (just realizing I randomly rotated them very badly as the result is very similar to previous shape, don’t bother)
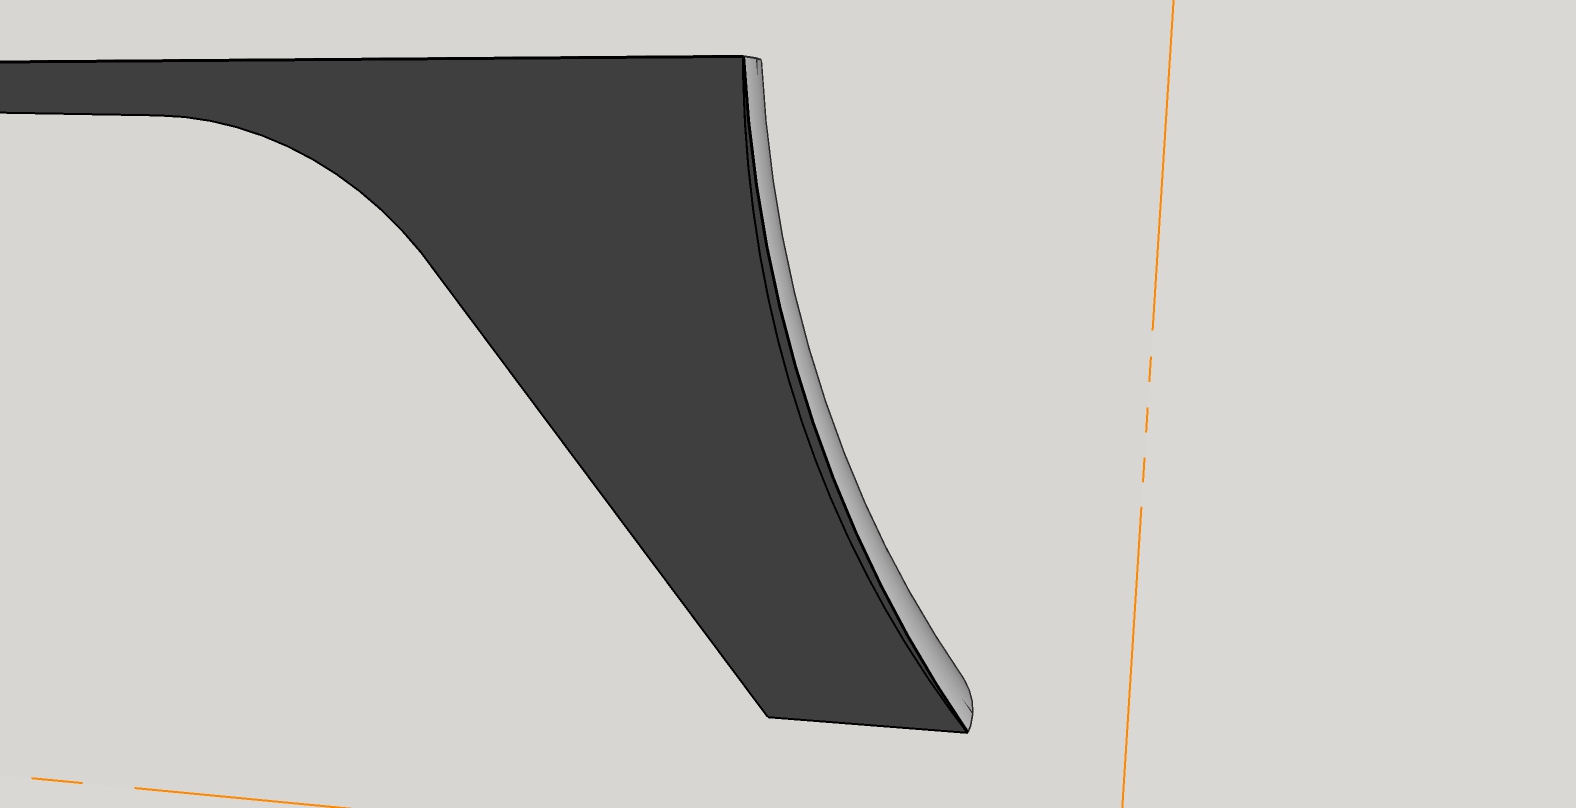
I tried using the curviloft plugin as in your demo. This seemed to work like intended. However when I add a section plane I can see its not the shape of a circle. Do you know how I can fix this?
@Box allready gave you the answer. Don’t use Curviloft to model half of it but instead delete the curve in the middle and use Cuviloft to do the whole piece in one go..
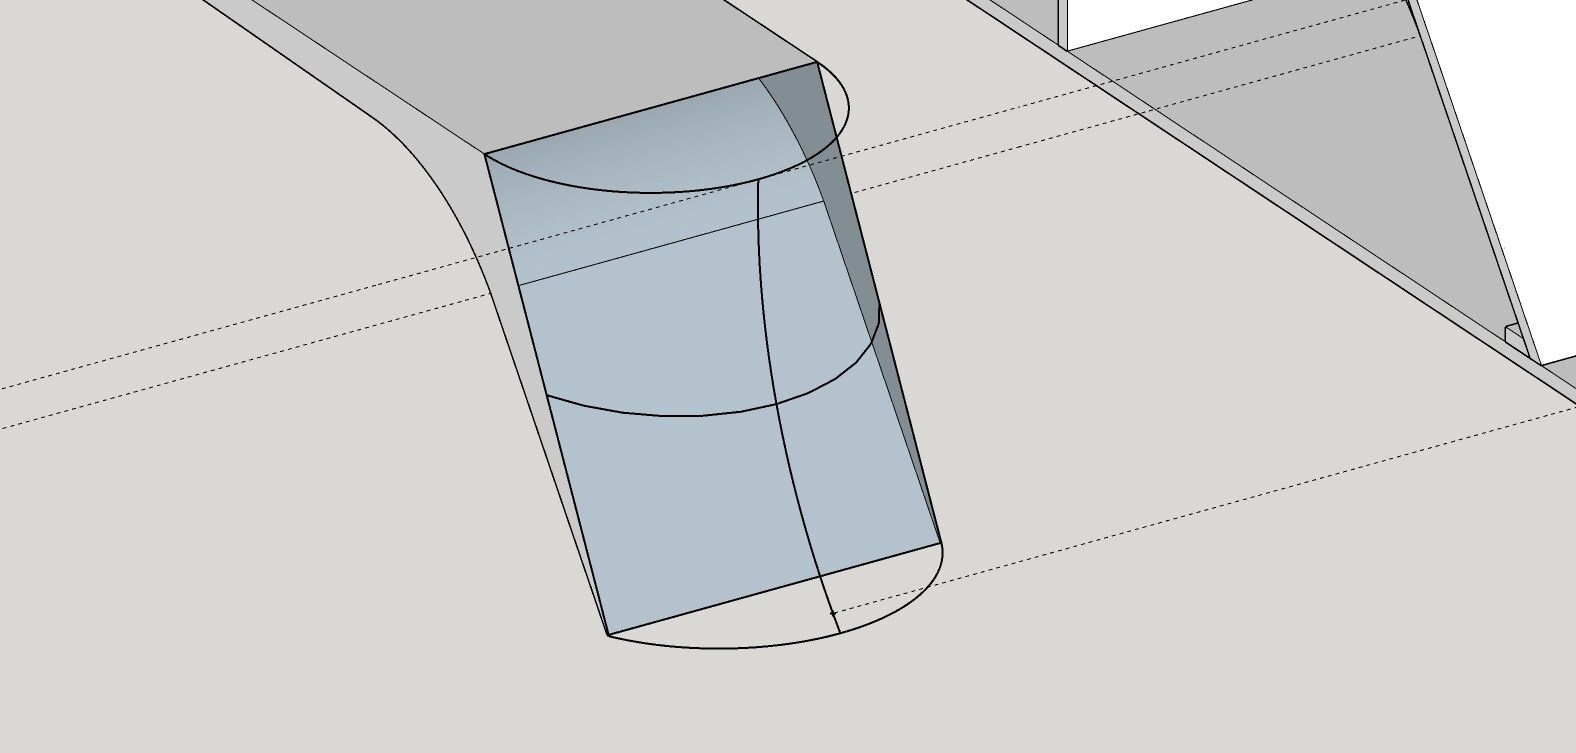
it’s true that removing the line would not give the exact same result.
(outer shell is without the middle curve, internal curve is with the middle curve)
as for your picture Jasper, I don’t know where it went wrong since it works fine here
The plugin won’t “know” the middle part (vertically) has to remain circular. It will just do whatever is more direct with outlines given. you have to add an arc inbetween so it lofts smoothly.
edit the group, select all and use curviloft skin contours. you may end up with reversed face just like me, if so explode the created result and reverse them back