Hello SU Community,
I am working on a 3D model of an ATV airbox-to-carburetor boot that is no longer in OEM production, or available via aftermarket. Google says 3D printing with TPU might work for a replacement part. I found a local business that scanned and printed one for me in TPU, but the quality was somewhat lacking:

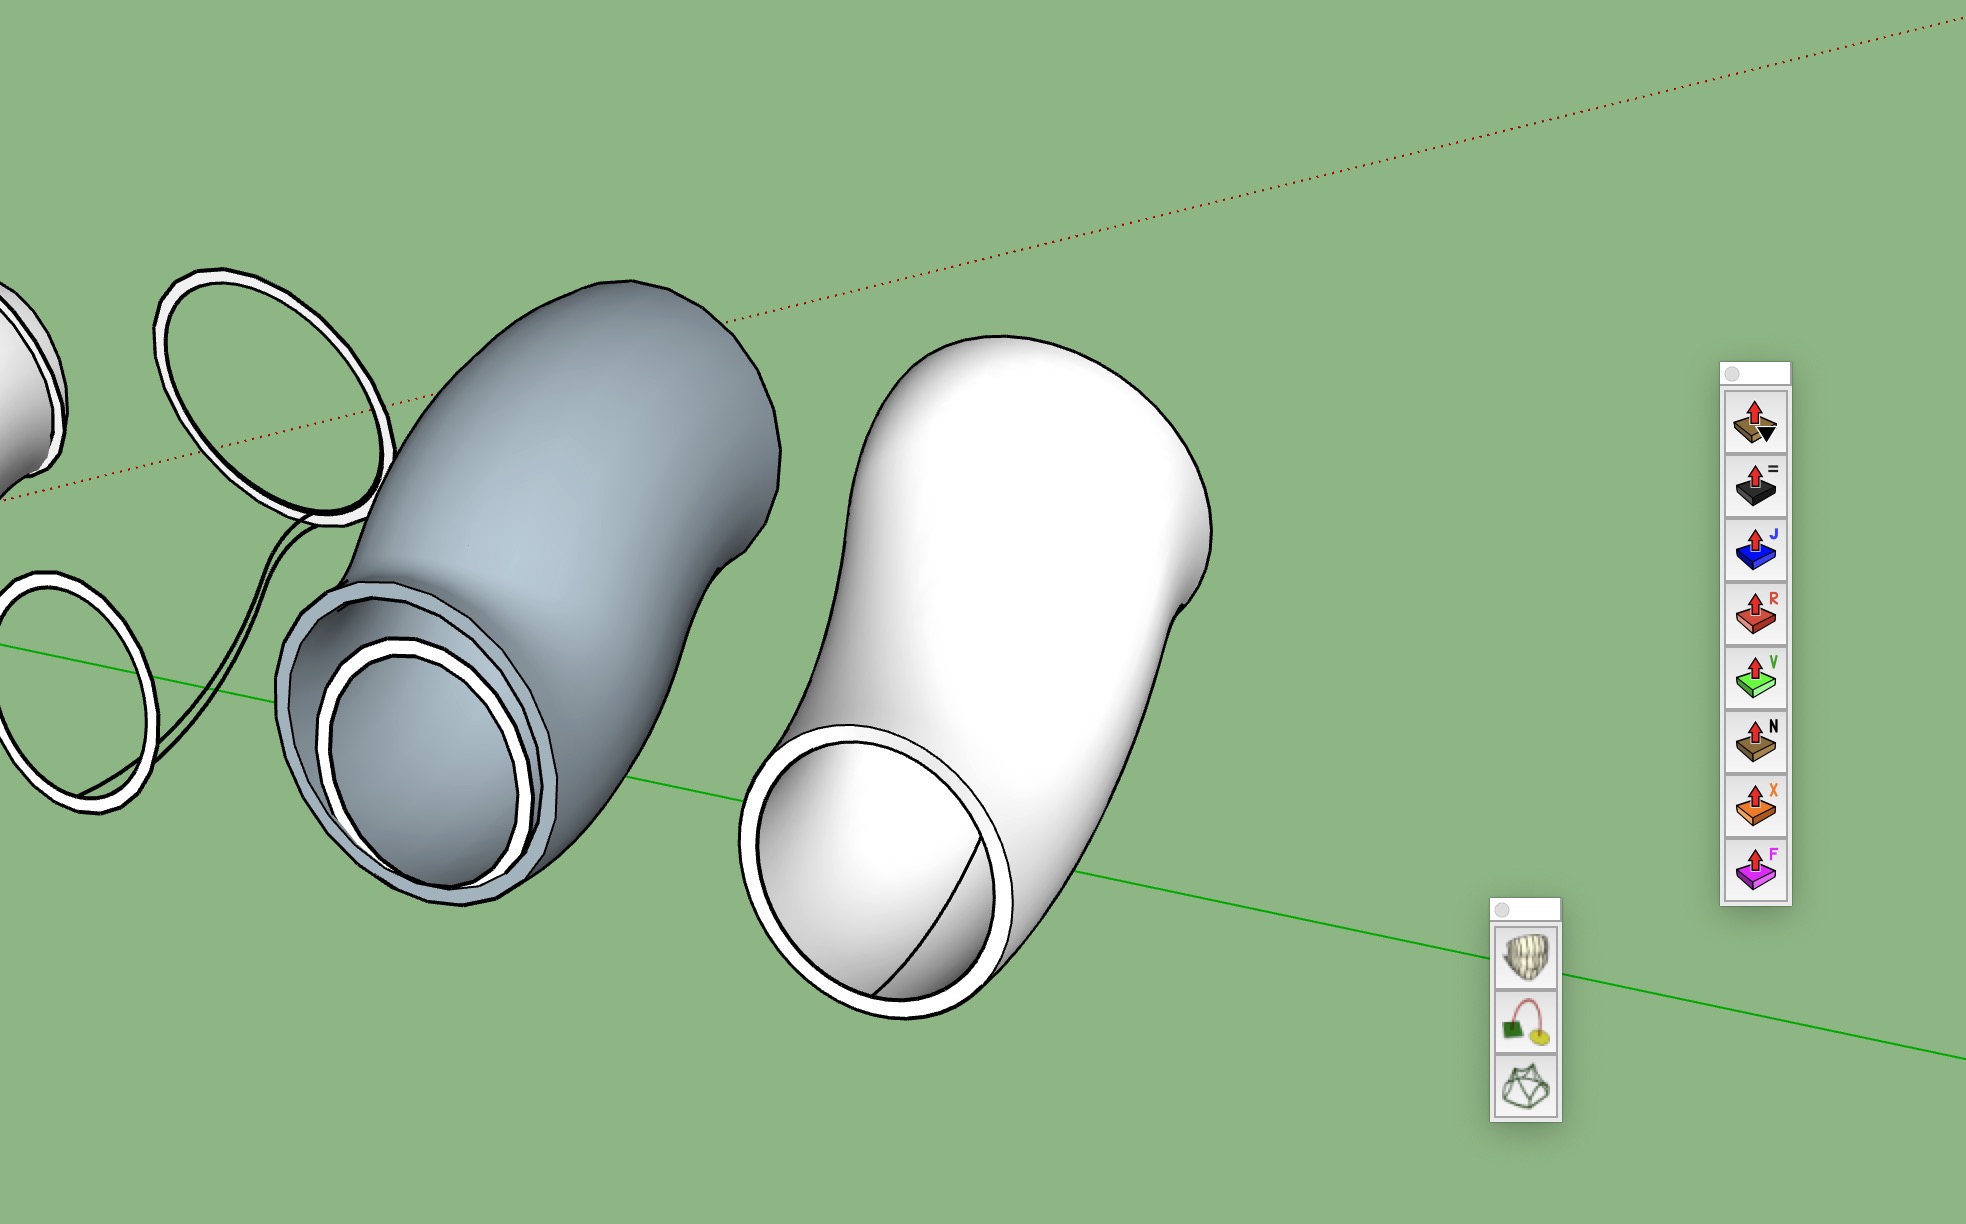
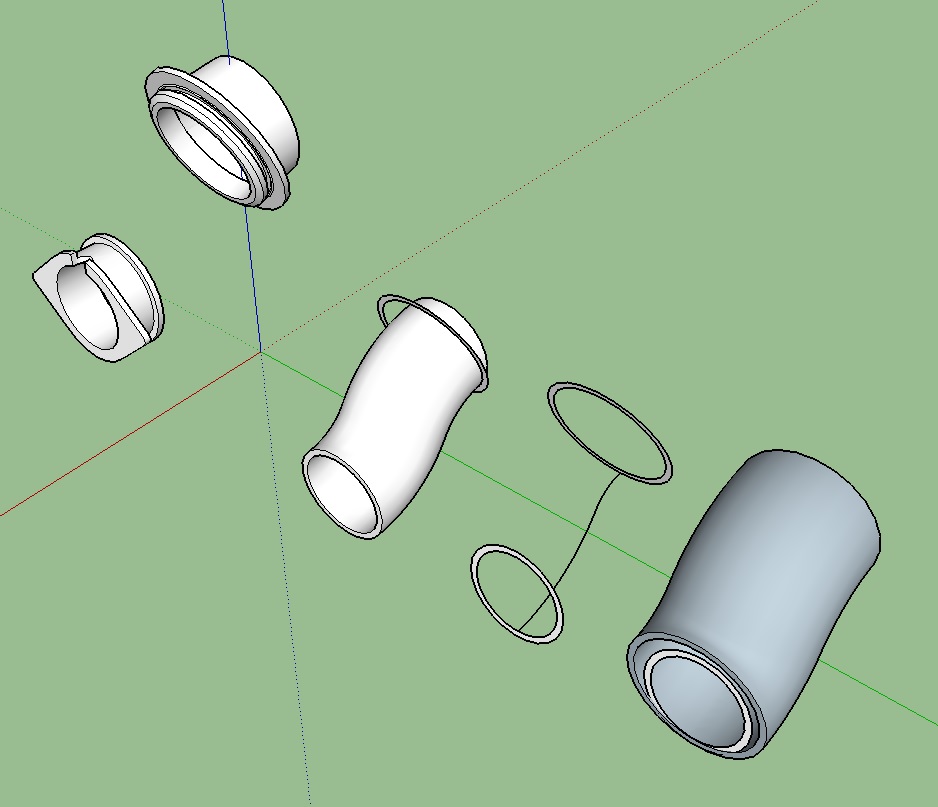
I decided to create a 3d model to send out to online 3D print shops for a better part. It has a compound curved section, with a reduction in diameter between the ends that I have not been able to figure out.
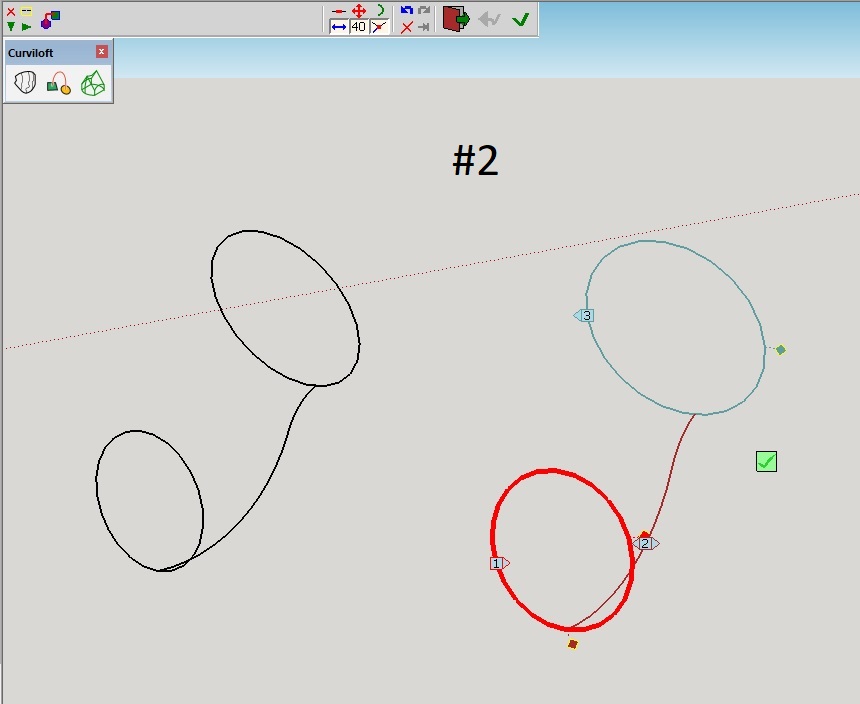
Here is a screenshot of where I am right now in SU:
Searching here, it looked like Curviloft would get it done, but it did not – for me. It appears that it will make a skin for shapes like this, but I could not get it to maintain the required wall thickness, which is .125”/3.175 mm.
I knew that Follow Me has limitations, but as shown in the screenshot, I gave it a try from each end. I tried to scale/taper each end, but there was no joy. A search here showed as much:
Saw the use/mention there that Eneroth Auto Weld might work to do what I need, but a look at getting the free trial shows that I need to upgrade my version of SU (2017 SU Make). Looking at the animation where it was used there, I could not tell if EAW with SU scaling will address the alignment of the off-center end that needs modified.
I’m guessing someone here can show me the error in my ways…? Here’s the file:
Air Boot Rev2.skp (587.0 KB)
F