Medeek Wall

The stud spacing is thus:


Note that the inset corner has the studs in the “Right” direction and the outside corner wall has the studs in the “Left” direction:


If the outside corner is “inset” then the plugin uses the corner offset parameter for that end of the wall to calculate where to start the spacing of the studs.

1 Like

This weekend I needed a little break from the programming to re-constitute the “todo” list and to give windows and doors some more thought, and to generally catch a breather.

Even though I don’t want to get into a full fledged window/door plugin at this moment as I try to focus solely on the wall plugin I also realize that without a tightly integrated solution the wall plugin is severely handicapped and in my opinion utterly useless. The designer needs to be able to completely edit the model within the capabilities of the plugin otherwise modifications to walls and opening locations will create additional (manual) work and thereby defeats the purpose of the plugin.

As such I’ve spent some additional hours Sunday afternoon completing the trim, casing and windows for both the Rectangular (Picture, Slider, Single Hung) and the Half Round (Picture, Slider, Single Hung). There are a vast amount of window types with multiple permutations. The work to include the majority of these will need to be followed up in the coming months. For now though, I hope these two window types will be enough to get the plugin off of the ground and make it somewhat functional.

View Framing Test 12 Model here:

1 Like

The Medeek Wall and Medeek Wall Tools:

The tools toolbar has the following functions from left to right:

  • Move Opening (Window or Door)
  • Edit Opening (Window or Door)
  • Delete Opening (Window or Door)
  • Move Wall
  • Edit Wall
  • Split Wall
3 Likes

Doors are coming along, just need to add the exterior trim and the interior casing, then on to bigger and better things.

View updated model here:

Doors are interesting since there are really two types, man doors and garage doors (on a typical residential structure). When the user goes to create a new door, there is a flag which can be flipped that takes one to the garage door modules versus the man door modules.

Most garage doors are trimmed out different than man doors and also generally do not have interior casing, also the actual doors are a completely different animal than your typical man door. As such they require their own separate module.

For the man door module I am starting with a basic solid door and a half glass or half lite window as shown, later I will add additional door types, the list is extensive.

I’ve also set it up so that the user can upload their own door hardware (door knobs) into the component sub-folder of the plugin, this allow for the user to completely customize their inventory of door knobs and levers. I am currently only including two very basic (low poly count) knob/lever styles.

1 Like

In swing and out swing I presume?

Shep

1 Like

Yes, the four possibilities are: LH IN, LH OUT, RH IN, RH OUT

A couple of designer/architect requests:

1.) Style3 for door hardware is a door knob and dead bolt combo:

2.) When you enable a grille (muntins) for a window or a door you are not given an option for the muntin width and depth. However, you will now be able to set these up in the global settings. Initially I had hard coded in a 0.625 x 0.1875 (between the glass) muntin size however this prevented the flexibility to adjust the muntin size and hence its appearance.

The example below has a muntin depth of 1.25" and a width of 0.75".

other interesting doors are:

Pivot:

Sliding:

image

bifold:

2 Likes

Sliding barn doors?
Pocket Doors?
Pet Doors?

I haven’t decided (yet) how I will separate my sanitary facilities from the rest of my tiny home. Leading candidates are sliding barn style door, pocket door, or just some sort of a fabric screen.

1 Like

For the initial release we will begin with these three door types: solid, half glass, full glass

After the plugin is up and running we can add in any number of man door types to include but not limited to:

  • Six Panel, two panel, three panel, four panel etc…
  • Double doors (of each of the single door types)
  • Sliding
  • Arched
  • Pocket and double pocket
  • Bi-fold and double bi-fold
  • Doors with sidelites
  • Dutch

With the addition of doors the framing looks like this:

1 Like

Trim and casing for man doors is now complete. The garage door module has been planned out but will have to come after the initial release of the plugin.

Currently there is only one style of trim and one style of casing for doors.

With the completion of the doors all of the primary geometry programming is done. What is remaining is the edit menus for the door and windows and the move and split functions for the walls.

The number of parameters is rather large so it will probably also be another two days worth of programming just to fully update the global settings so that it encompasses all of this information.

It’s funny how you get your best programming ideas while not actually programming, always seems to work that way.

I was thinking about the flow of the plugin and the number of menus the user has to navigate through if they are to enable all of the options for a door or window, the menus are:

1.) Basic Geometry
2.) Advanced Options (choose whether you want trim, casing and window or door installed)
3.) Window / Door Installation and Parameters
4.) Trim
5.) Casing

As you can see this is alot of menus to have to click through just to create a window or a door, in my mind it is too many and too clunky of interface.

Similar to the truss plugin I think I need to setup an option so the user can instead use a graphical user interface (HTML GUI) as an alternative.

My idea here is to have a HTML menu pop up that looks very similar to the edit menu but allows the user to keep it open and make changes to the parameters as required and then proceed to create another window or door but with those updated parameters. This will allow the user to get all of their parameters to what they would like and then make minor changes by changing one or two (or more) parameters without having to walk back through the basic menu system given above. This should greatly speed up window and door creation.

I may not roll this out with the first release depending on how quickly I can get the other items on the “todo” list done but it is certainly on my mind and is very close to the top of the list.

This same system or workflow should probably be implemented for wall creation as well. In fact, one could theoretically leave all three GUI menus open and work of them to create walls, windows and doors in no particular order and without having to walk through any menu chains at all.

Just to give you an idea of the number of parameters that are involved in a window opening with all of the advanced options enabled please take a look at the following html page that will form the template for the Window Edit Menu:

[url]http://design.medeek.com/test/web_dialog_editwindow.html[/url]

The premise of this edit function is that each window can have everyone of these parameters individually set by the user independent of any other window or door.

I’ve been also contemplating if I should have a window grouping feature which allows one to group windows so that certain parameters can be updated once and propagate to other windows within that group.

Comparision of the 2D and 3D (full framing) modes:

View model here:

The 2D model could probably use some further refinements to bring it more in line with standard drafting practice.

If the designer installs the actual doors then the plugin will show the appropriate swing and opening direction of the door in the 2D mode.

1 Like

Preview of the Opening Edit and Delete Functions:

View model here:

I am now working on the opening move function or tool.

The creation of the html menus for the window and door edit functions took a couple days due to the shear volume of the number of parameters involved. I have been very busy working on the plugin the last four days especially with debugging and testing.

As I actually test the features out sometime new ideas come to me or even a better way of doing something so I also get dragged down into some rabbit holes as I am debugging and correcting the code.

I am wondering if it would be helpful with the wall, window and door creation tools to show a grid (every foot or six inches on center) that can function as an aid that the use can snap to?

This is an update on the previous “todo” list and the current status of various high priority items:

1.) Wall and Window edit, move and delete functions/Tools.

Edit and delete is complete, currently working on the move function.

2.) Global Setting tabs for Window and Door settings.

Parameters have multiplied five fold, will need to spend more time adding in all of these new parameters.

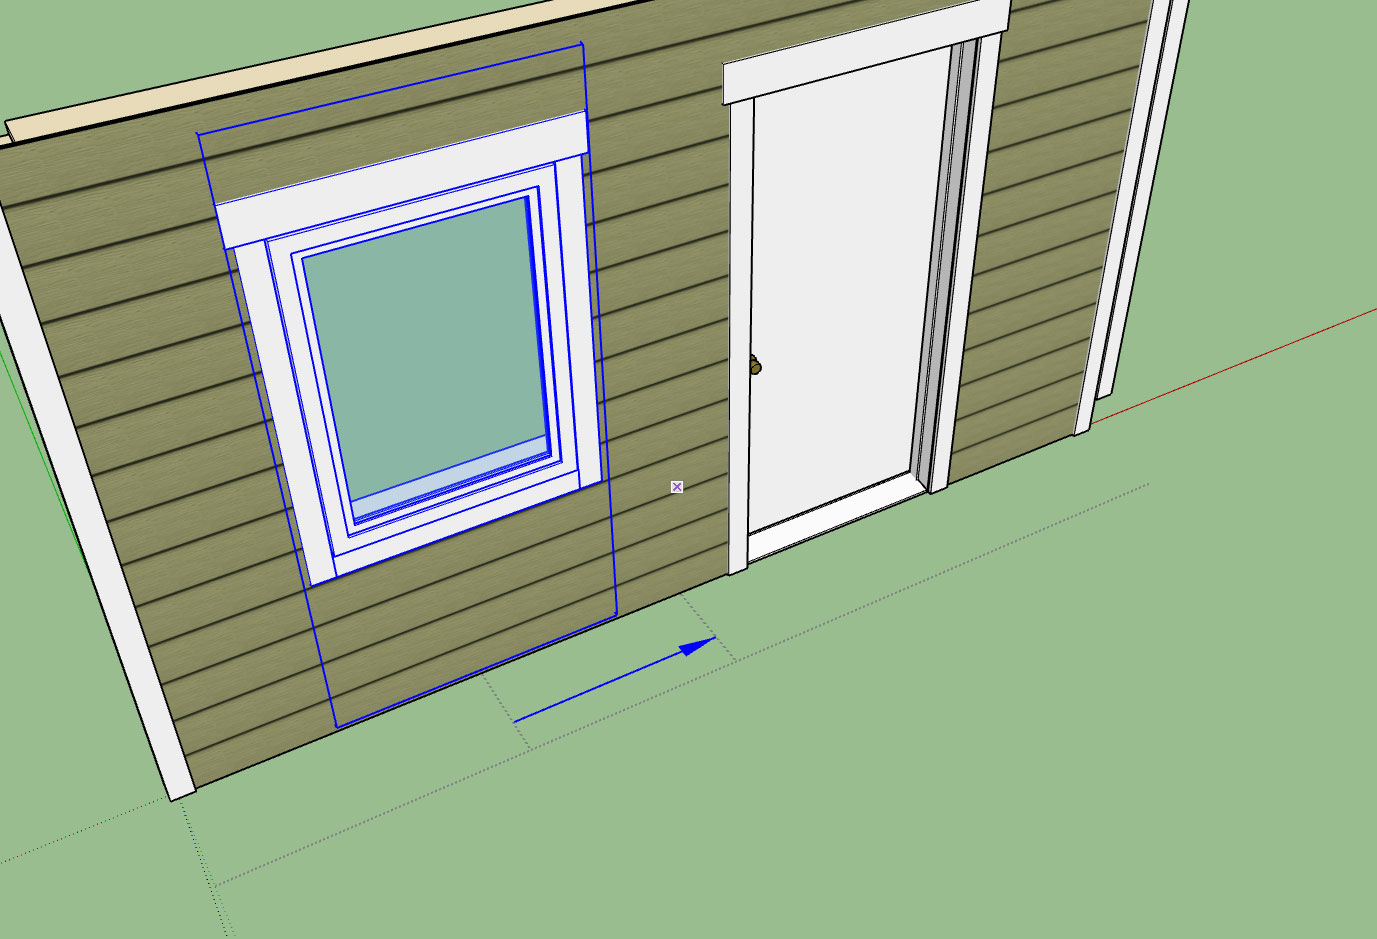
3.) Rudimentary Door and Window plugin that integrates with this plugin tightly.

This is complete, three door types, three window types, more variants to be added after initial release.

4.) Wall Move and Split Tool.

Wall move tool is planned prior to release, split tool will probably be after.

5.) Add air gap parameter for the cladding (ie. brick fascia).

Done.

6.) Auto corner configuration

Approximately, 50% complete, more debugging and testing required.

7.) Polyline Wall Tool and Face Wall Tool (right now all you can do is create a single segment at a time).

Polyline tool is now planned prior to release, face tool is on backburner until requests drive it to top of list.

8.) Final clean and addition of any additional parameters to the Global Settings.

This is part of item #2.

9.) Further refinements to the Add Window and Add Door Tools.

Complete for now, some additional error checking could be added to check for impossible geometry situations.

10.) Gable/Shed Wall Tool.

This is planned after initial release, for now.

11.) Add glulam beams to Window and Door header options.

This will be added when the garage door module is added, which will probably be post release.

12.) Update Wall Plugin web page.

Will attack this just prior to release of plugin.

13.) Additional logic for interior walls

This needs attention before release of plugin.

14.) Mitered corners for cladding.

Code is in place however further testing and debugging required.

Okay that was easy:

Six panel doors are now part of the plugin.

View model here:

1 Like

Interior walls also benefit from this mode of construction as it greatly reduces sound transmission from room to room as each wall face is independent of the other.

1 Like

Still mucking around with the Wall and Door Move Function:

It’s actually working quite well however I am trying to figure out how to add a grid next to the wall that the cursor can inference from and snap to regular intervals.

Any suggestions would be helpful.

I will say the move tool is quite handy and a bit faster than using the edit function.

The opening move tool is giving me some headaches: