Dear Chris…I am RoB…a sign designer here in New York. I see you
have seen my posts about the lettering on an awning. I saw you’re
recommending the “drape” and "sandbox’. Would you mind expending a little
by showing me how it would be done on this awning? This is a screen
capture. Just one big work “SLEEP” or any word you like. I just want the
easiest way to make the drawing. Thanks in advance.
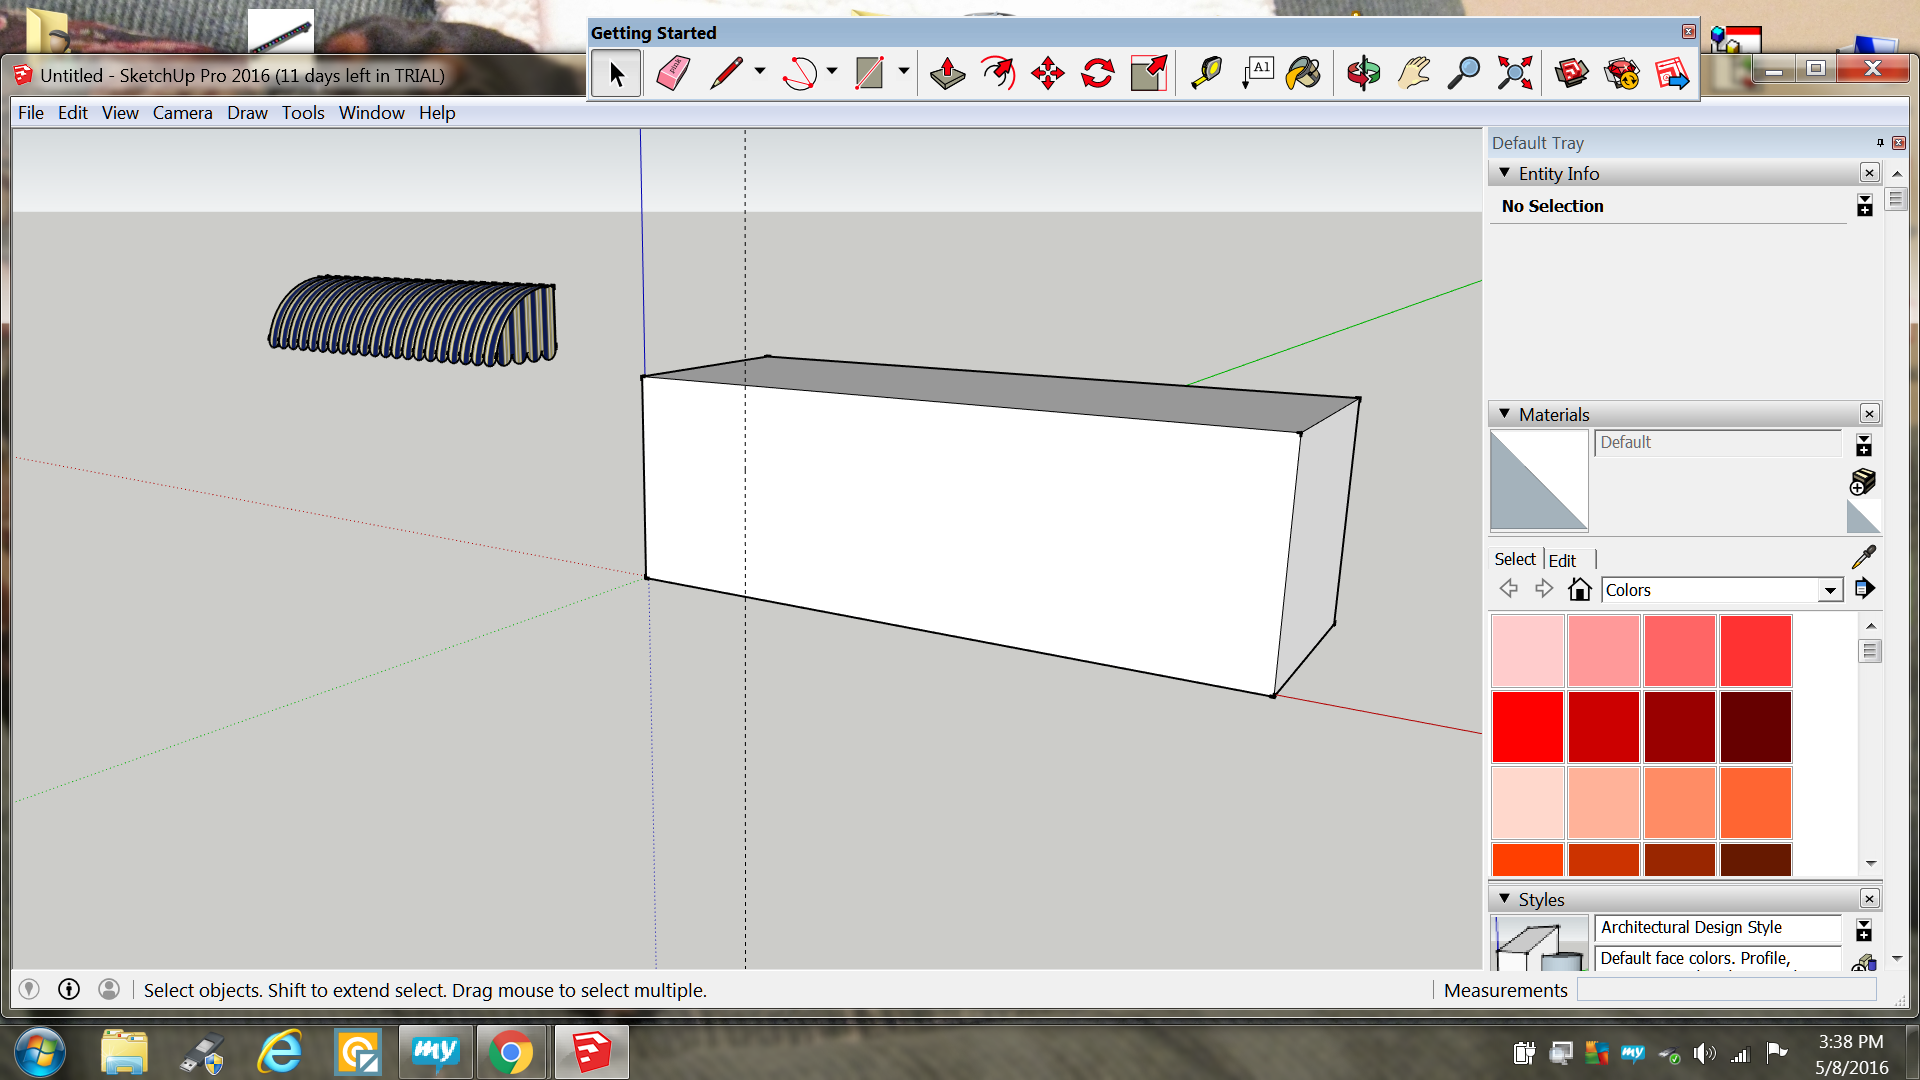
This is my .skp of a simple awning and a simple square building. If I
could get comfortable with the easiest way to do this…I would be able to
at least make a mockup for a possible customer. The file is on my cloud.
Thankyou all of you for your insight! >>>>>>>>>>>>>>>>>>> https://app.box.com/s/fzdcs549v4pn5jzigqwl7gvdjghn8lj1
Rob
I’m new to this. How do you go about uploading an attachment? I think I’m
going to do a YouTube video on this topic later this evening and will send
you a link.
Also check out my website, SketchUp Academy. com for more tutorials.
Chris
The only problem I see with that method is that the Drape tool only projects straight down, so that instead of rotating the text to match the awning as with the previous methods, with this method you have to rotate the awning so the part that is to receive the projected letters faces up at them.
Attachment? Here is an attachment I made for a defective LED strip…You
just copy it and paste it. https://app.box.com/s/pqkin978wd36avbyyadd2xy03wxyuwt3Feel free to use my
example on your Youtube Video. I’m certain there are more inquiring minds
than my own :0)
It also doesn’t always intersect very well… leaving folks with having to clean that up a second time if it’s a requirement.
So it’s a more involved solution designed to bypass an option that still might need to be used as a finishing touch.
But it does sit well in the camp of being one of many ways to achieve something. Although I’d still argue that if this is seen as a simpler solution to what has already been mentioned by Gully in the first thread on this topic—then it’s apparent simplicity is also highlighting a weakness in ones modeling skills.
…mainly not being able to easily… move/position/and orient geometry within SU… and of course making use of SU’s inferencing system while doing so.
and all of those come into play with this method as well. it just seems to not invoke them in the same fashion.
And I’m sorry for making a big deal out of this… but in terms of needing to rotate a big model just to accommodate a smaller piece of text. I think that can cause issues of a different nature.
and they will tend to show up when you start rotating your model when parts of it are hidden, or on invisible layers. Those objects don’t go along for the ride… and if you don’t get back into the position that you originally had, then you get to reposition all of that hidden stuff too.
Good point Gully, but that’s a minor price to pay and elimates all that
other horsing around. Besides, no matter what technique you use, the
lettering is somewhat deformed due to the curved surface, no?
I fail to see how anything can be simpler than the method several people have shown already.
You use the gluing ability of the text to set the best alignment to the curve.
You unglue it.
You scale the lettering through the face to ensure a good intersection.
You intersect the Curve with the letters.
You Delete the letters.
Done.
See animation.
No horses were injured during the making of this gif.
Question . . Can that be used to push the letters into the layer 0 and see layer 1 which is a different colour ? As it sounds like it would work . . ( layer 1 is a glow in the dark material layer 0 is the covering of layer 1 )
There, I moved it out of Pro.
I don’t understand what you mean by ‘You did not avoid the main answer we must not discuss that.’ What does that mean?
What part are you have a problem with in SU8, I can’t find anything that doesn’t work.
roborizino (4ays ago) Hello again… I tried going along with your animated screen shot concerning fitting text on a curved surface, like an awning. Whenever I “place” the sample text on a cylindrical surface, a red message comes up saying that you cannot push/pull curved or push/pull surfaces. If you can get me through that, I think I will have learned the trick. I appreciate your help.
I had answered that several times already, read the thread properly.
All my subsequent answer could have been is, ‘At no stage did I use pushpull, and yes I agreed with you that you will get that error message if you try to use pushpull on a curved surface.’
I chose not to continue repeating myself.
So, not that it is any of your business, i did answer the main question several times.
Would you like me to point out all your answers that fall short of perfect?
I really don’t appreciate snide comments suggesting I’m avoiding the question.
Have you tried placing the text on a flat face and then bending the flat face containing the text to match the curve of the awning ?
Just ideas.
I followed this and linked Chris Fullmers Shape-Bender (because I use that tool often) - no reaction.
Off course one must not use plugins, but when a beginner puts a questions and describes his difficulties, than I prefer a simple way which needs no questions about error messages afterwards.
I must not explaine You the simple method?
The error message in my german version ist much shorter “Komponente kann hier nicht platziert werden”.
Nothing about push/pull and so on.
Your color by layer idea would have to happen a different way… ALL of the work which @Box shows in his animation should be done on Layer0.
If you want to change layers, then that can happen by moving your text onto a different layer from within the Entity Info panel. Select your text, and choose a different layer from the layers pulldown menu.
BUT be very careful about drawing directly onto Layer1 for example… the better practice here is to always draw directly to Layer0, and then reassign your geometry after the fact. Drawing directly onto layers other than 0 can cause problems with missing elements—SketchUp doesn’t support layers in the same fashion that other programs do.
In putting the rest of your idea together… in case you don’t already know,… go into the Layer Options and also choose ‘Color By Layer’.
Your idea will, and should work… just be careful about drawing onto layers other than SU’s default layer0.